The vehicles I build are meant to be driven—on the same roads (or tracks) as our daily drivers. They are not “trailer queens,” so they must be able to handle the road grime, standing water, and unexpected rainstorms that come with real-world use.
Depending on which RCR model you choose, the amount of work required to enclose the body structure can vary considerably. The MkI includes several internal panels that form supports, wheel wells, and body structure. The MkII offers several fender configurations, and the body panels supplied may differ depending on the options selected. The most challenging combination is the MkII with wide front and rear flares, where few, if any, inner panels are provided, leaving the builder to design and fabricate the entire system.
The door hinge area and fueling points are additional areas that will require attention to have a reasonably dry vehicle. I’ve broken down each of these areas
Front Wheelwells
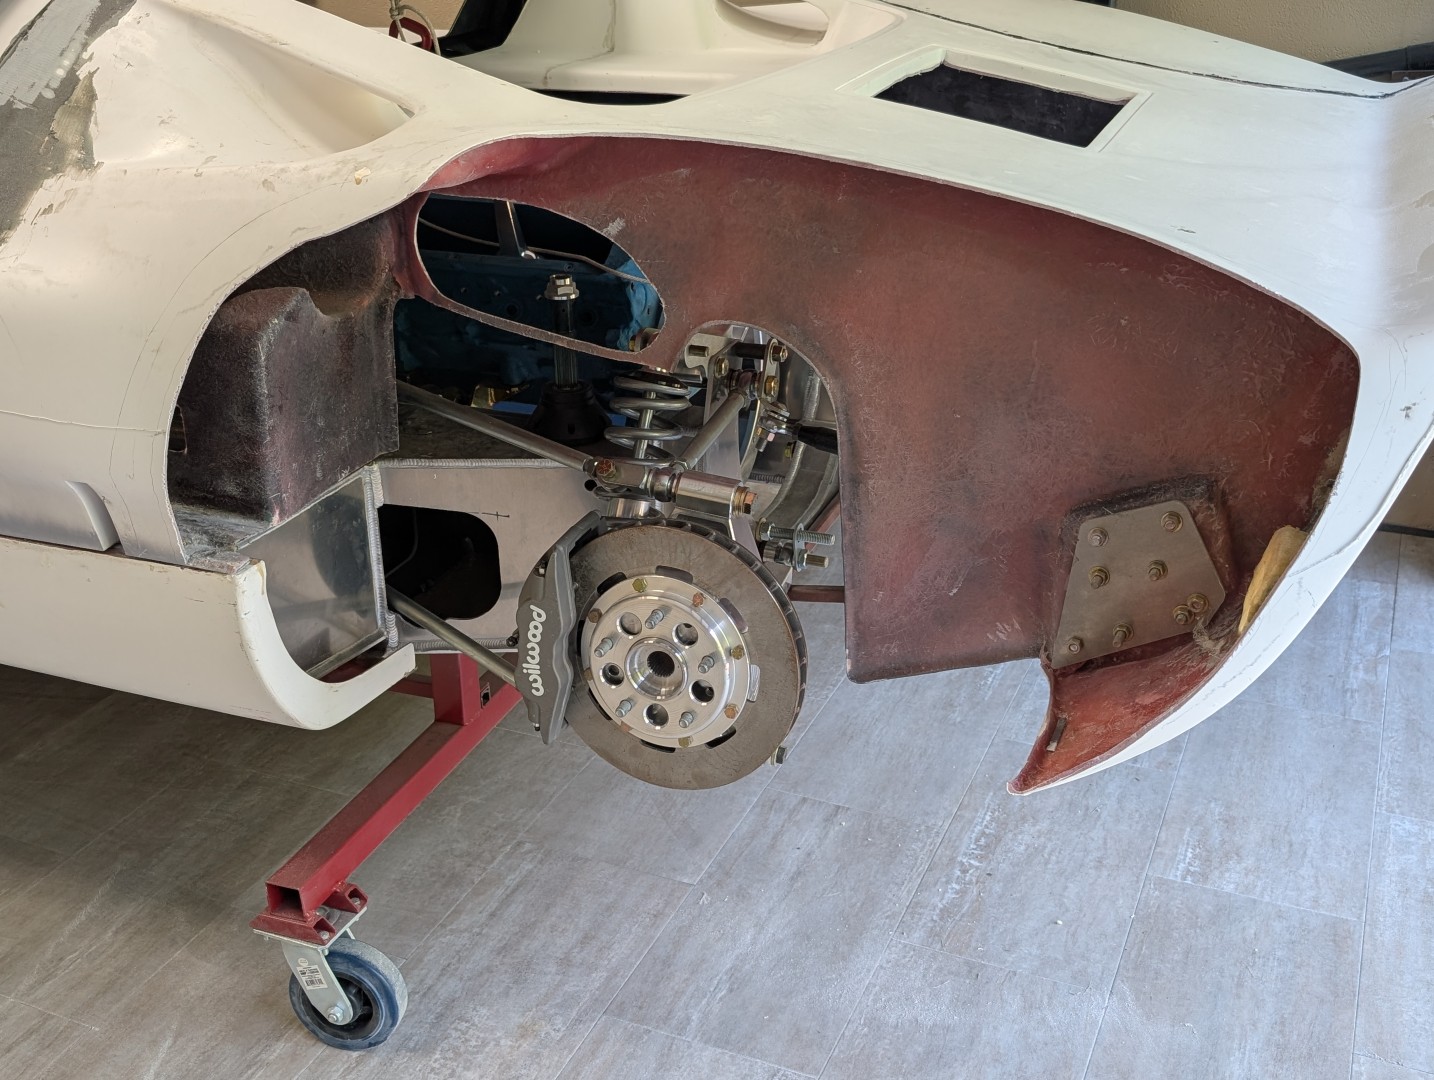
On my MkI, the front wheel wells were reasonably well engineered. The leading edge included a recess for a closeout panel with access to the headlight area. RCR does not supply the aluminum panel so a little work will be required for it. The rear side of the wheelwell has a lot of structure but it is not 100% closed so some modifications are required to seal it off. A little arts & crafts with cardboard and fiberglass will provide the remaining close-out panels and mounts for the bulb seal. More details are provided in the front clip section
Rear Wheelwells
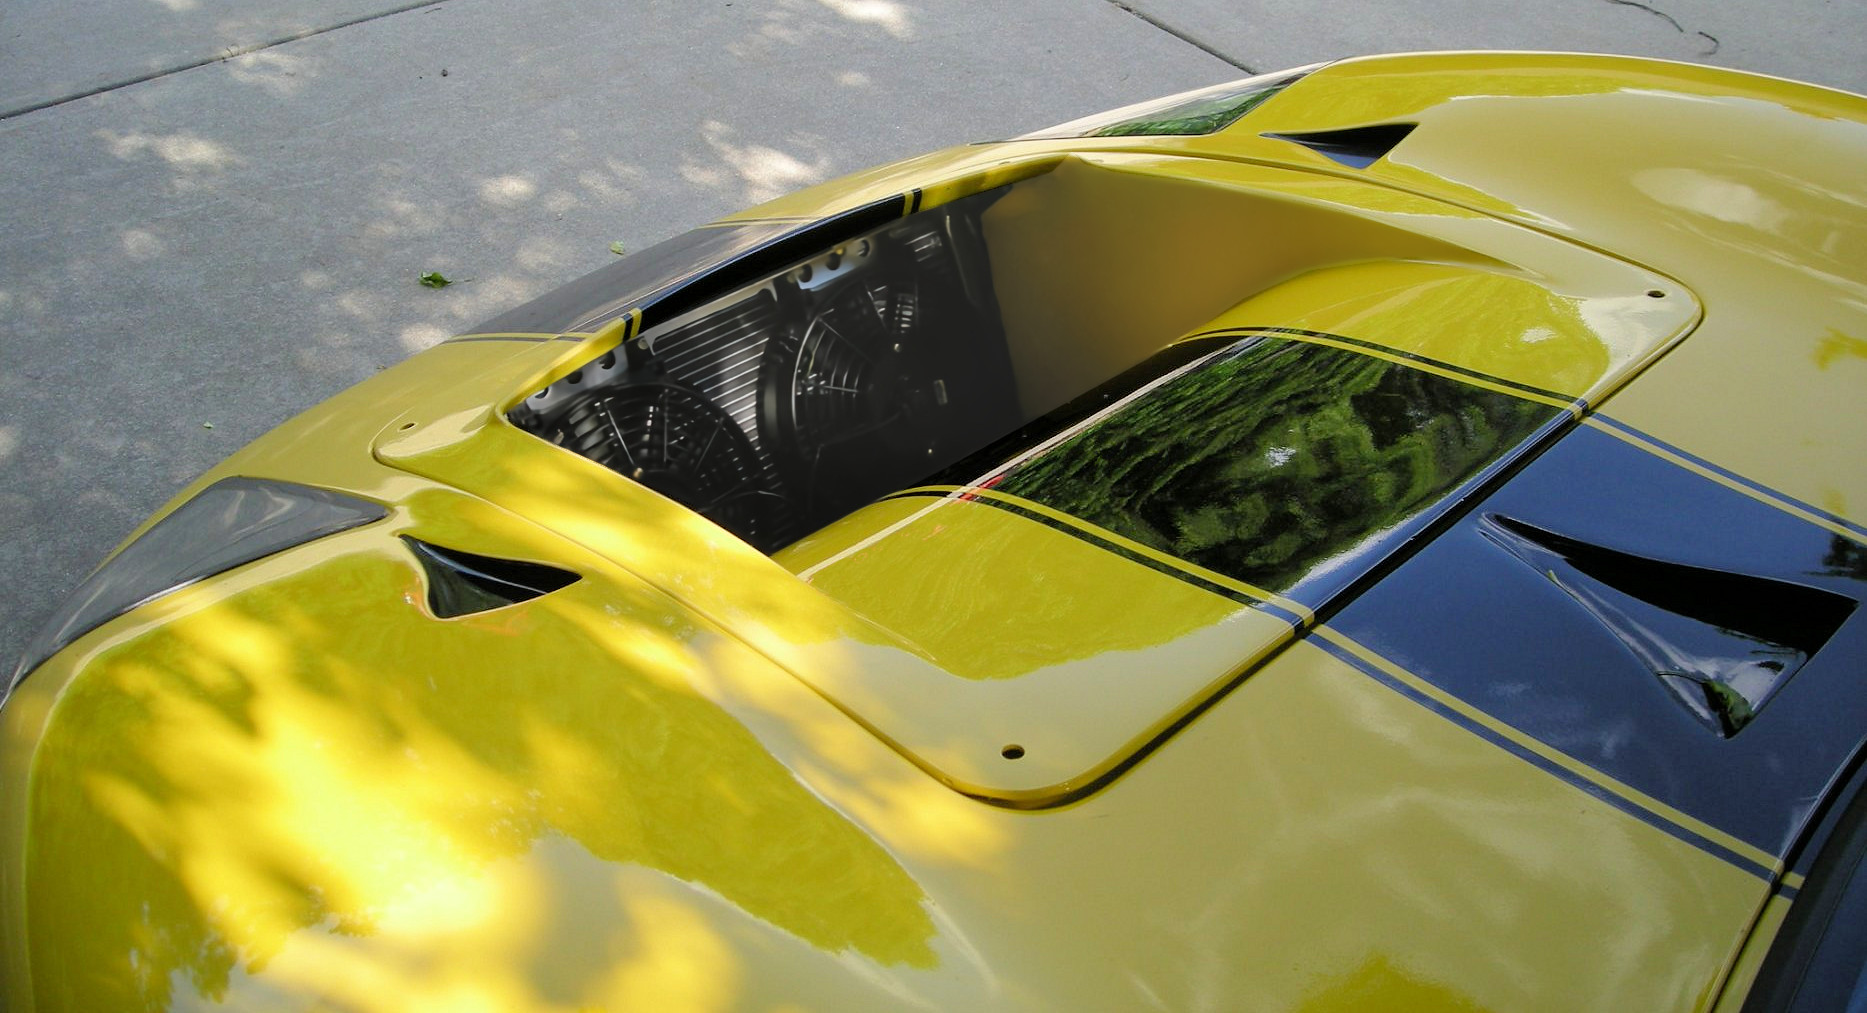
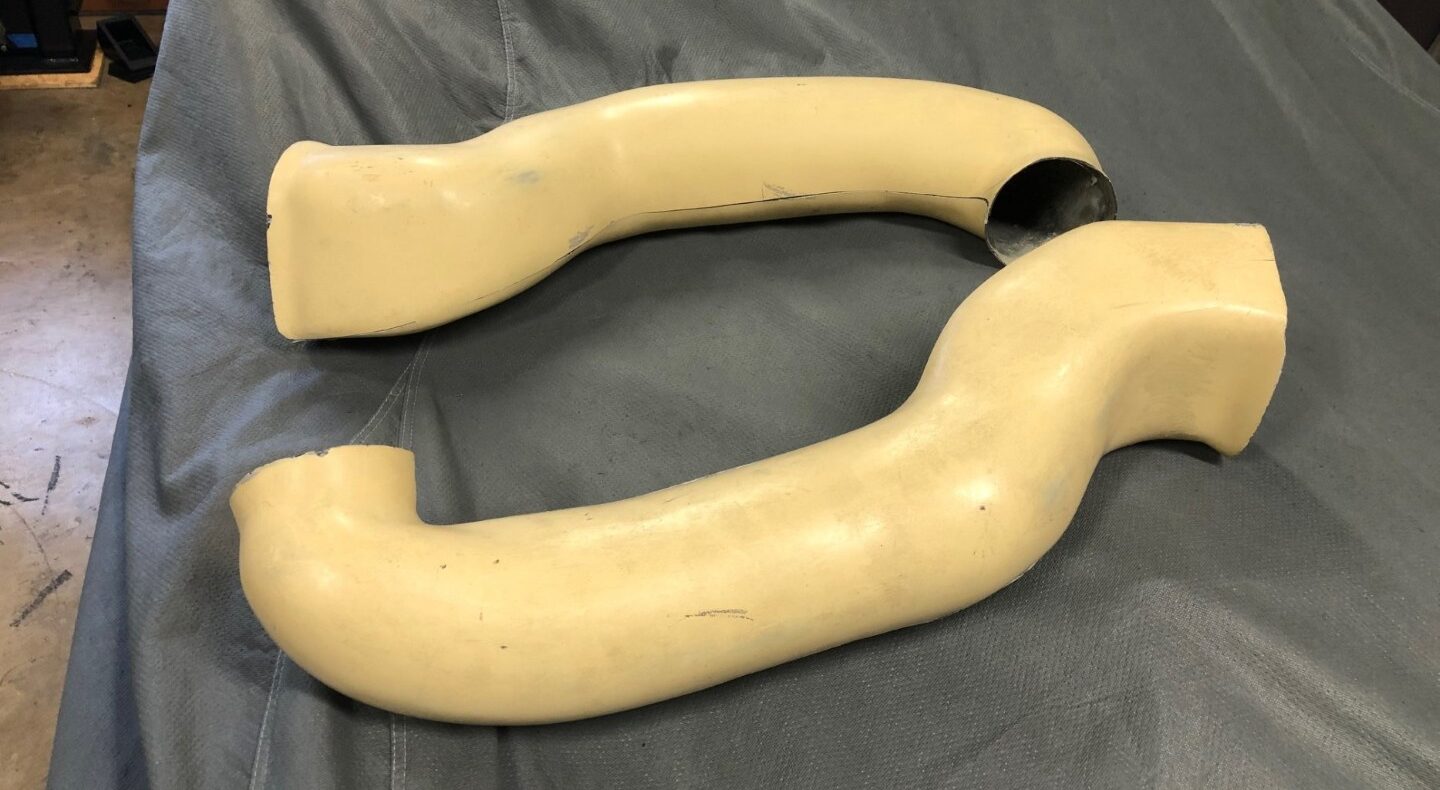
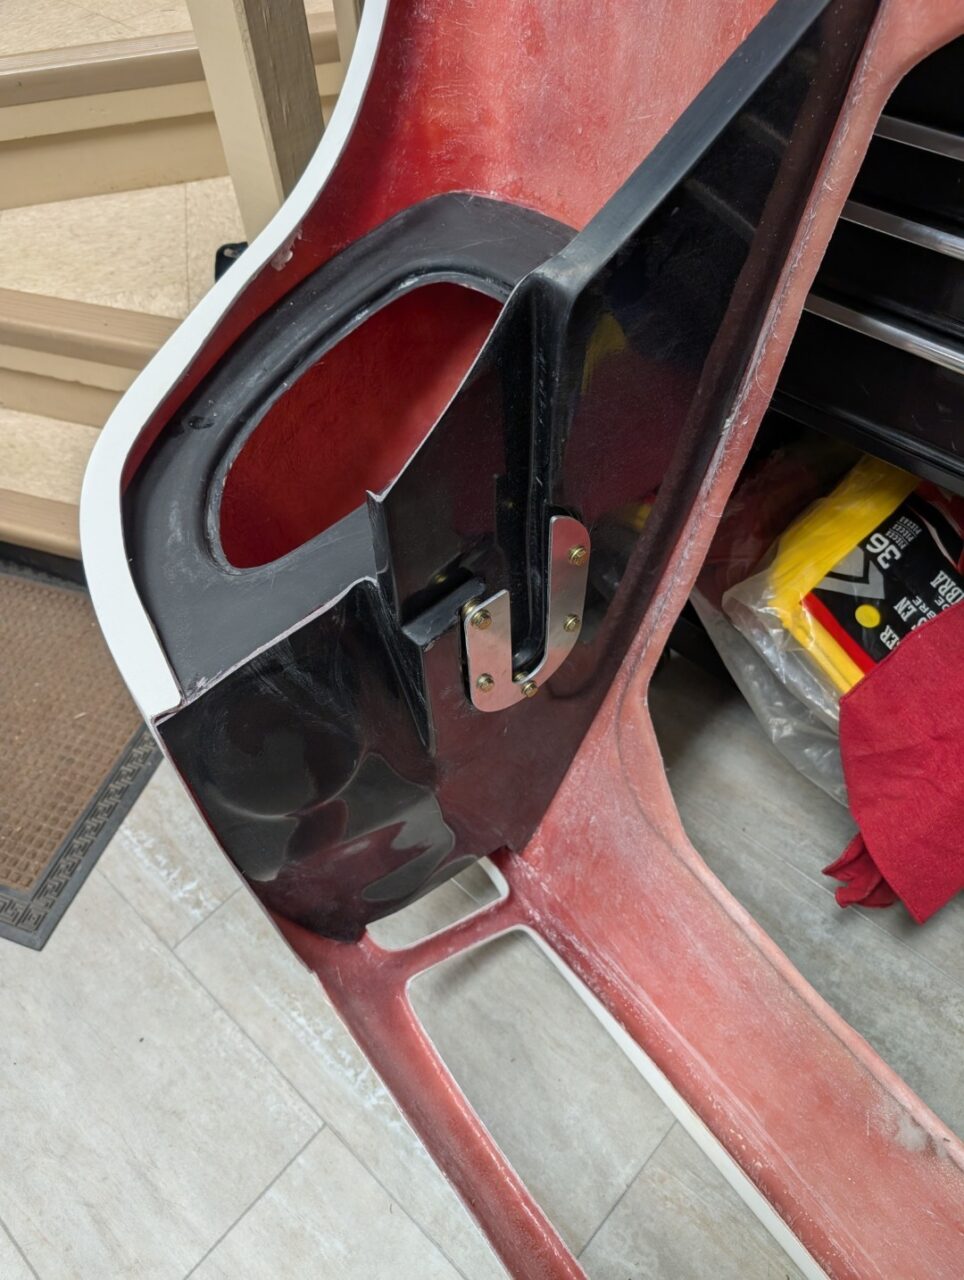
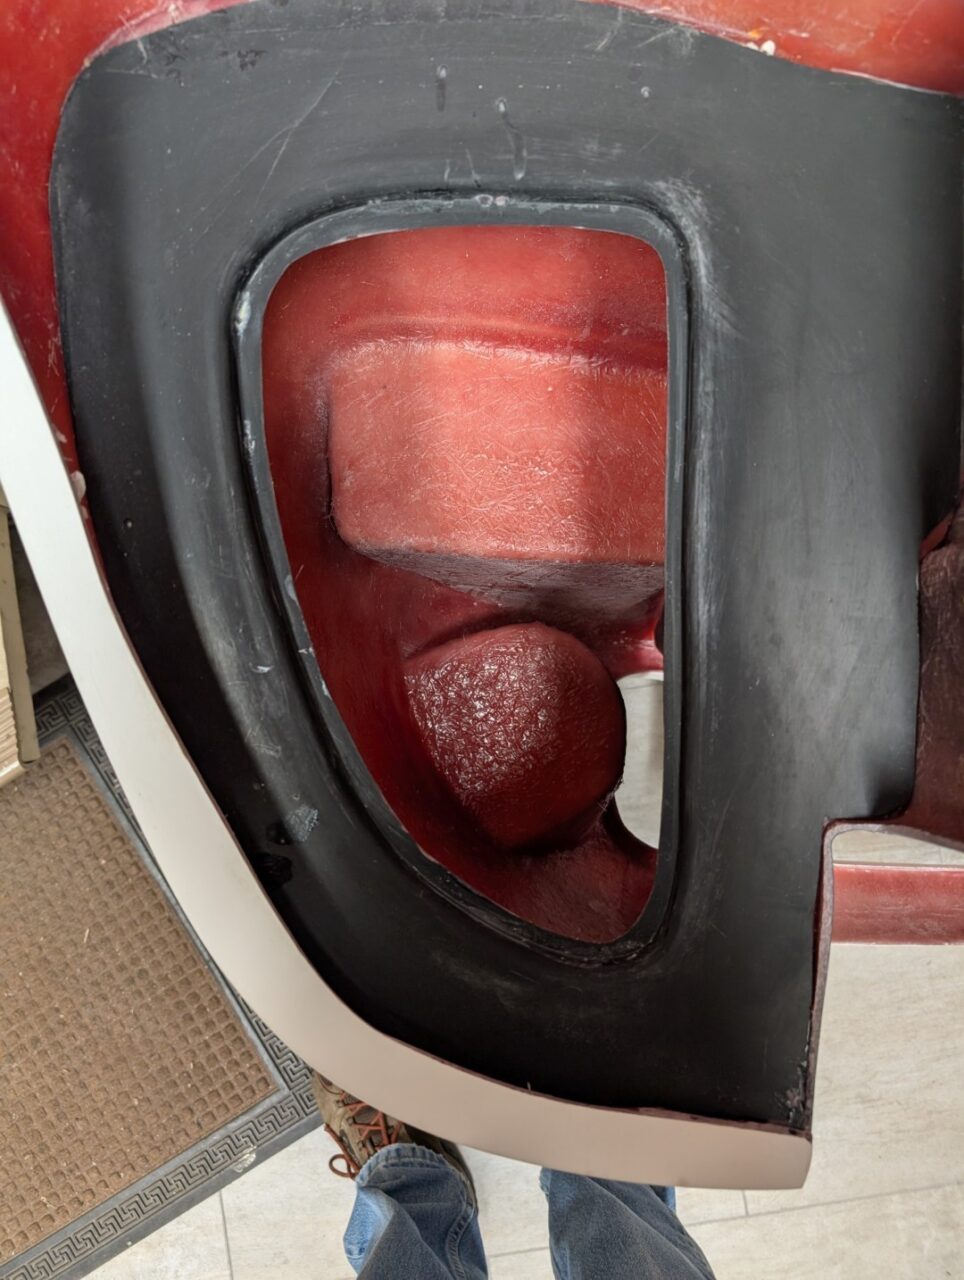
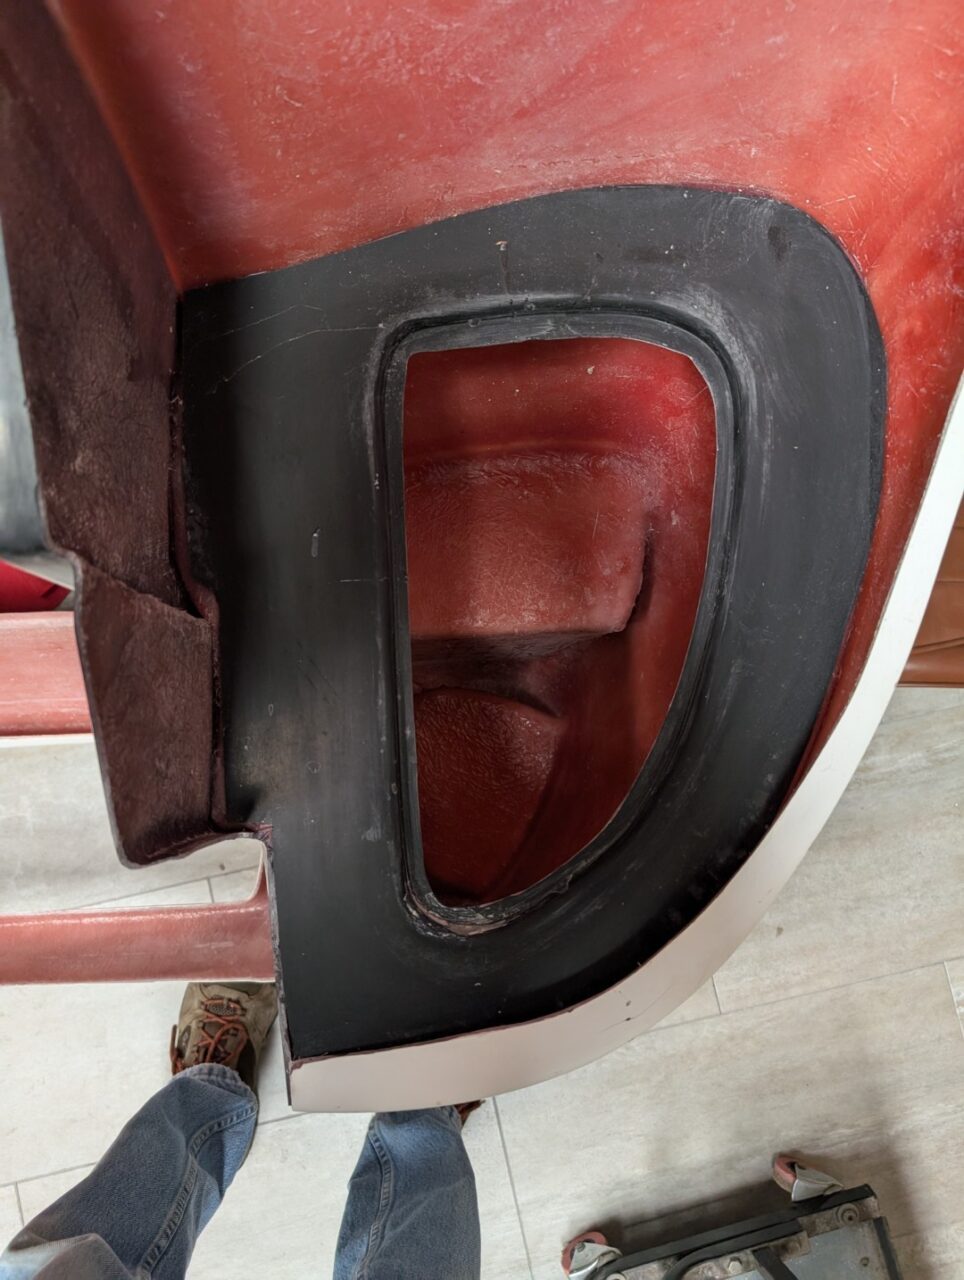
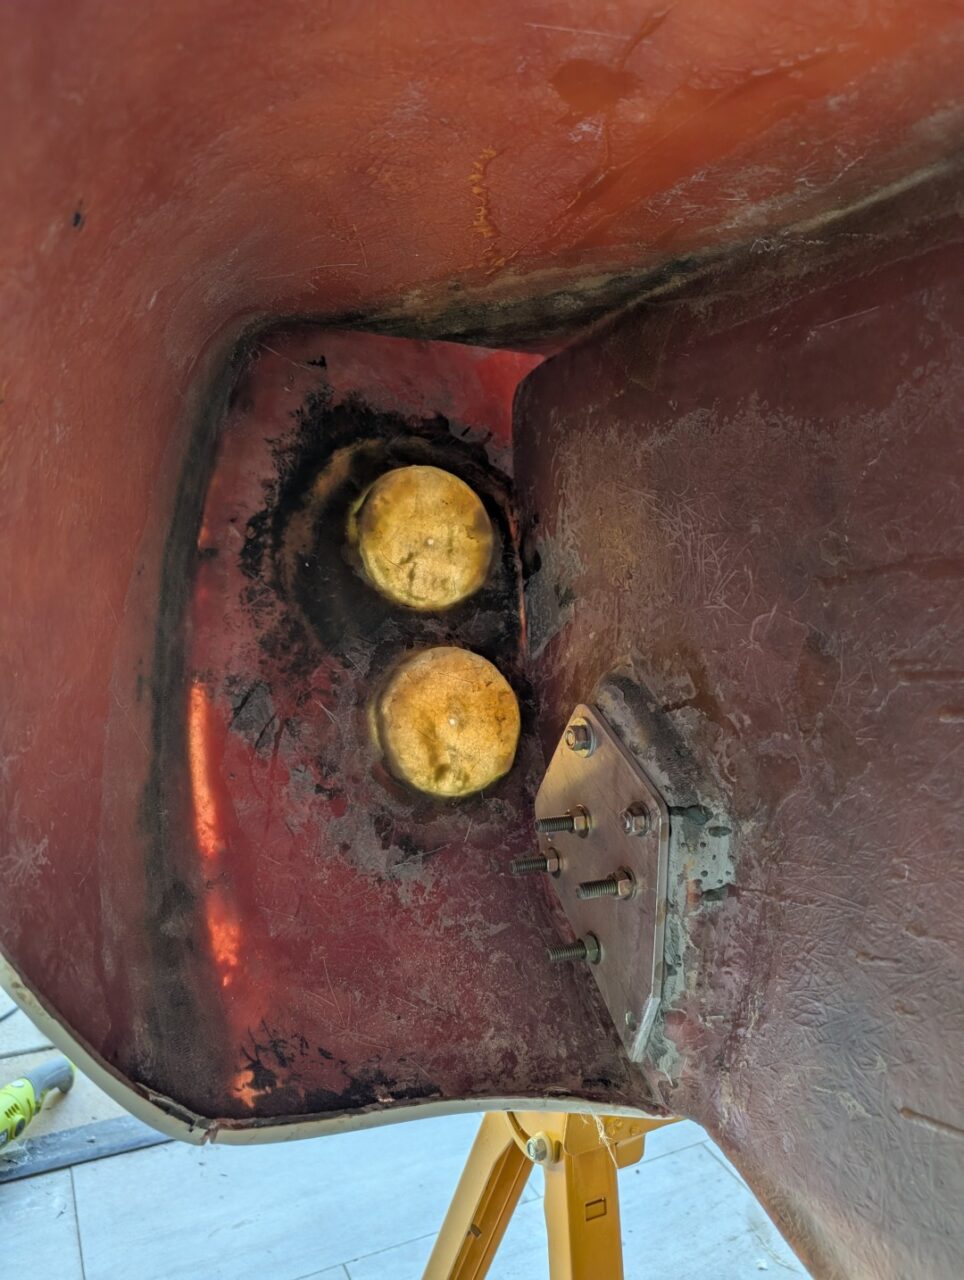
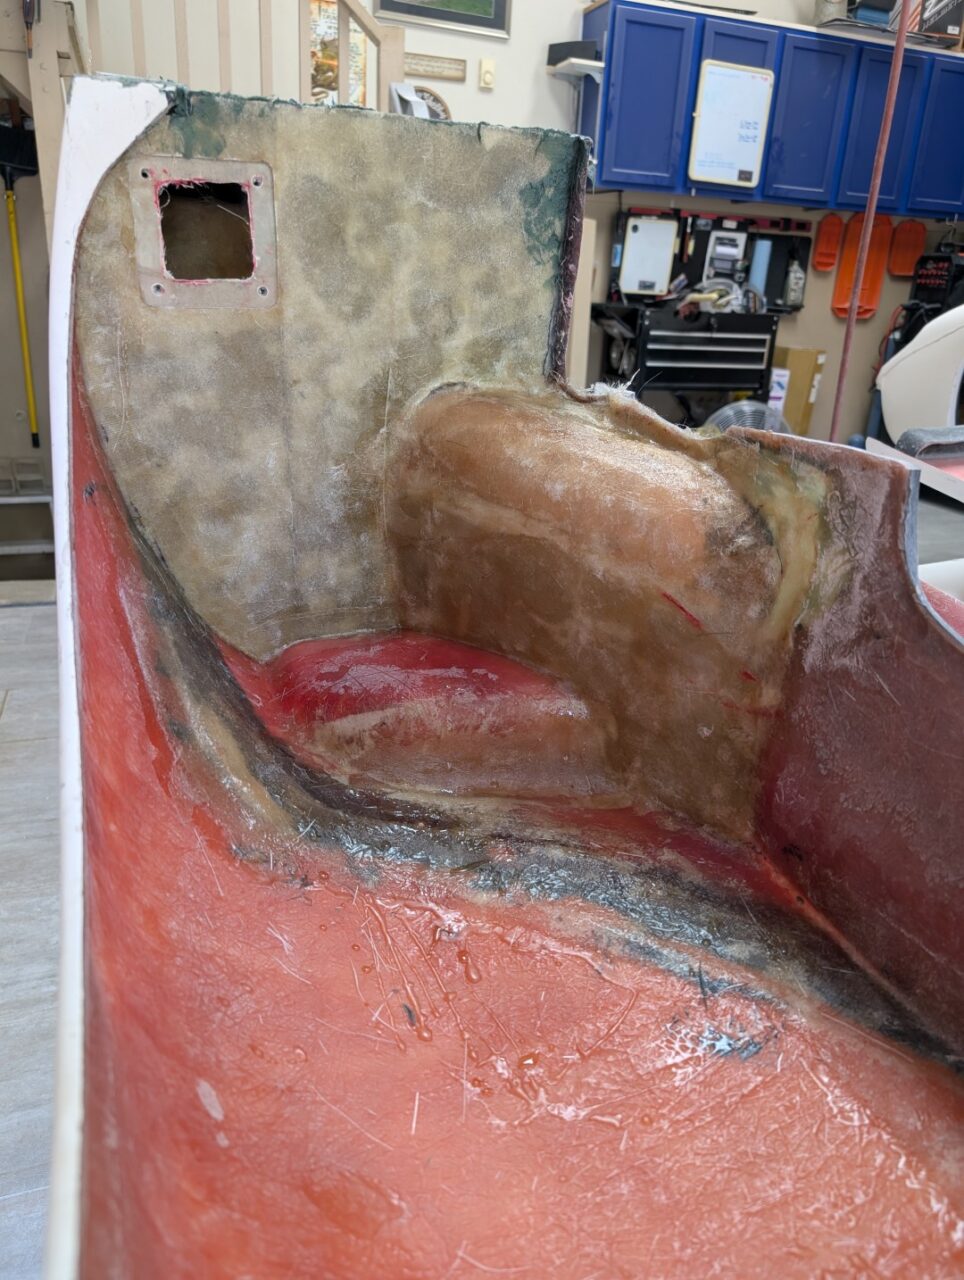
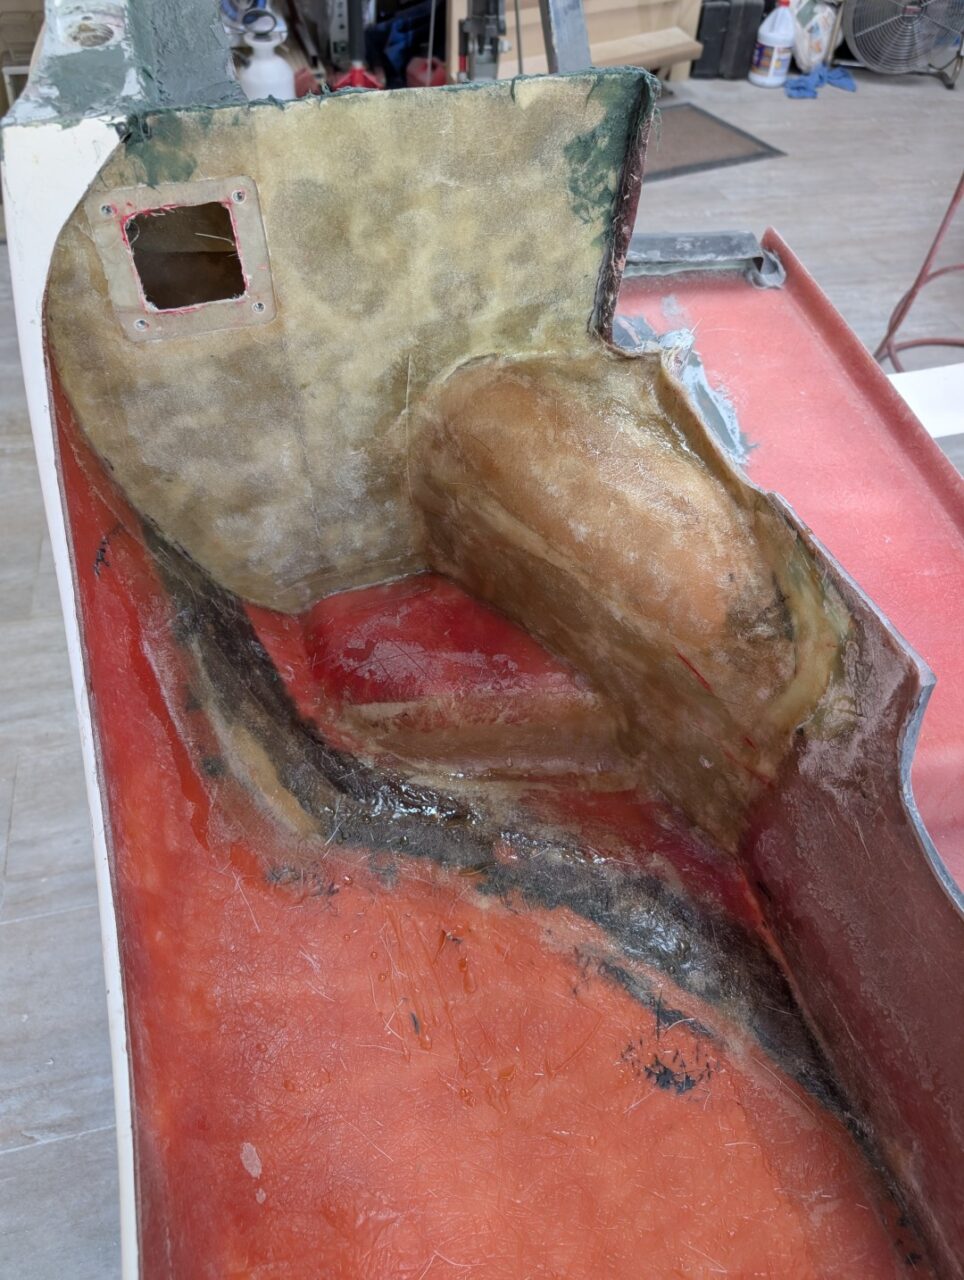
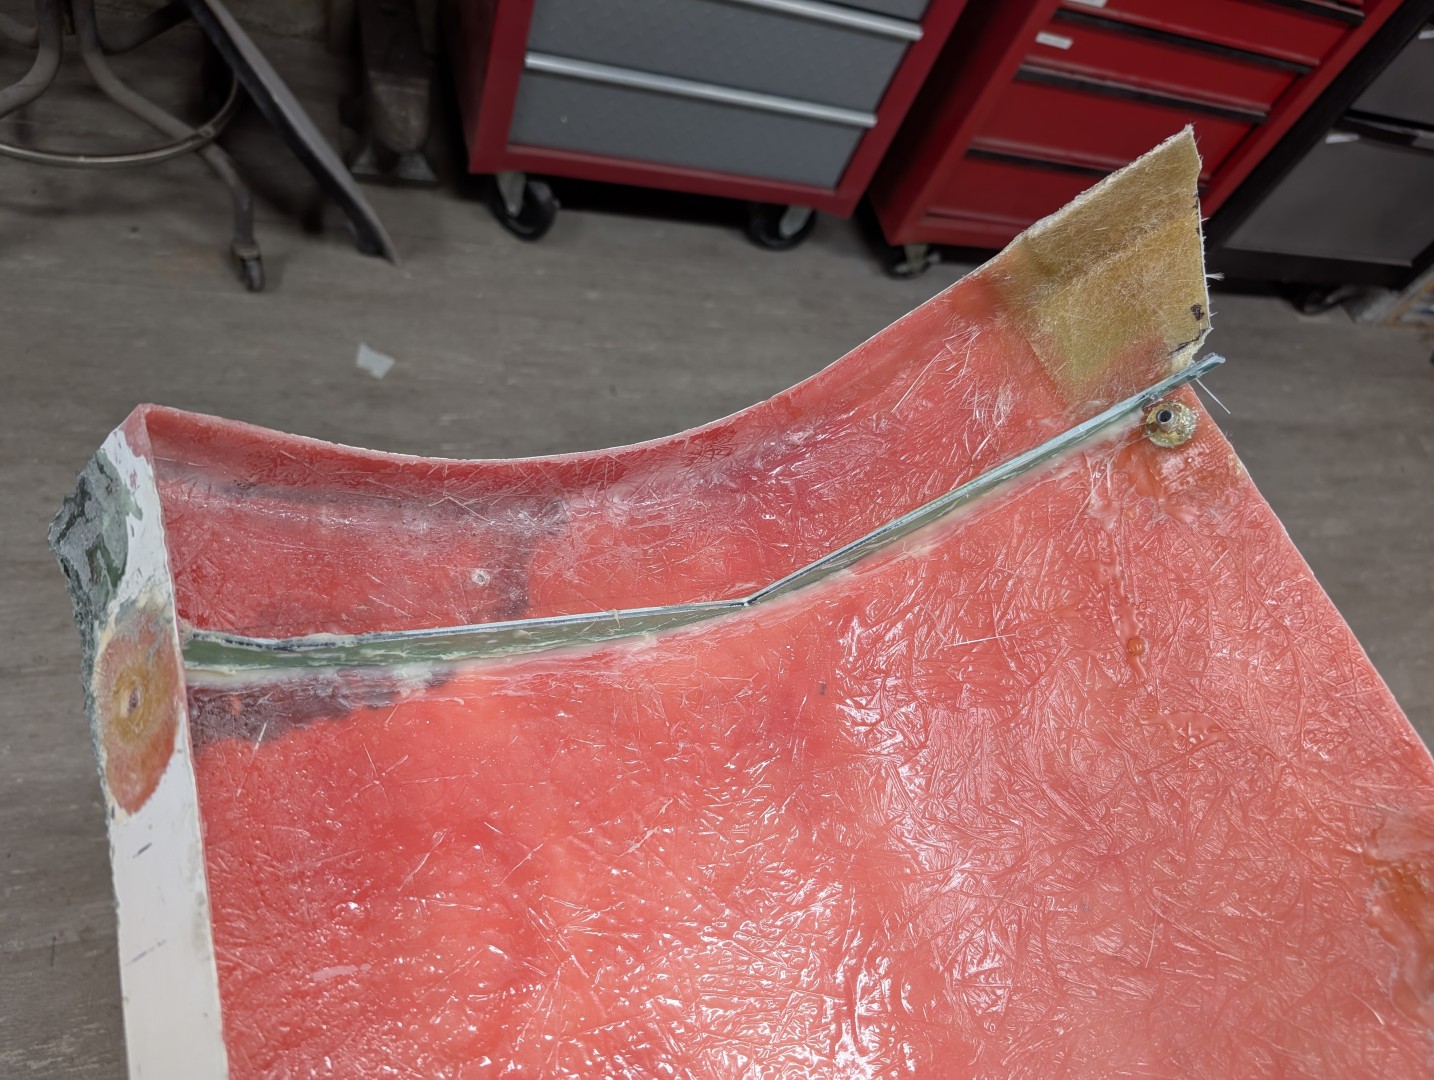
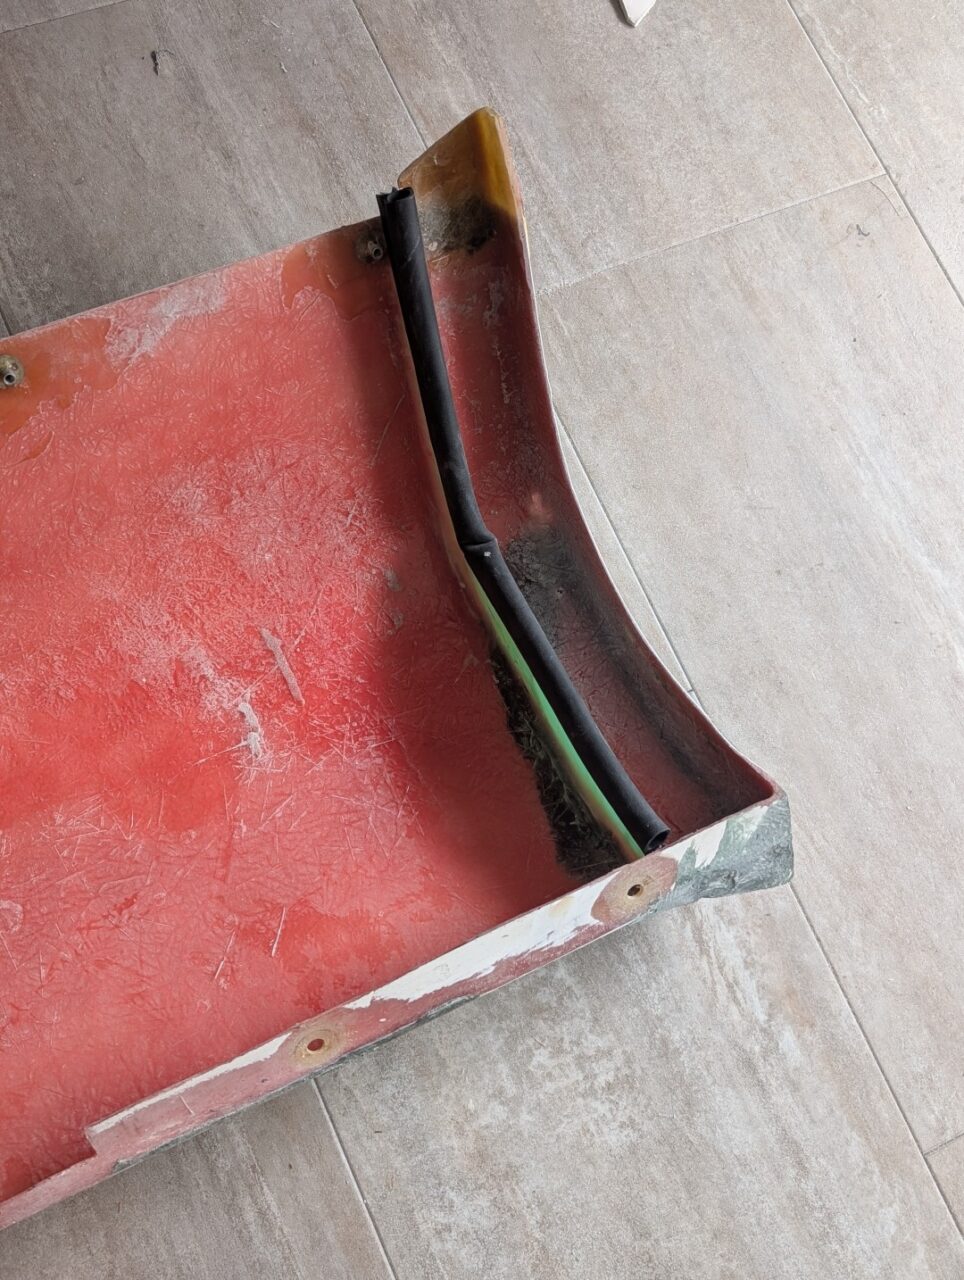
The rear of the car was an entirely different story. Although the rear clamshell included inner panels that formed part of the substructure, the taillight cavities, forward ducting, and air management system were almost completely exposed. A few miles of wet roads would allow dirt and debris to collect in areas that would be extremely difficult to clean. To make the car practical for regular driving, these sections needed to be enclosed.
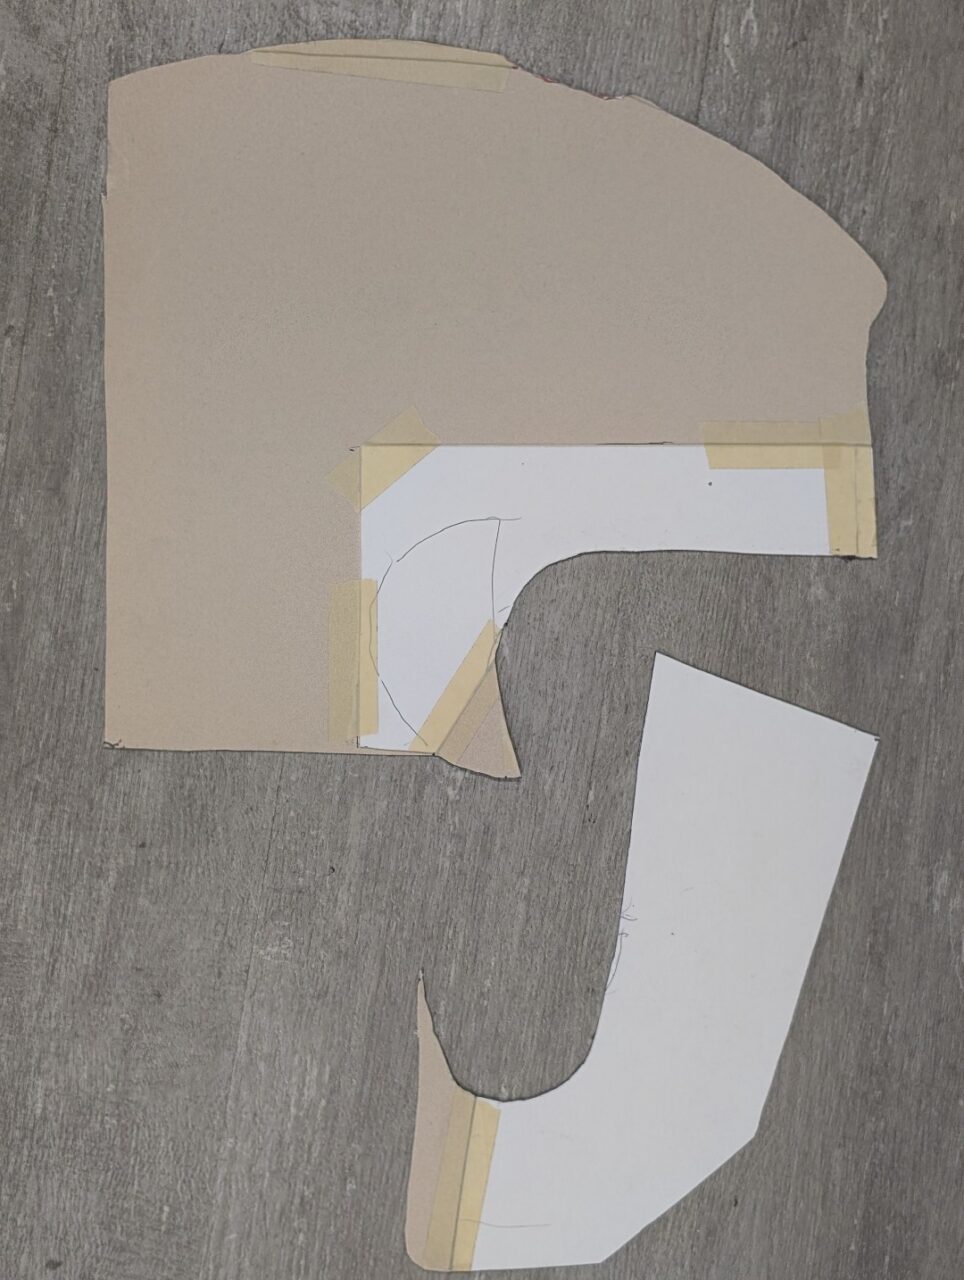
Time to break out the poster board, masking tape, and scissors.
The first step was to create a pattern using poster board and masking tape. If you’re very skilled—or very lucky—you might cut a template that fits the opening on the first attempt. I usually found myself trimming a little too much, then adding material back to one edge. Ironically, this process often produced a more accurate final pattern.
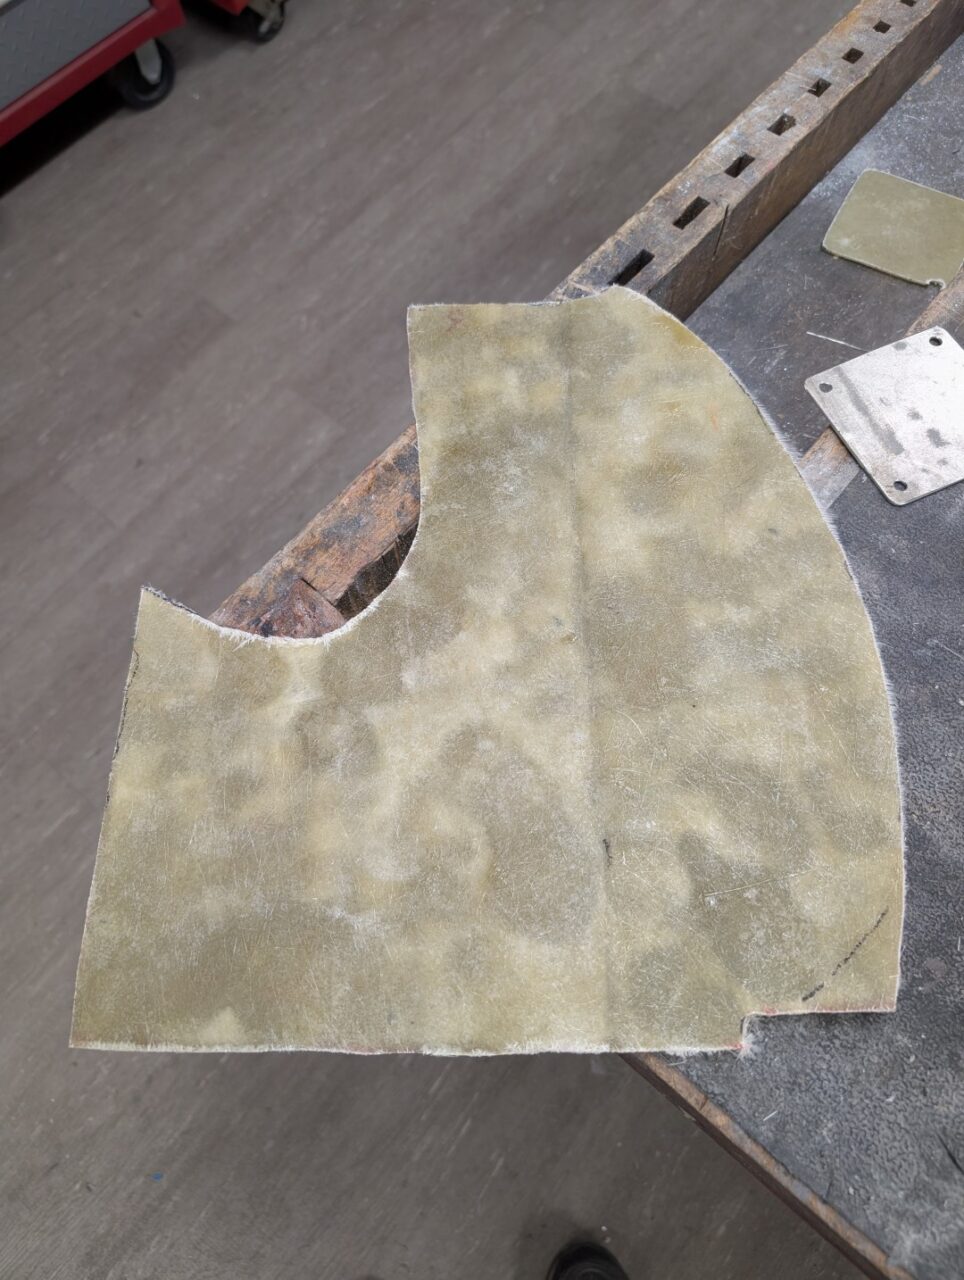
Once the template was complete, I transferred it to fiberglass mat. The thickness of the finished panel depends on both the weight of the mat and the number of layers used. Since these closeout panels would span relatively small openings but would be exposed to rocks and road debris, I chose a finished thickness of approximately 3/32 inch. Fortunately, all of the pieces were flat, making fabrication relatively simple.
To create the panels, I laid a sheet of wax paper on a flat work surface, positioned the first layer of fiberglass mat, and saturated it with resin. Additional layers were added until the desired thickness was reached.
Although the resin cured enough to handle in about 30 minutes, it remained somewhat green for several hours. I allowed the panels to sit overnight before trimming and fitting them to the car.
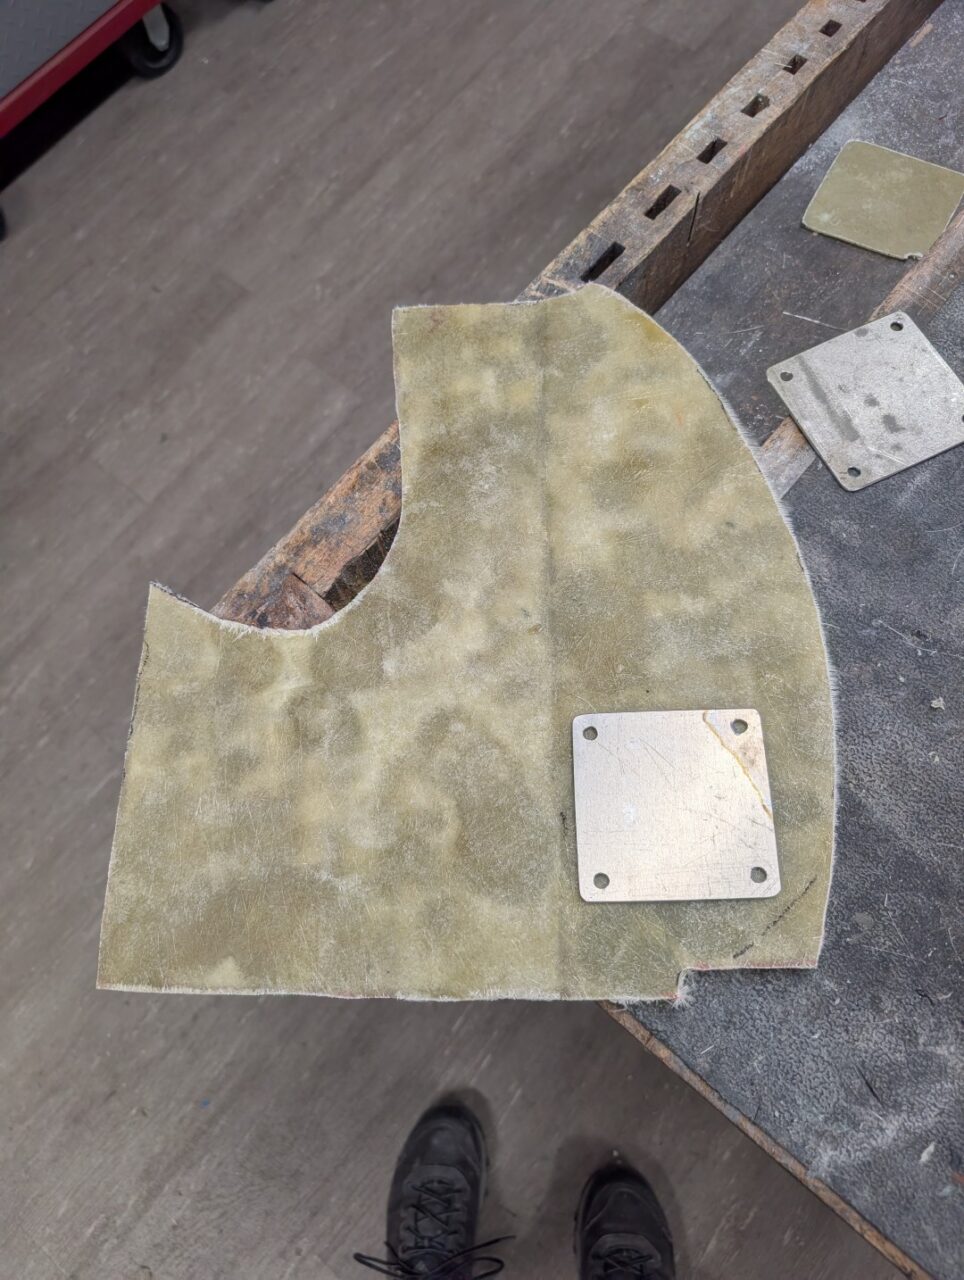
One thing I quickly discovered was that the left and right sides were very similar—but not identical. I was able to reuse the passenger-side templates for the driver’s side with a few modifications. They were close enough to save time, but not exact duplicates.
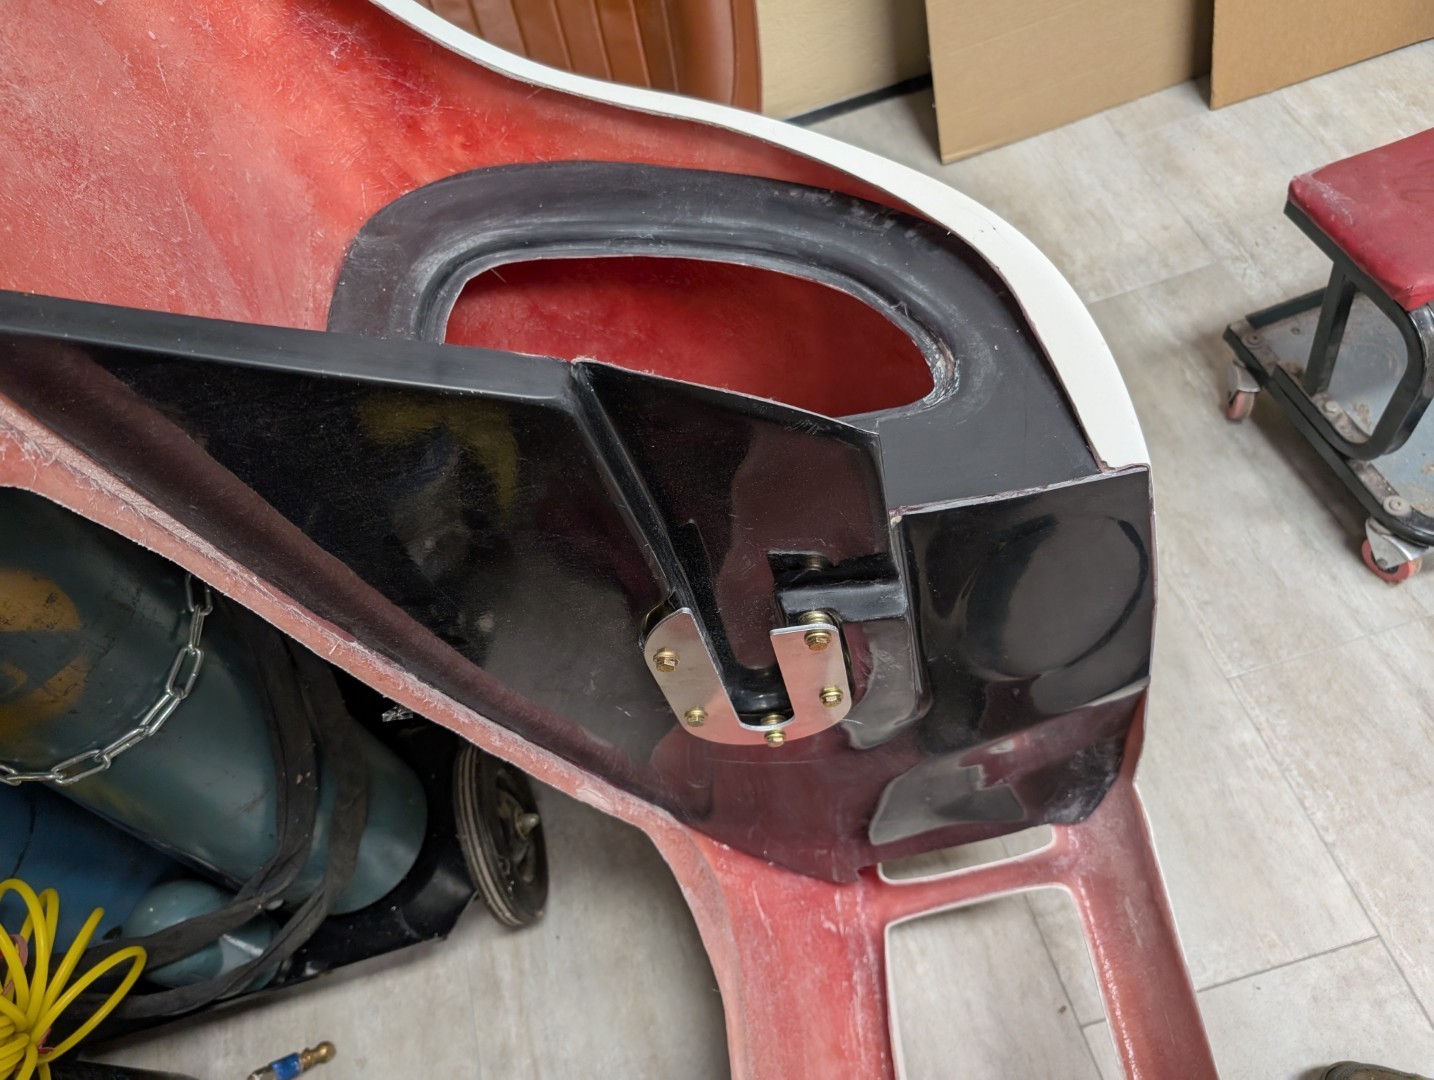
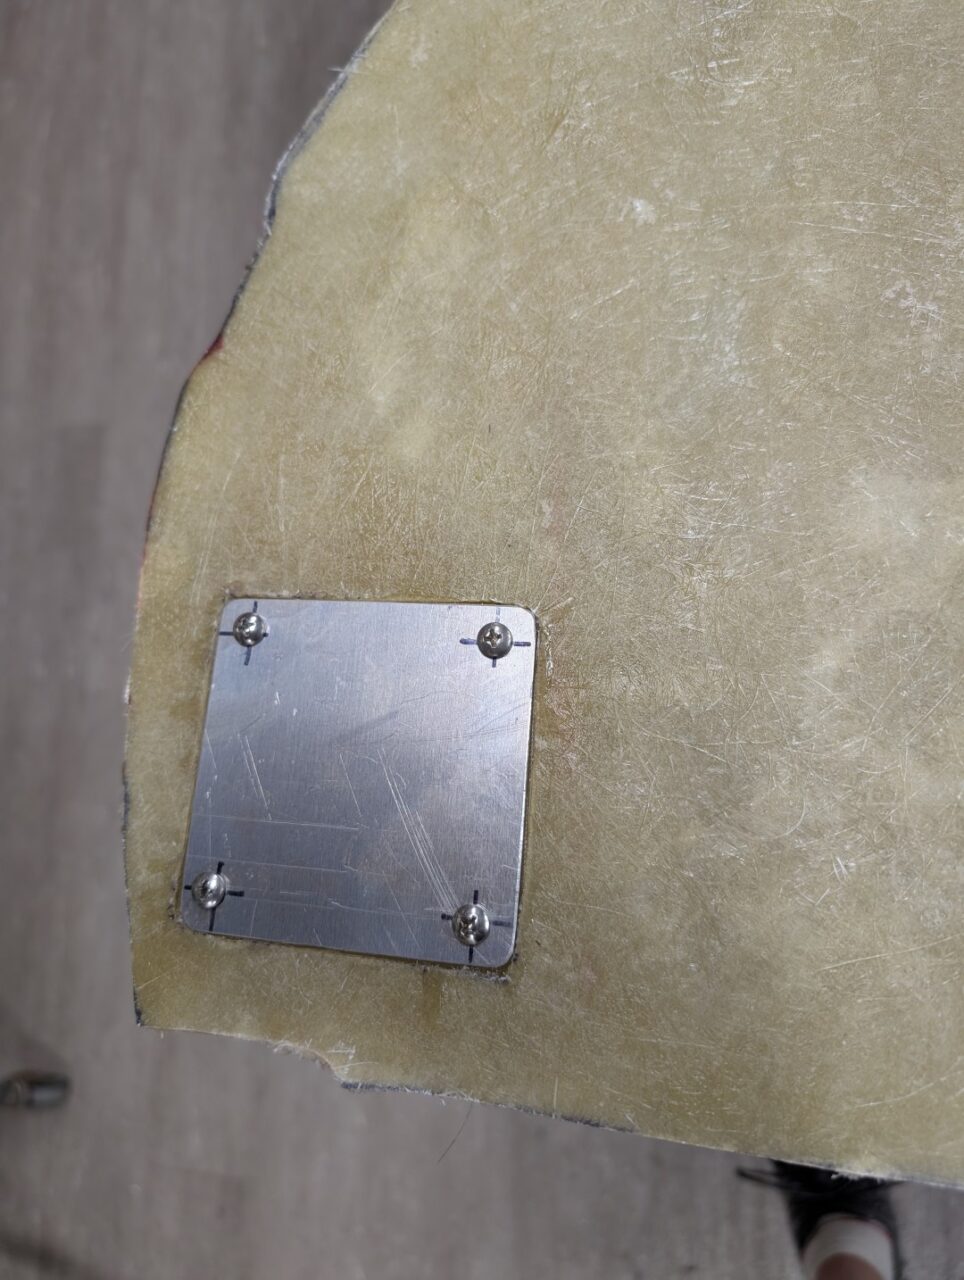
Oh, and before you close all things up, think about what may need to be accessed in that area. I added a forward access panel to be able to get to the attachment hardware of the clamshell latch.
The panels were installed using a methyl methacrylate adhesive (Infinity Bond MMA310), which provides approximately 10 minutes of working time. Each panel was positioned, secured with masking tape as needed, and then tack-bonded into place with the adhesive. Only a small amount of MMA was required—just enough to hold the panel securely until the final fiberglass work was completed.
Once all of the panels were in position, I used fiberglass tape to bridge the seams between the body and the new closeout panels. Applying a couple of layers over every joint not only sealed the openings against water, dirt, and road debris, but also added a significant amount of stiffness to the overall structure. The result is a cleaner, stronger installation that is much better suited for a car intended to be driven rather than trailered.Infinity
Rear Wheelwell, Rocker panel face
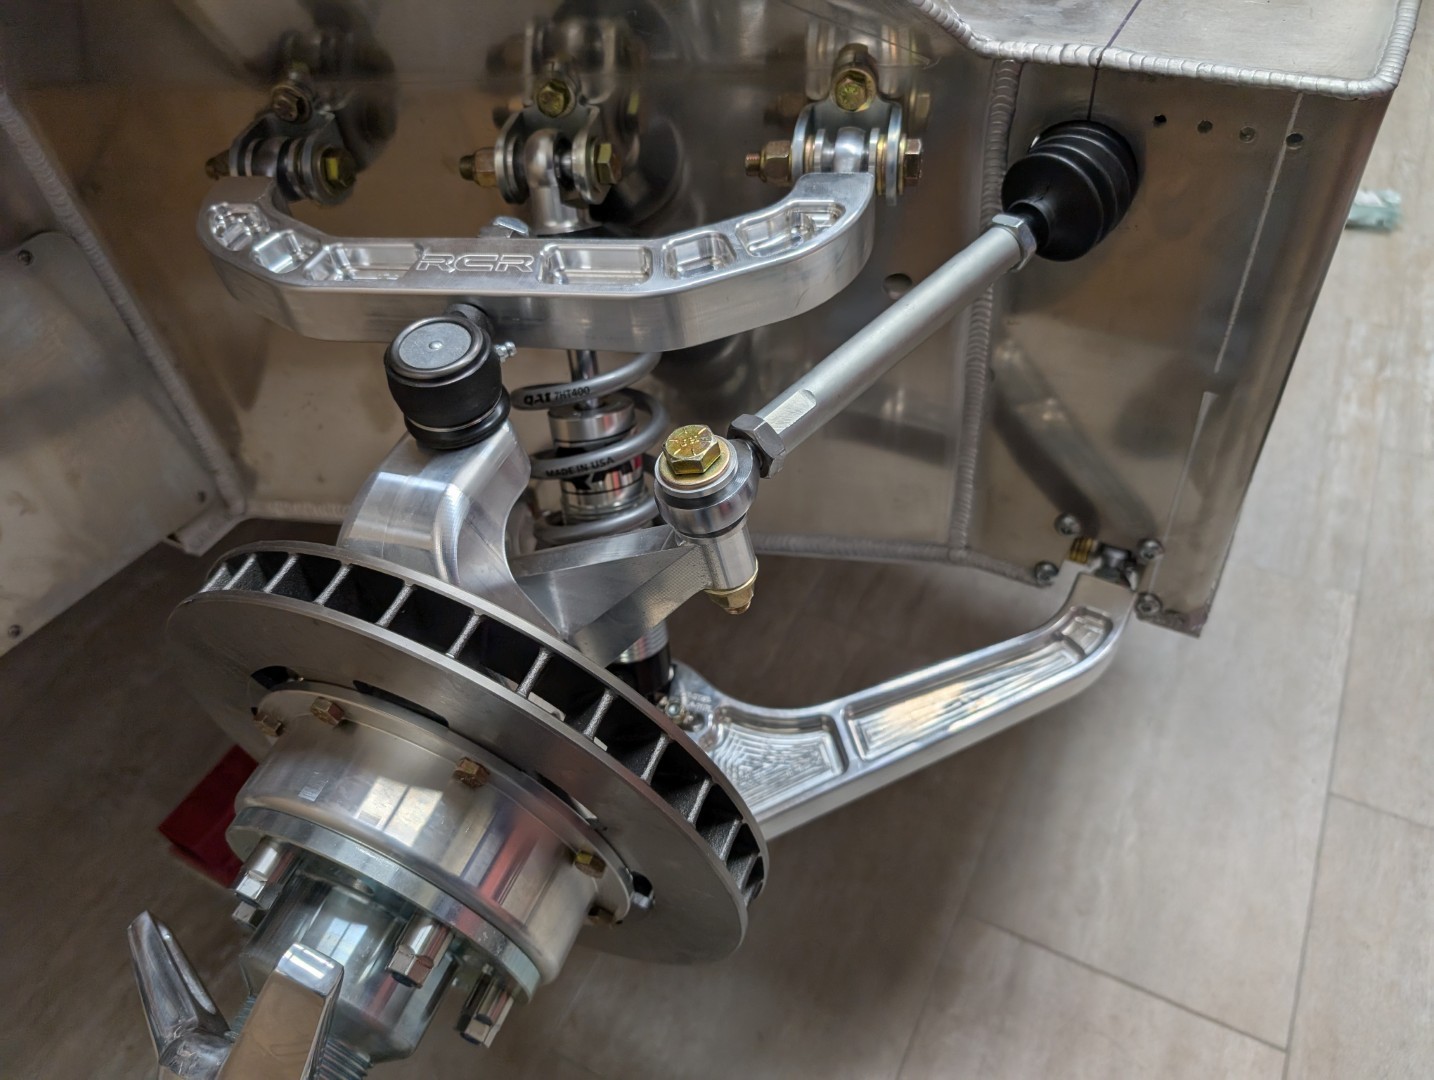
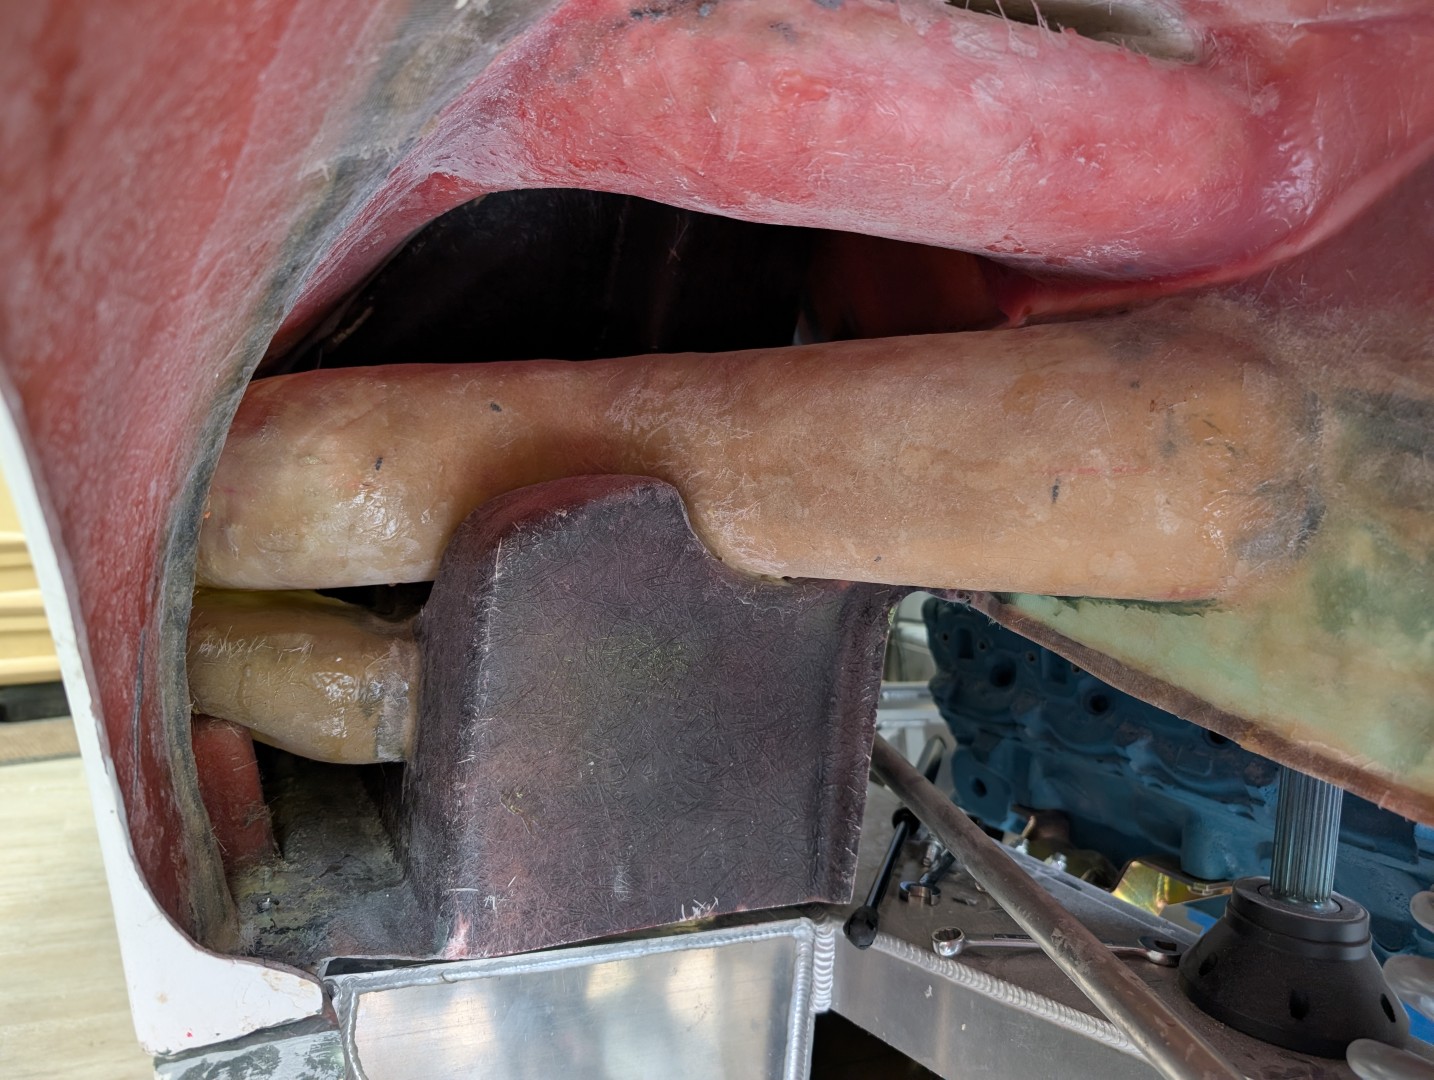
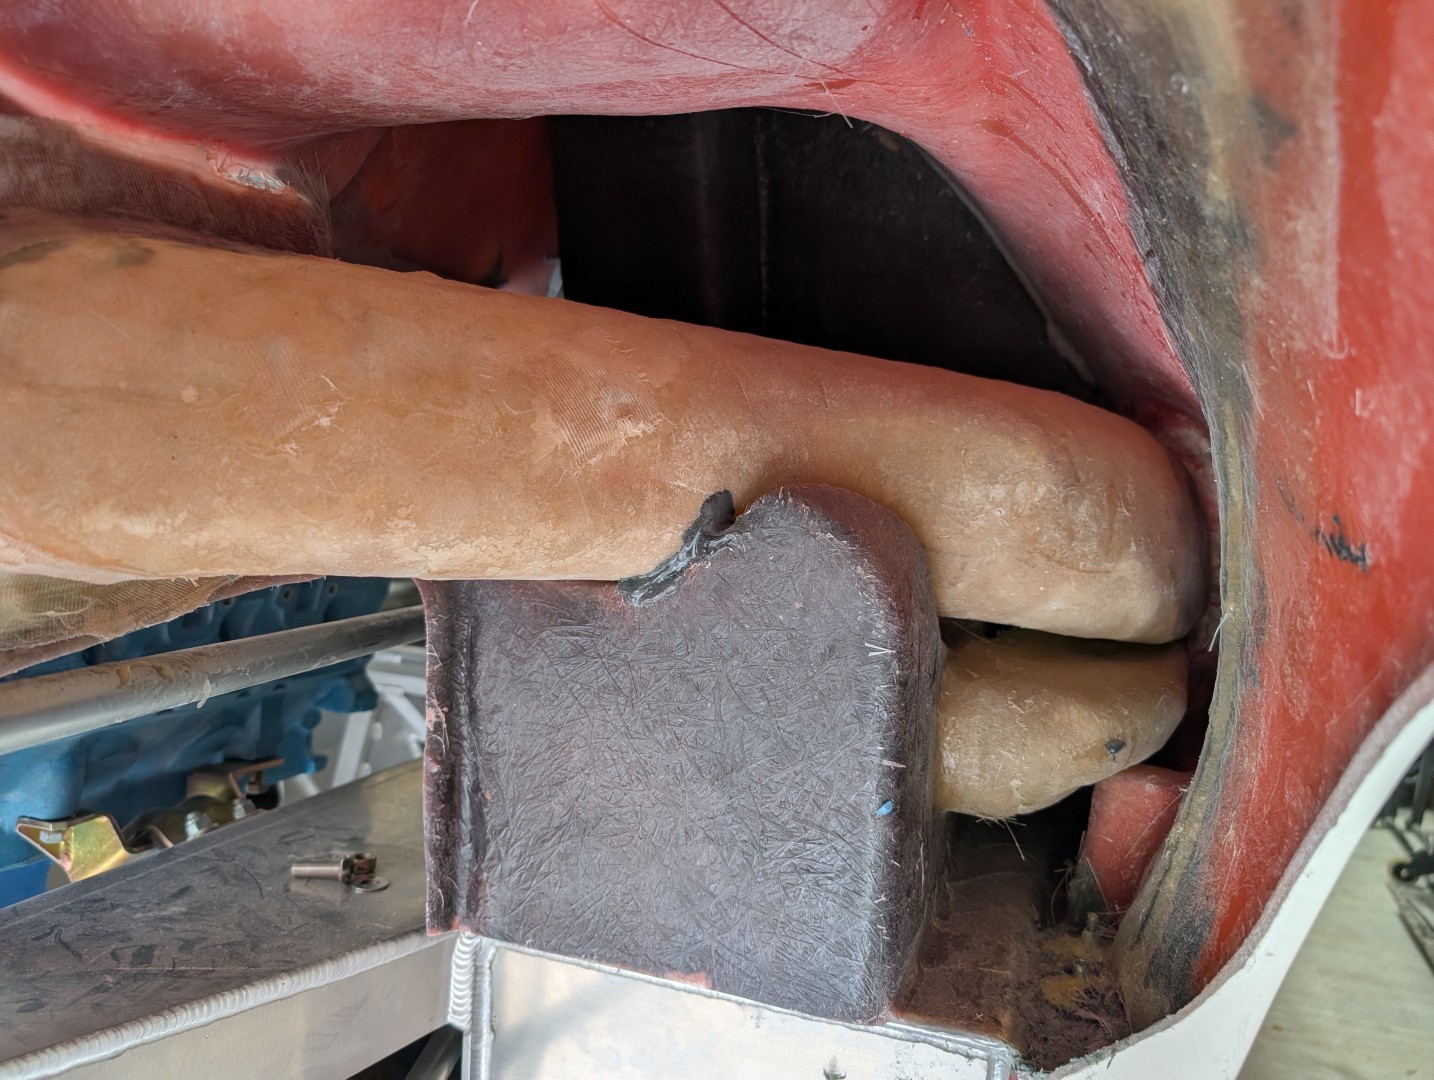
The rocker panel face in the rear wheelwell presents a real challenge. It is about 2-1/2″ behind the aluminum sponson. The inner edge must be angled to clear the lower radius arm. And the upper edge must incorporate some form of seal to prevent water intrusion into the rear clip.
I decided to build the face of the rocker panel to finish out the opening. I have seen some cars with closed-cell foam to fill the gap but it just looked ‘un-finished’. Time for more arts & crafts. (I should have bought stock in a fiberglass resin company before starting 😆 )
Road-rash protection
As I began work on the flares and front clip, I realized the inner fenders did not have any reinforcement. The cobras I have built all included an area of CoreMat to thicken the area over the tires to prevent any flying debris from causing a ‘star-crack’ on the opposing painted surface. Having seen cars that were built without this extra protection, I knew how essential it was.
I found a good source of CoreMat from Fiberglass Supply Depot. Reasonably priced and very good customer service. The installation adds another 1/8″ of protection.
I started on the right rear wheelwell. It was my first time of using CoreMat. The piece was about 3 square feet as was the layer of fiberglass. I had never applied that much at one time. I broke it down to 3-ounce batches. I learned later that this made for much more work and the resin almost cured before I could get finished. Next wheelwell, I’ll move up to significantly larger batches.
Fuel Filler openings
The area surrounding the fuel caps is open to the elements and their size will allow substantial amounts of water in, should you get caught in a summer storm. There isn’t a way to seal off the opening so I copied the originals and ERA versions, adding a 1/2″ dam around the top of the cowl area to catch and direct any water to the appropriate drain point. I am hopeful this will serve to keep it out of the cockpit and door hinge area.