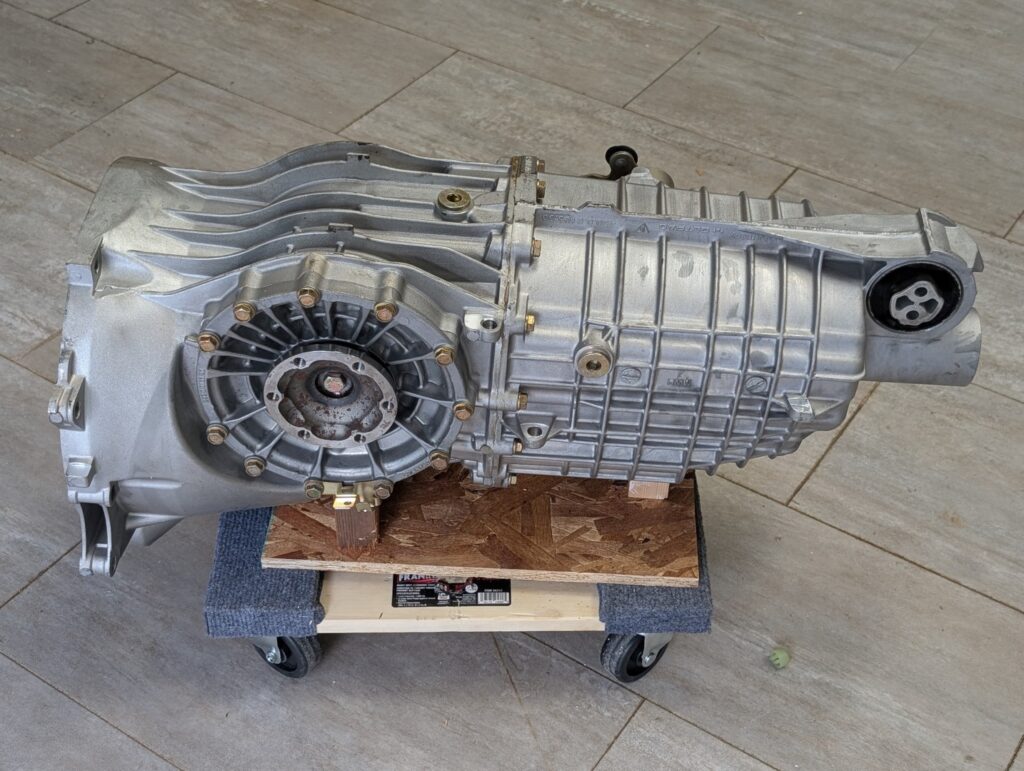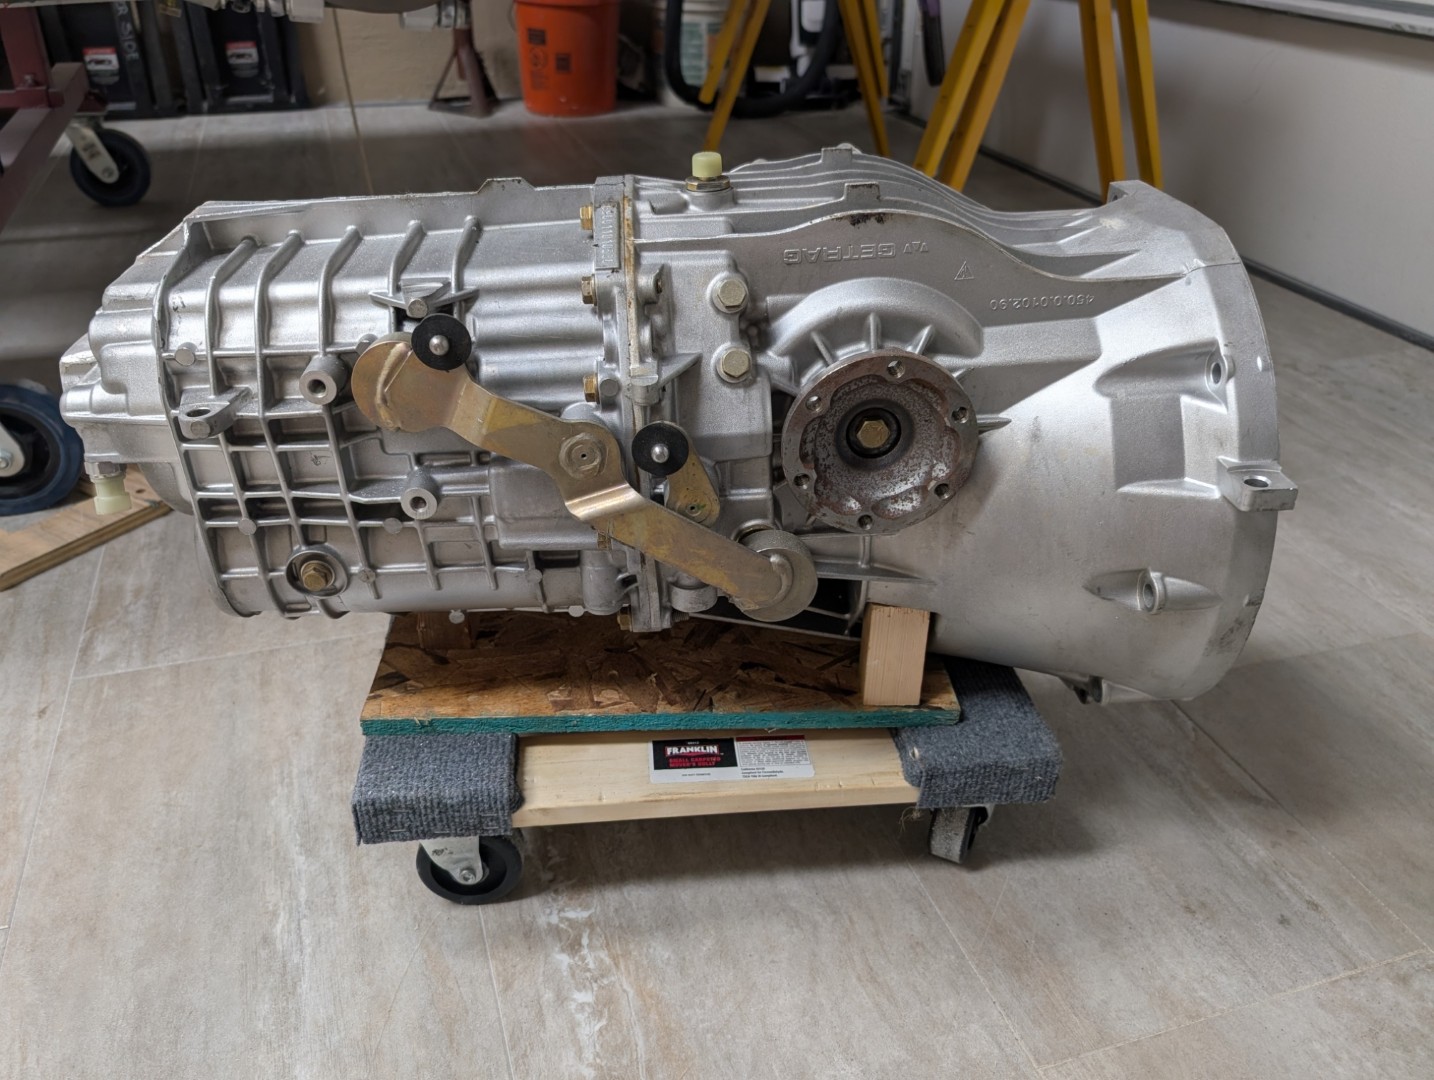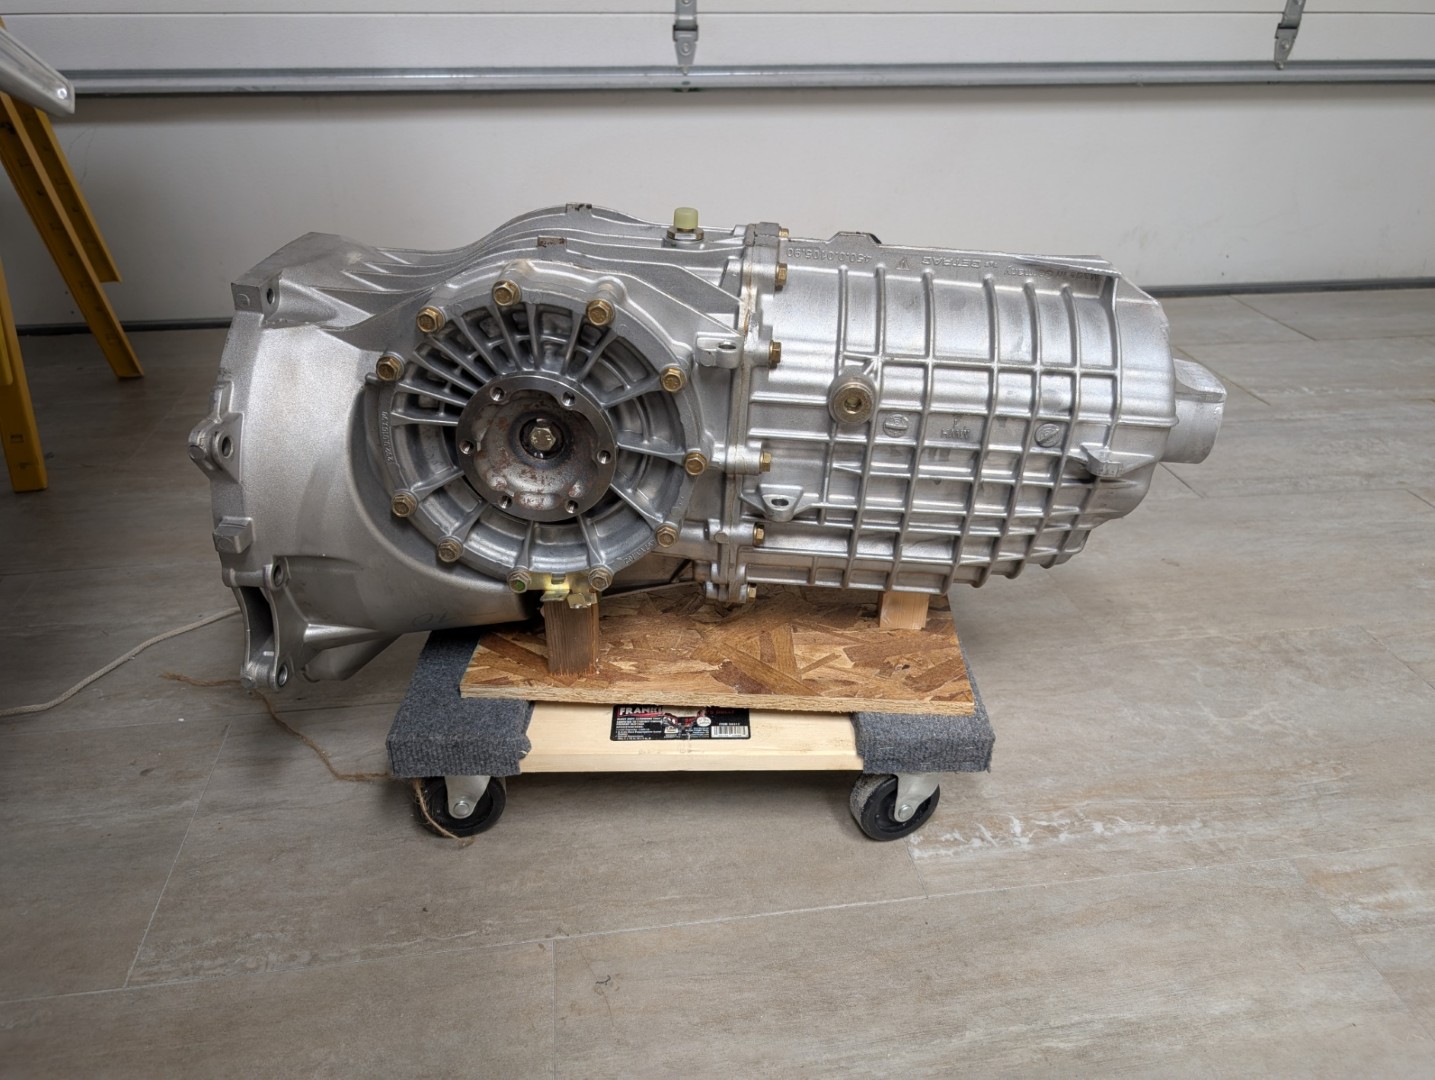
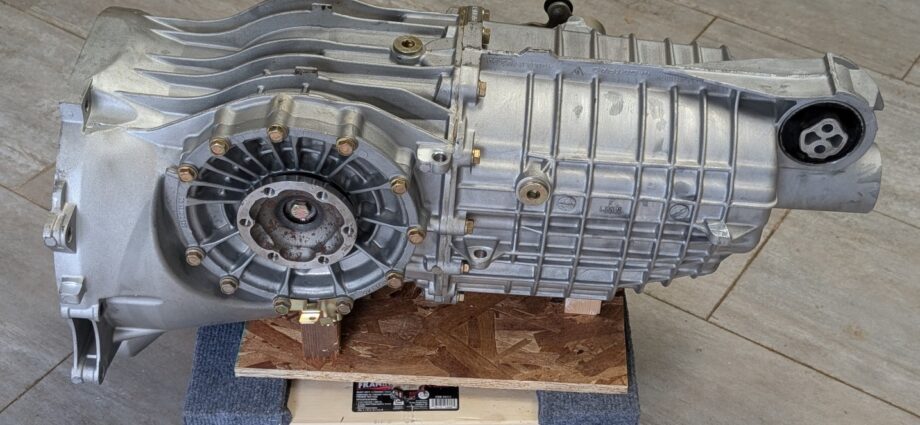
There are several axles that can be fitted to the GT40. The availability of each is another story. And then, there is the price. Tie this to the ability to handle modern-day horsepower. It becomes a very difficult decision. I chose to use a Porsche 911 transaxle from a 2004 C2 Porsche Carrera. This particular axle requires it be inverted to provide the proper operation.
Porsche transaxles
The 996 series of 911 Porsches came with several different transaxles, depending on the model. I found the numbering system to be very confusing. Maybe this chart will help the next builder
| Year | Model | Axle ID number | Comments |
| 1999-2001 | Carrera Two Wheel Drive | G96/00 | Weaker input shaft design and synchronizer issues. |
| 2002-2005 | Carrera Two Wheel Drive | G96/01 | The G96/01 features minor internal case revisions and updated synchronizers, addressing the early G96/00’s known vulnerabilities to second-gear “pop-out” issues. |
| 1999-2001 | Carrera AWD | G96/30 | |
| 2002-2005 | Carrera AWD | G96/31 | Requires removal of the rear output mechanism |
| 2002-2005 | Carrera AWD Turbo | G96/50 | |
| 2002-2005 | GT2 | G96/88 | |
| 1999-2003 | GT3 | G96/90 | |
| 2004+ | GT3 | G96/96 |
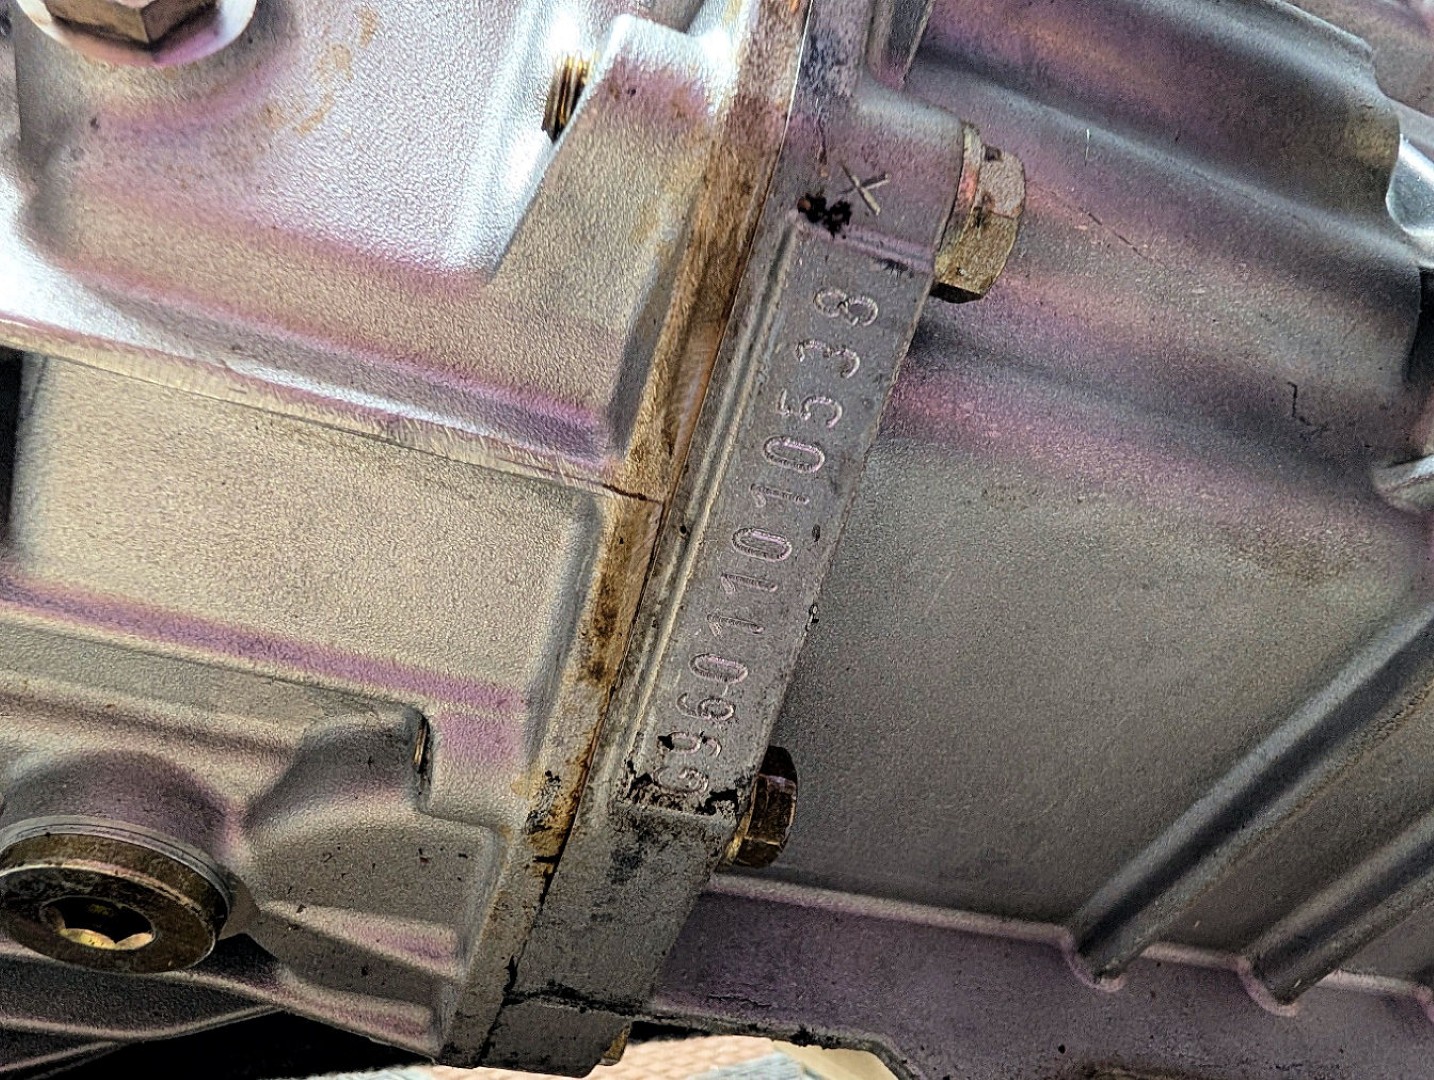 The transaxle can be identified by the unit number stamped on the bottom of the case, near the joint of the rear case and the center section case. You will see a flat area about 1/2″ wide x 3″ long on the passenger side of the transaxle (the side opposite the gear shift levers). All 996 boxes start G96. The next two digits identify the model (ie, 01). The next digit identifies the differential. 1 = Open 2 = Locking. The last 6 digits are the serial number.
Conversion
To run inverted, these items must be addressed
- Convert vent bung to drain
- Convert drain plug to vent
- remove rear bushing (Cosmetic)
- Establish new fill level
Convert Vent to Drain Plug
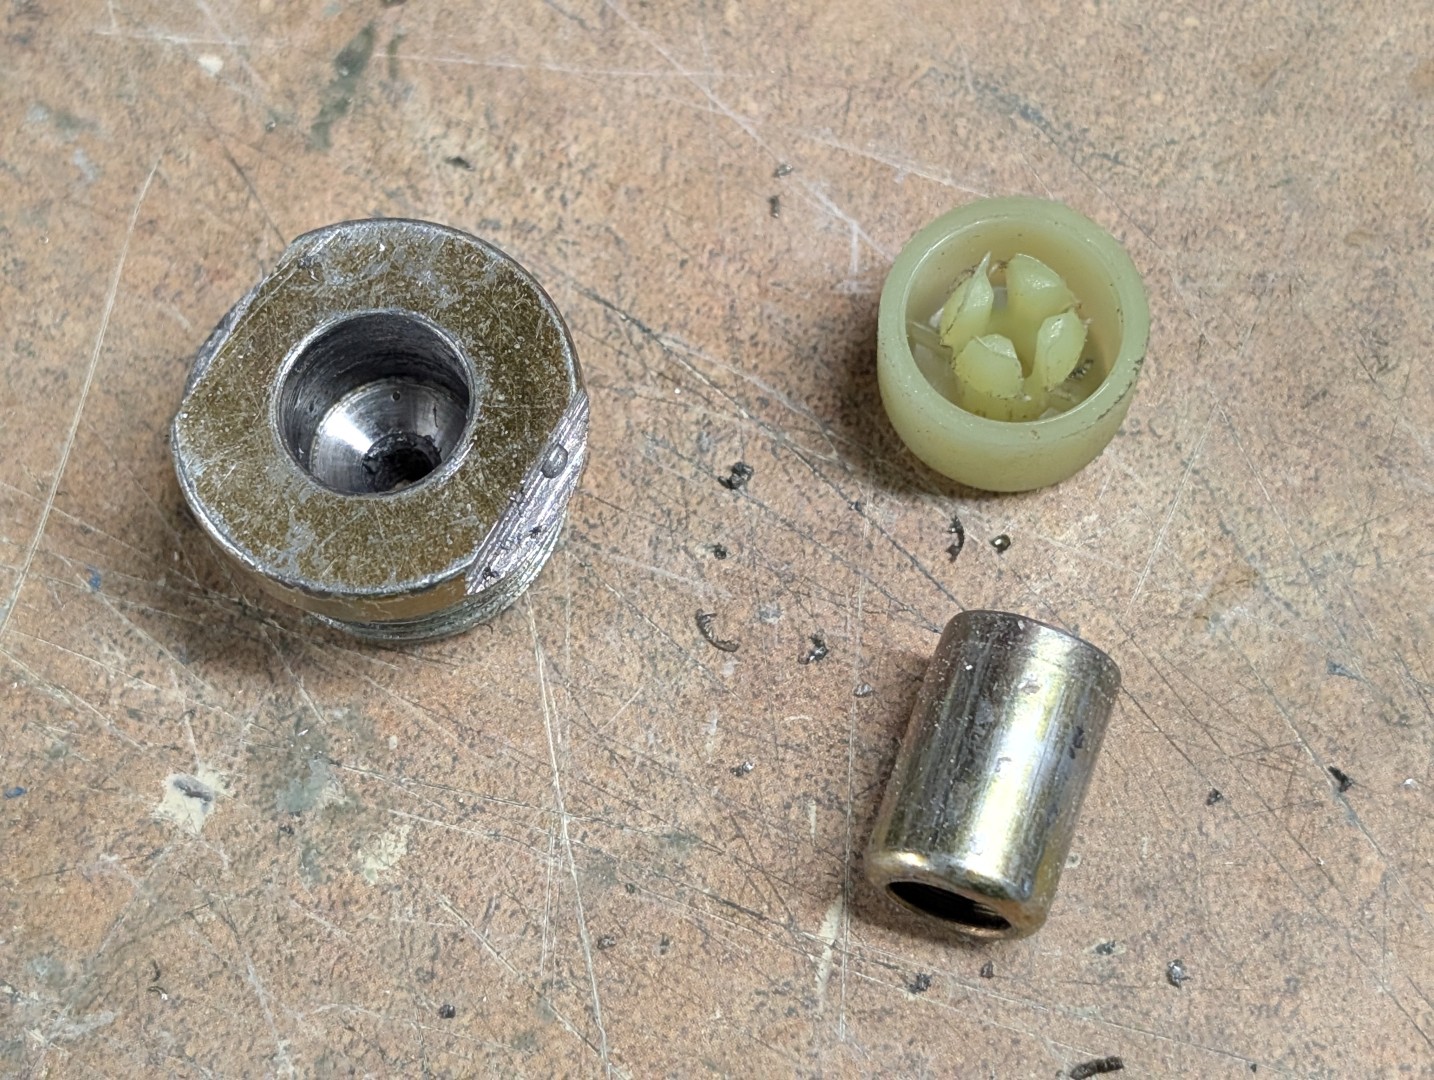
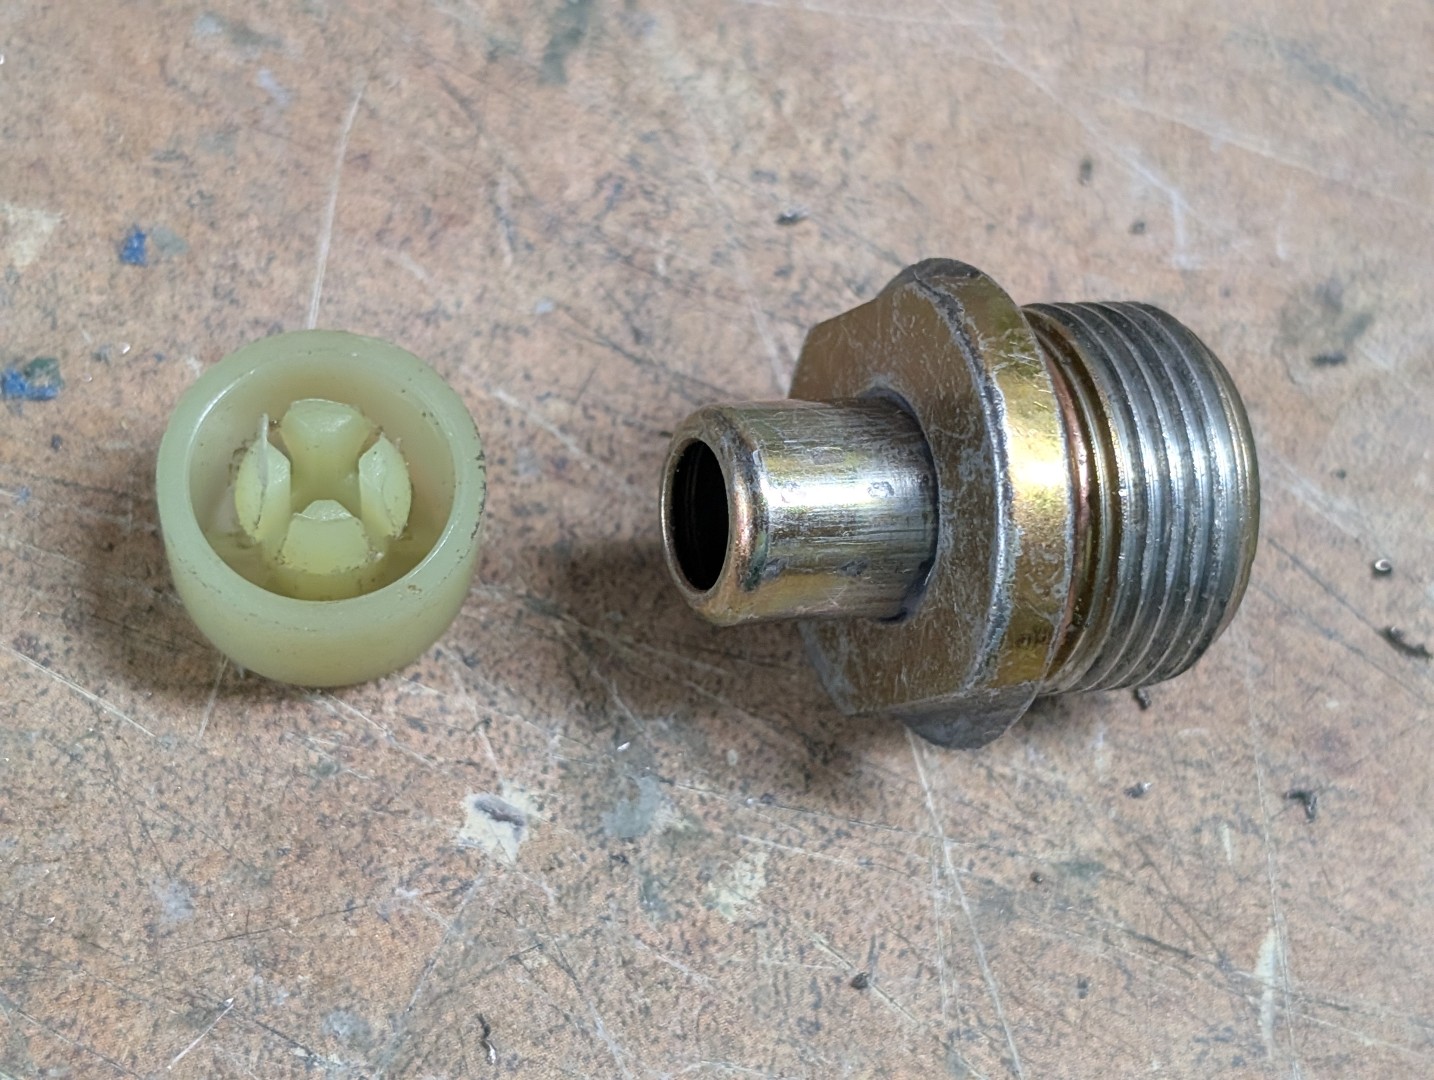
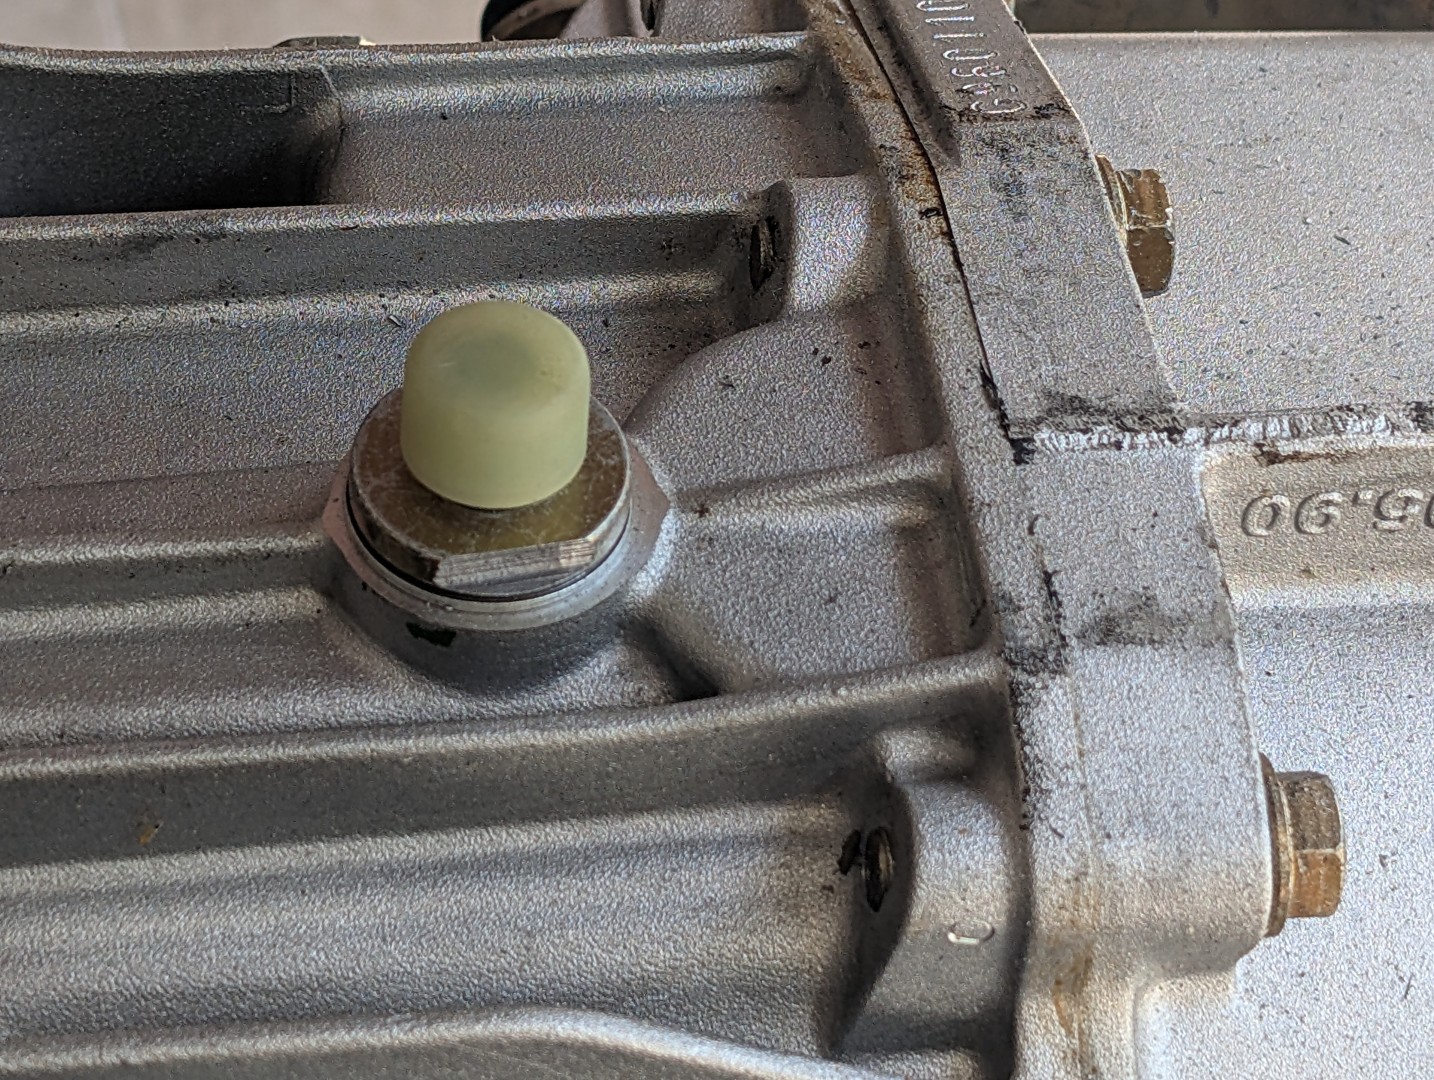
The vent is a steel tube pressed into a machined bung on the top of the transmission. It needs to be pulled out. If you plan to reuse it, you must be careful in how it is done so as to not destroy it. It has a plastic cap which can be pulled off. I learned you can pull the cap off, thread a 5/16 bolt into the steel tube body, then grip the body with a vise grip and leverage it against the center rib to pry the tube out. The bolt engages the rolled edge of the tube and keeps the tube from collapsing.
The hole in the bung measured .470″ which is close to the minor diameter of a 1/2-20 thread – there are plugs available in that size. The transaxle case was machined with a flat that was .700″ in diameter. I decided to thread the hole 1/2-20, then insert a pilot that I could use a hole saw to enlarge the area to 7/8″ diameter. Then I machined the outer diameter of the plug to 3/4″. That gave me plenty of space for the plug and crush washer.
The new plug uses a copper crush washer under the plug head. The plug included a magnet to catch any chips or ferrous material.
Convert Drain Plug
On the opposite side is a 22mm x 1.5 Hex socket drain plug. A little bit of machining work and I converted this to the vent.
- I milled the outer diameter to add two flats, 7/8″ wide, this would allow the used of a wrench to tighten it in place.
- I then center-drilled the hex socket to put an angled bottom on the socket and a 1/8″ hole into the bottom of the plug. If any oil got into the plug, I wanted to make it easy to drain out.
- I bored the hex socket to .470″
- I cut the end off the vent tube and using JB Weld Hi-Temp epoxy, I coated and pressed the vent tube into the bored socket. 24hours later, it was one piece.
Clean-up Bushing
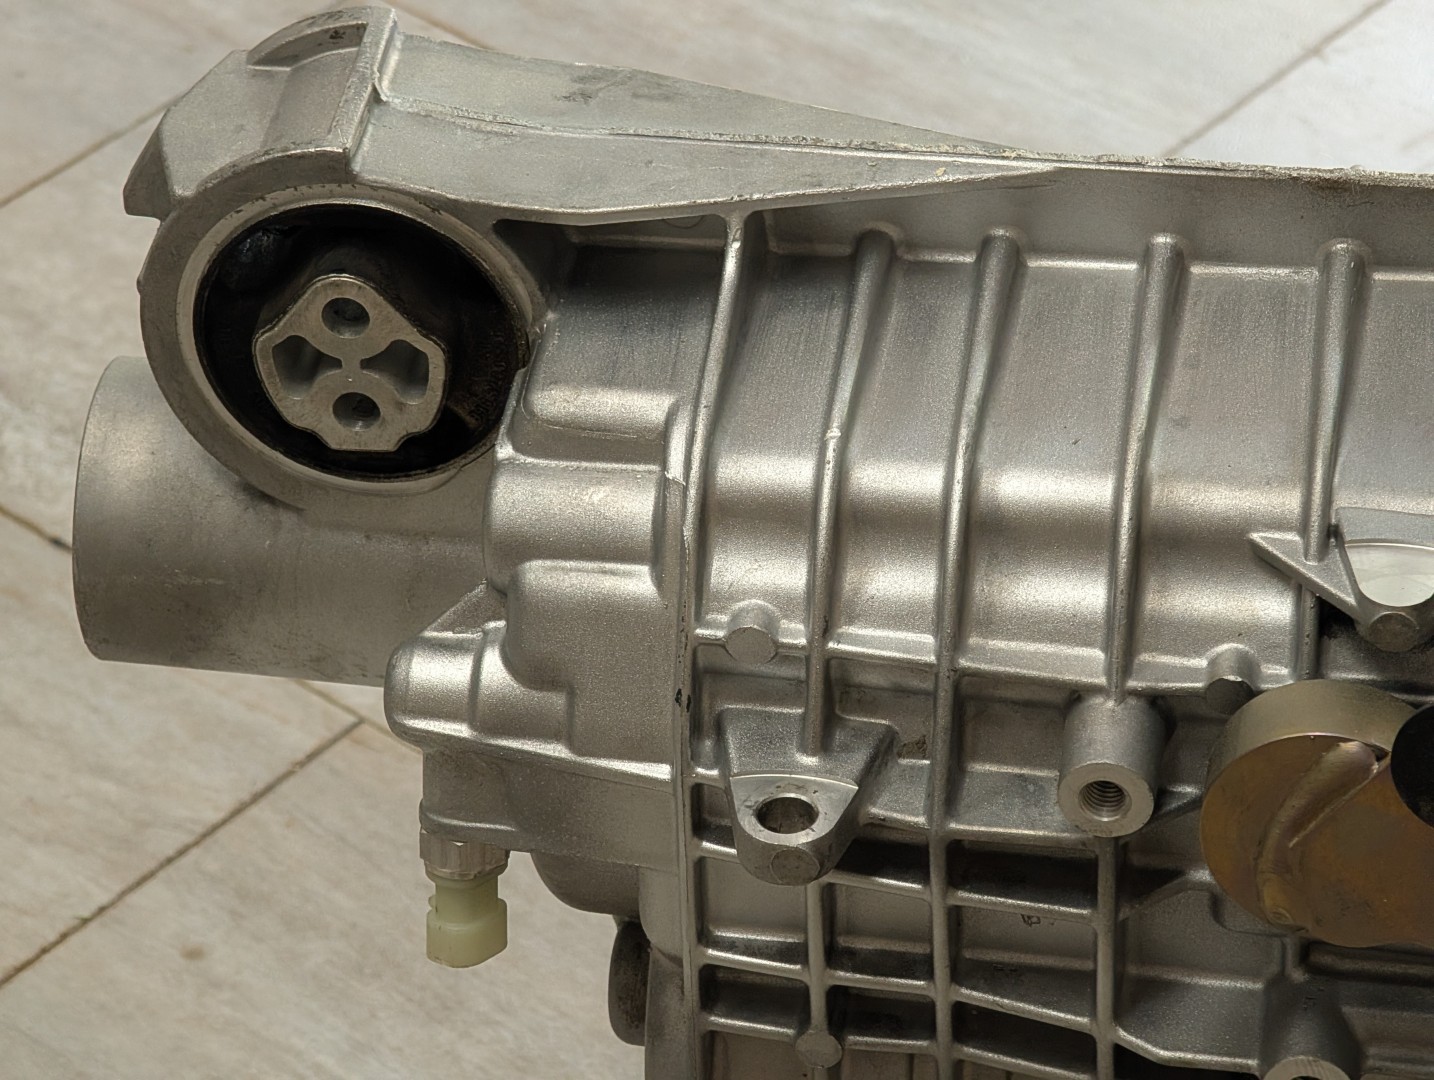
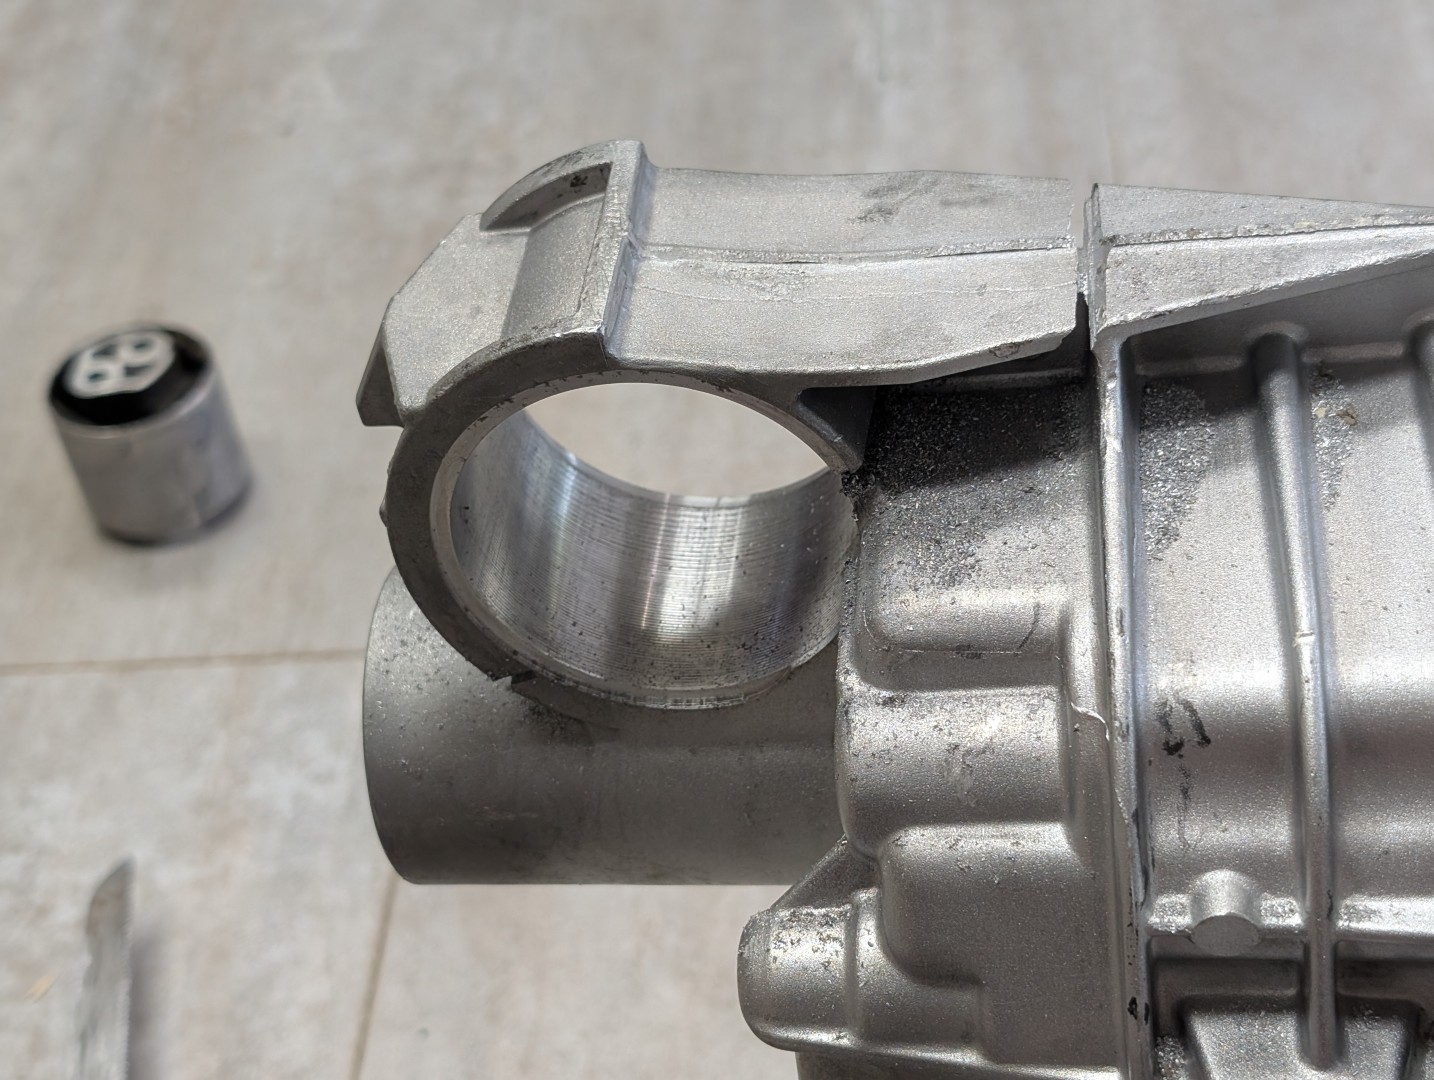
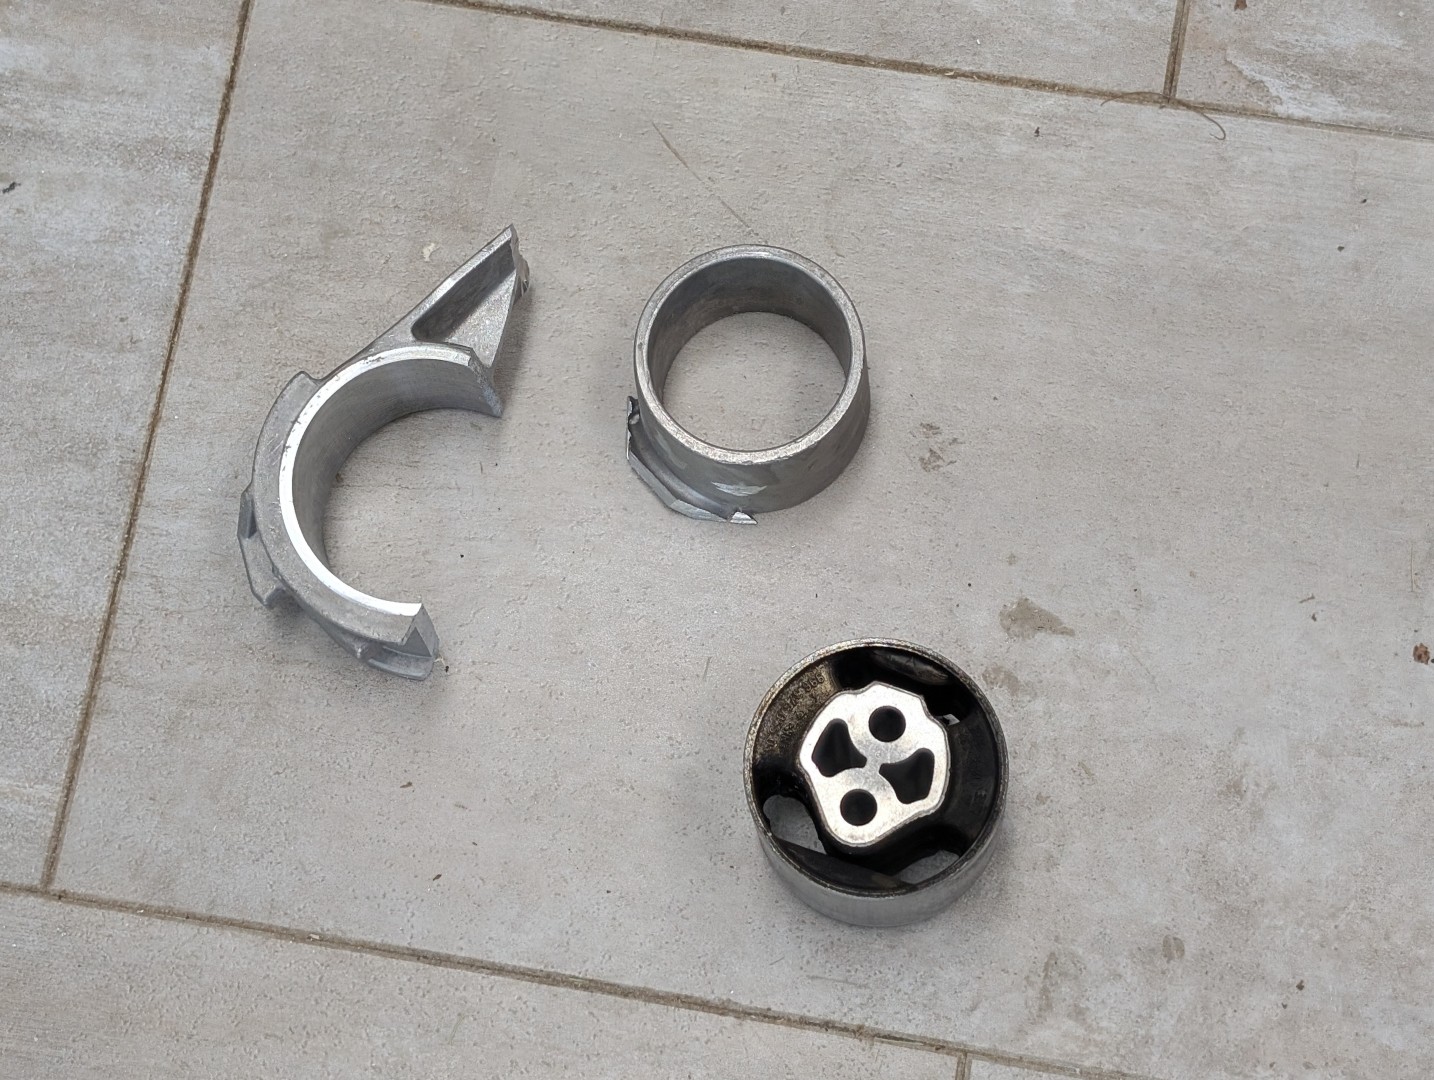
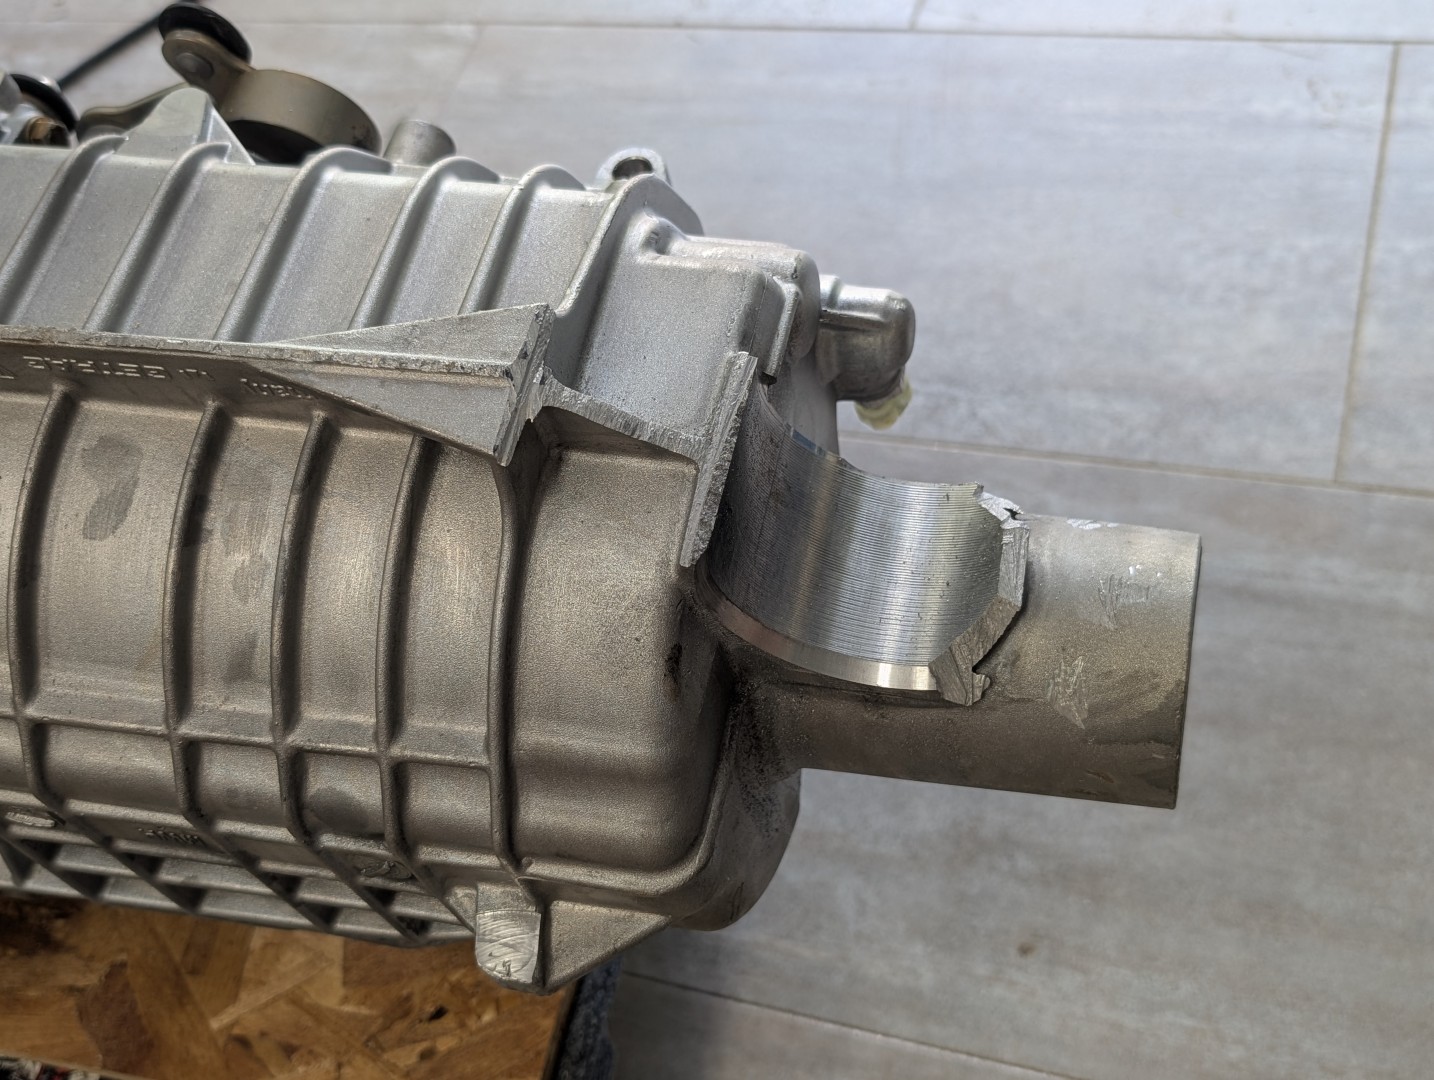
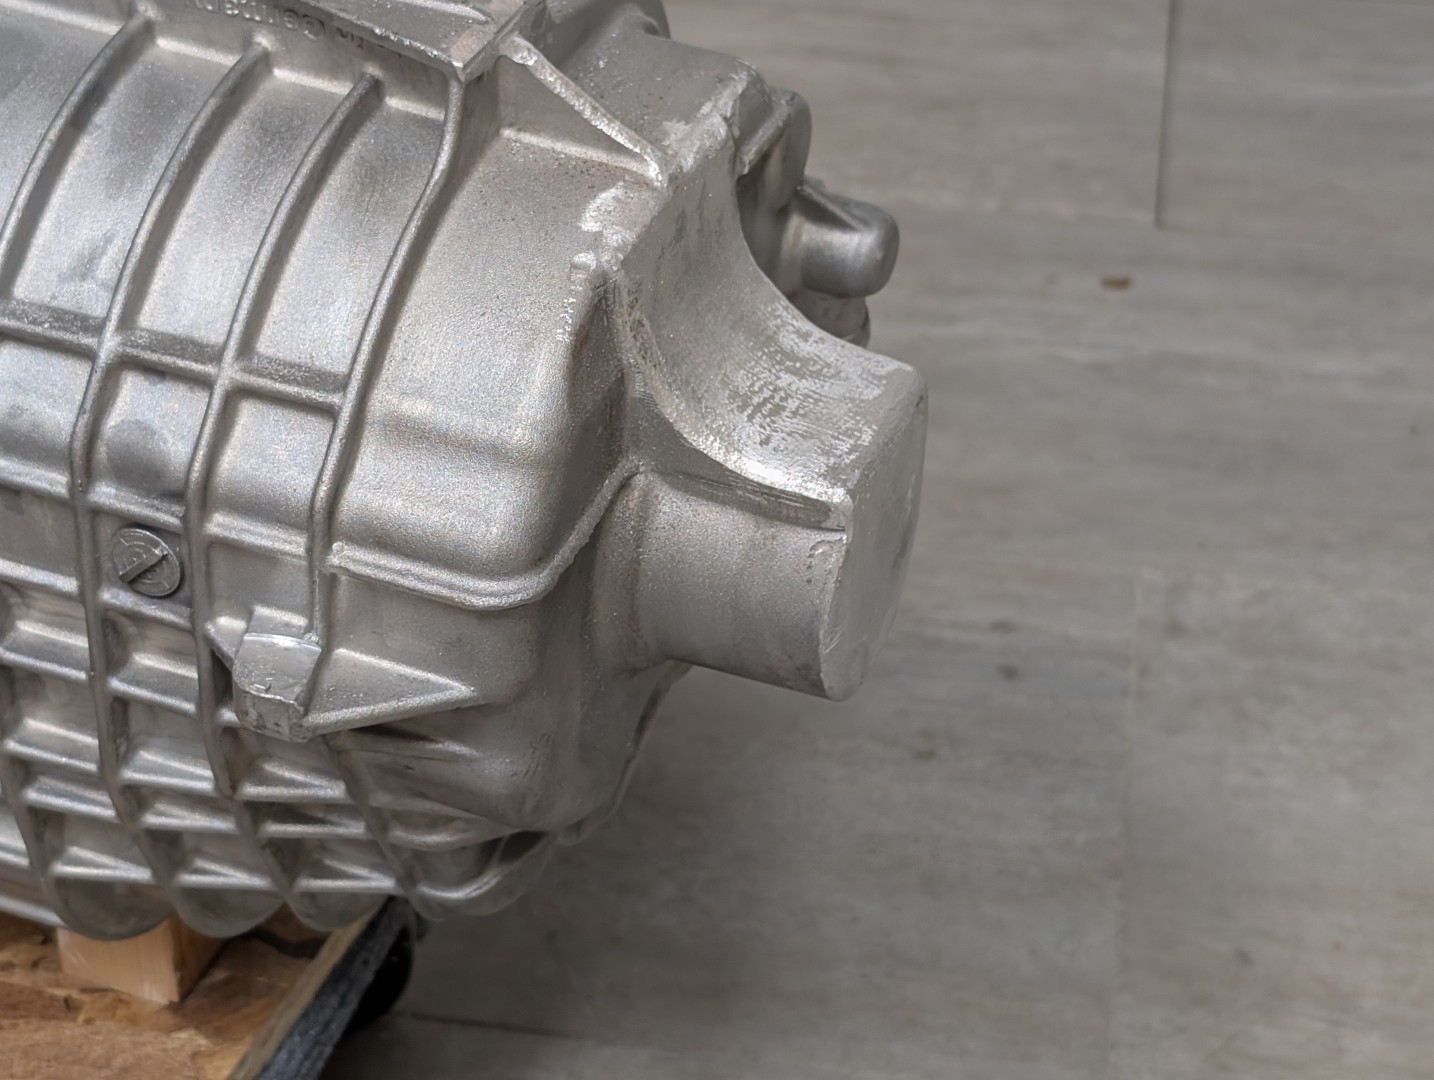
The support bushing isn’t used. Fran Hall suggests not adding additional support to the end of the transaxle, it creates too many support points and will lead to cracks in the housing. I agree with this approach (many don’t) so proceeded to remove the bushing and the boss on the casting.
It’s always scary to take a sawz-all to an expensive transmission but that works much better than a grinding wheel, cut-off wheel or die grinder. With the bulk of the casting removed, I cleaned up the corners using a die-grinder. I then matched the surface finish by hammering on a piece of 40 grit sandpaper over the machined area. It replicates the cast finish and makes it look whole again.
The G96/01 calls for 2.7 Liters of fluid (91.3 Ounces)
Mounting
An adapter plate to mate the transaxle to the engine block is supplied by RCR. I researched and found the necessary bolts for the transaxle, but I was to learn the list would not be needed. The RCR adapter plate is tapped with M10x1.5 threaded holes. I spent half a day trying to figure out if the alignment dowels were missing and the parts not drilled, only to learn that Porsche aligns their transmissions using a sleeve. The correct sleeve for the G96 transaxles is Porsche part no. 014301153B. It is a 16mm x 13mm x 13.5mm long. Two are used, one on the drivers side and one just above the hole for the starter in the adapter plate. You’ll note a counterbored hole in the matching locations on the bellhousing. Mystery solved