
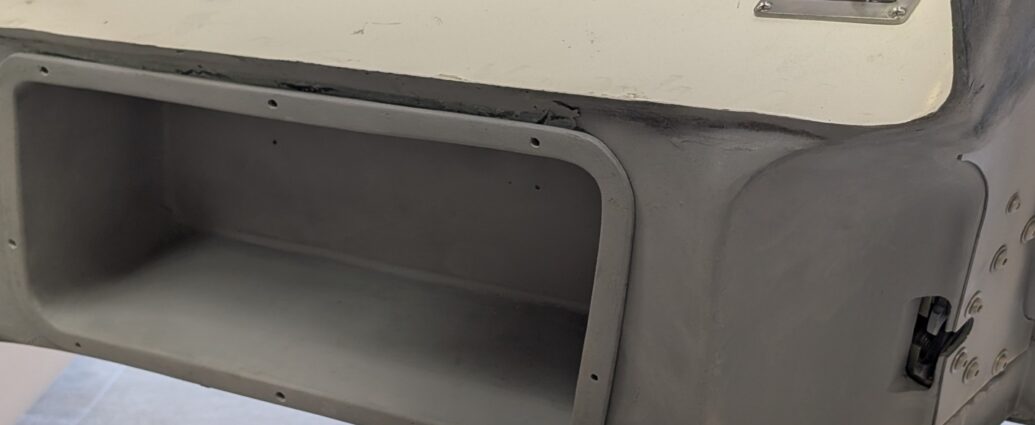
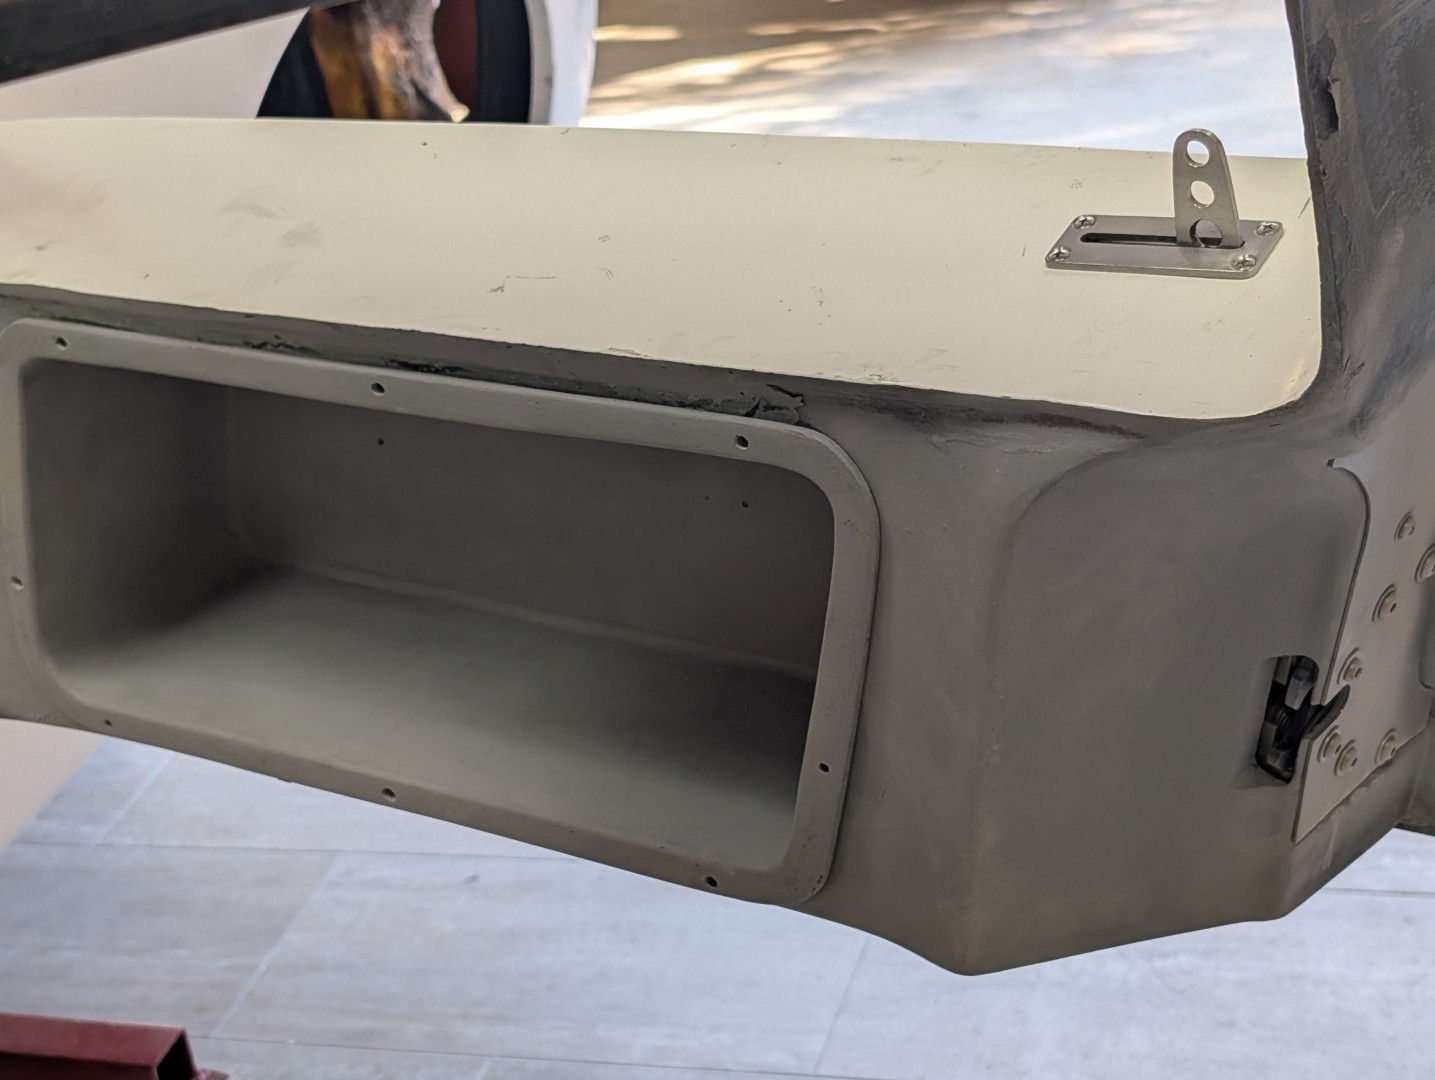
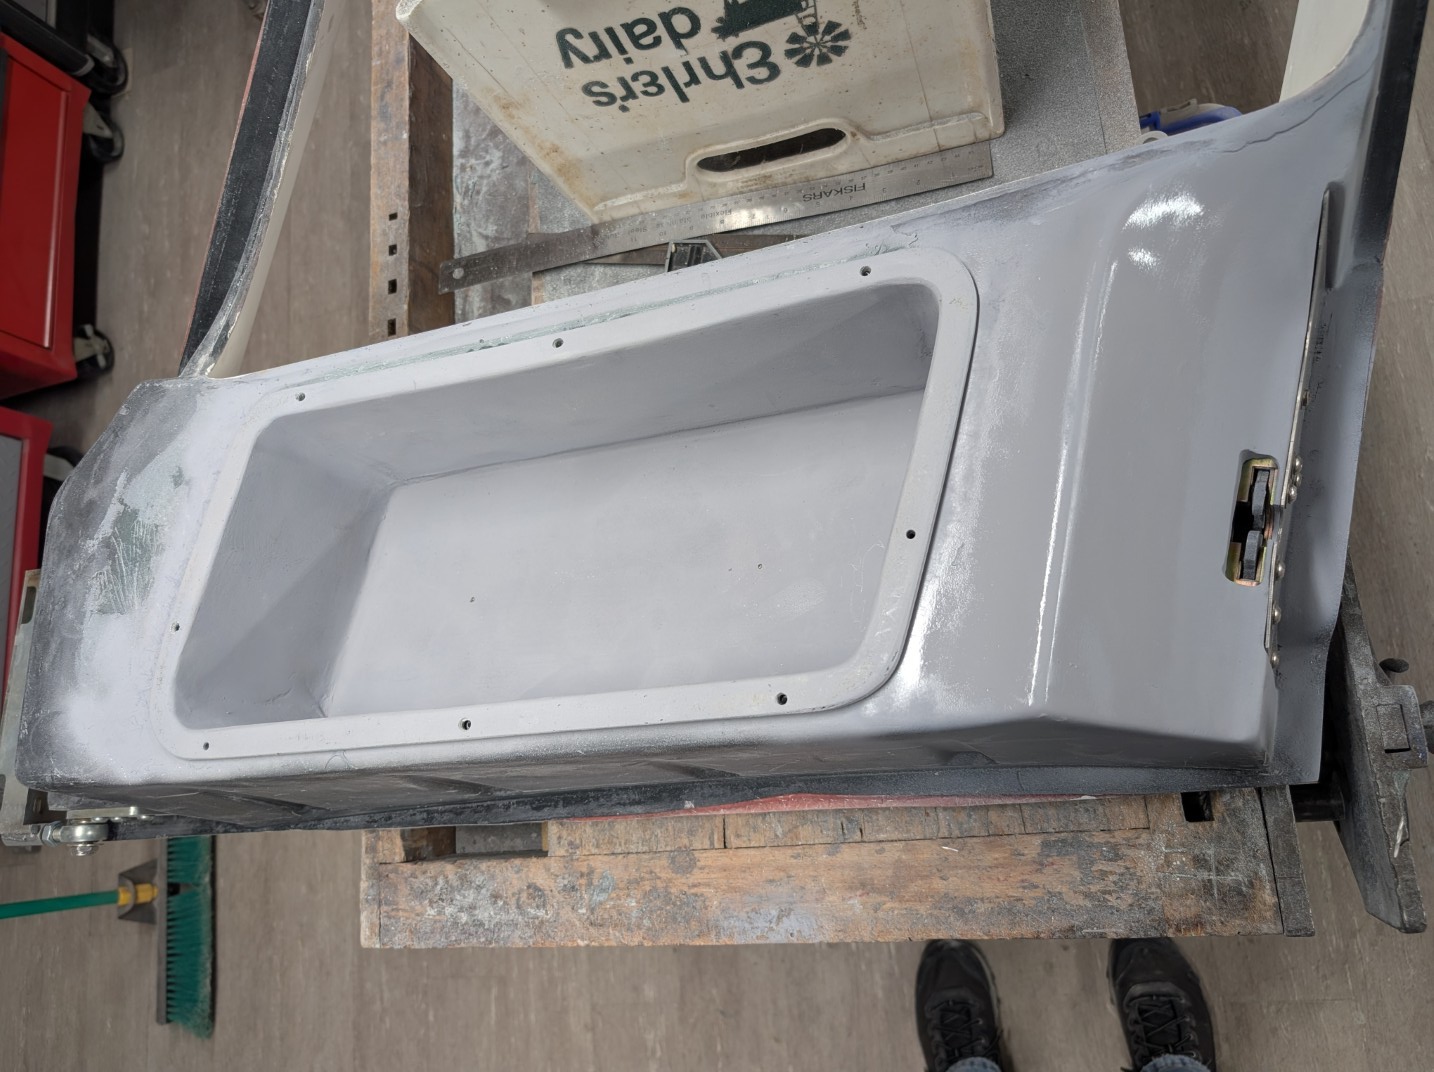
The RCR doors come without any boxes or door cards, it is left to the builder to finalize this part of the build. The depth of the doors and the lack of interior space make this a natural for a recessed box – a place for your phone, Kleenex, gloves, whatever.
RCR does offer a doorbox as an option. I am told they are pricey and don’t fit the door properly. I chose to build mine from scratch. Fiberglass molding isn’t that difficult.
Materials
I built two boxes since the sides are not symetric. Used Polyisocyanurate foam since it is not affected by the polyester fiberglass material. You may recognize the foam as the light tan foam used for flat roof installation since it is resistant to the tar and other compounds used. It can be easily cut and shaped with carpenter tools and sanding blocks.
The boxes are molded using fiberglass mat, I used 1.5 Oz Sq/Ft chopped strand mat and standard Polyester molding compound
Plugs
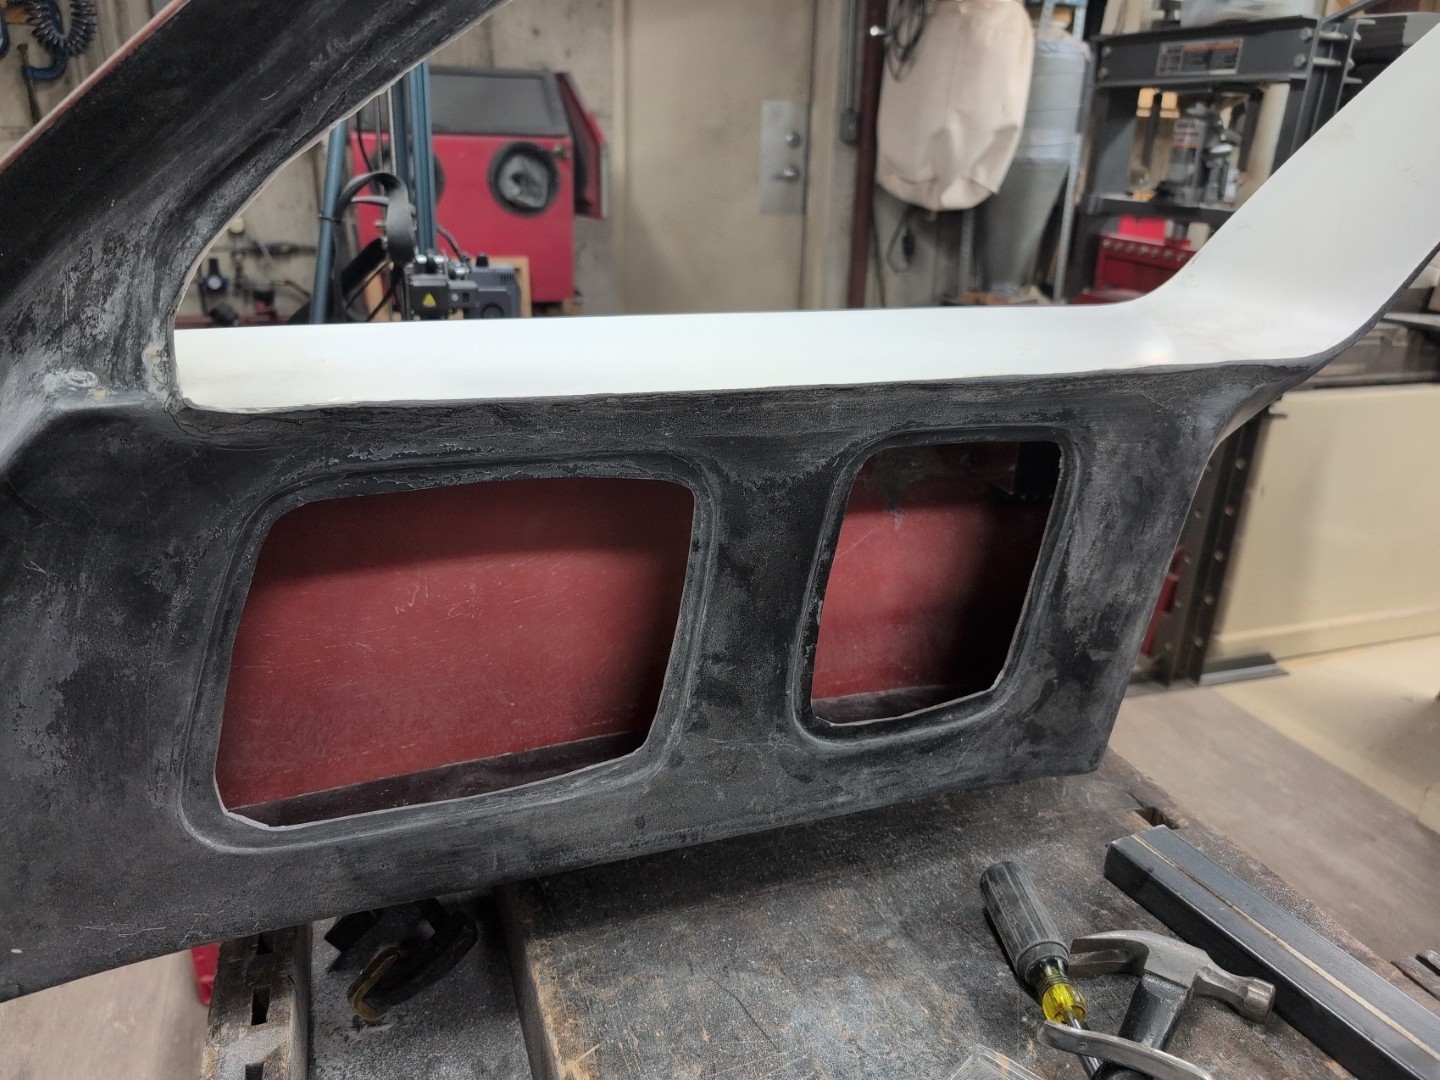
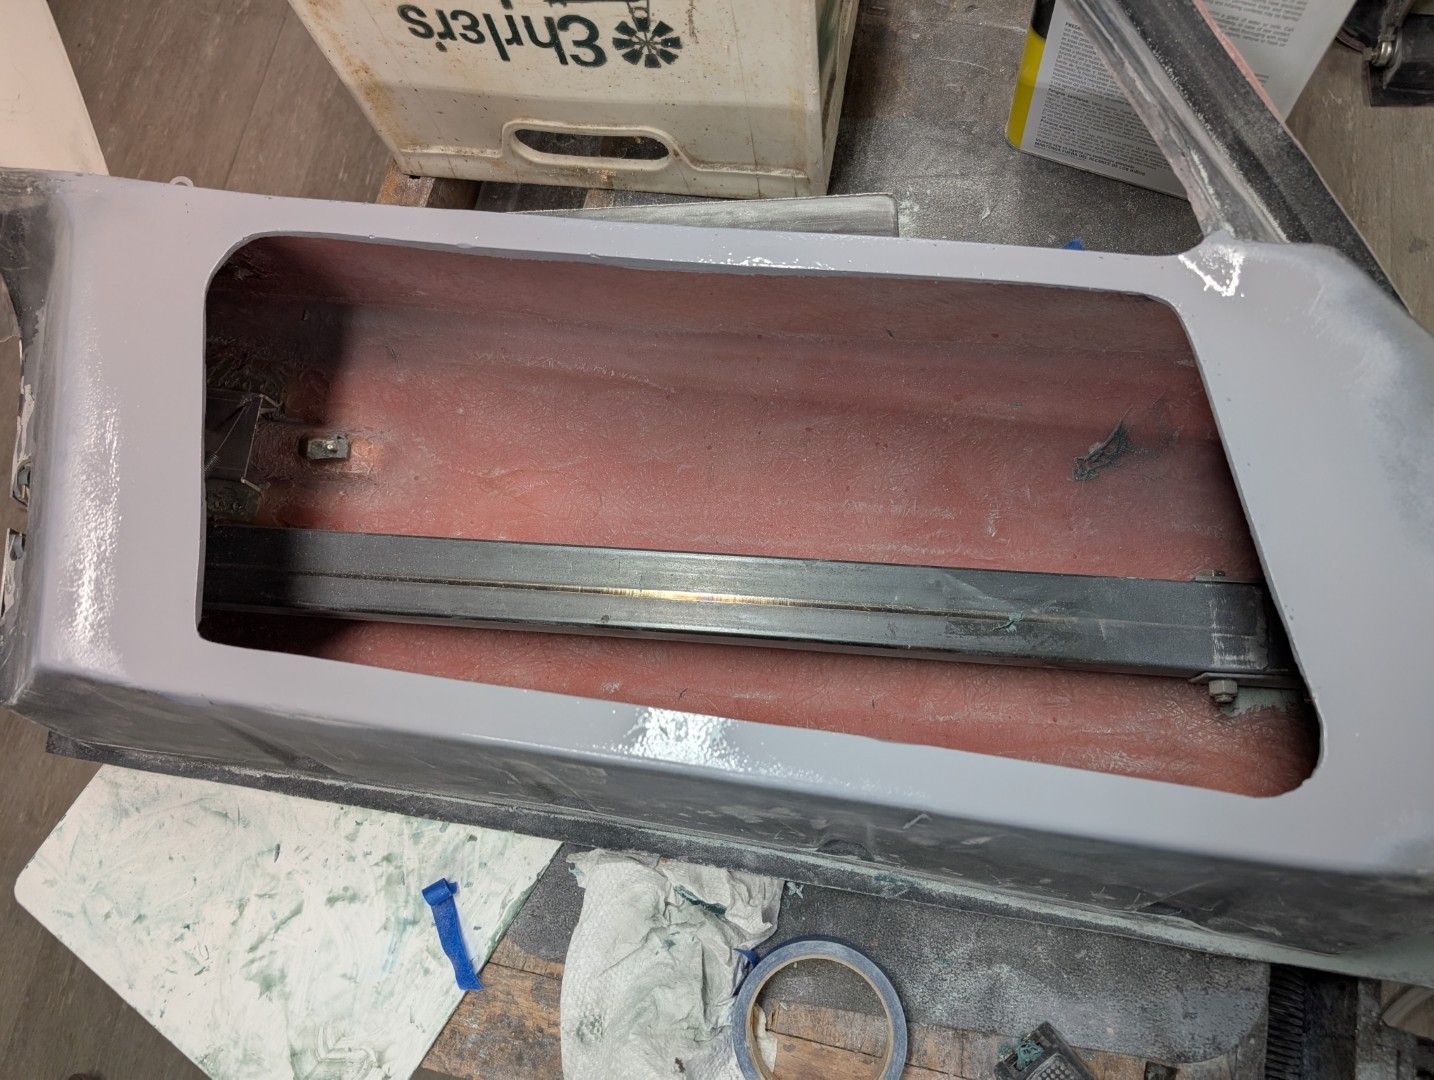
I cut the center inner panel rib out to accept one large box. Before measuring, I cleaned up the edges of the opening to be as symmetrical and straight as possible.
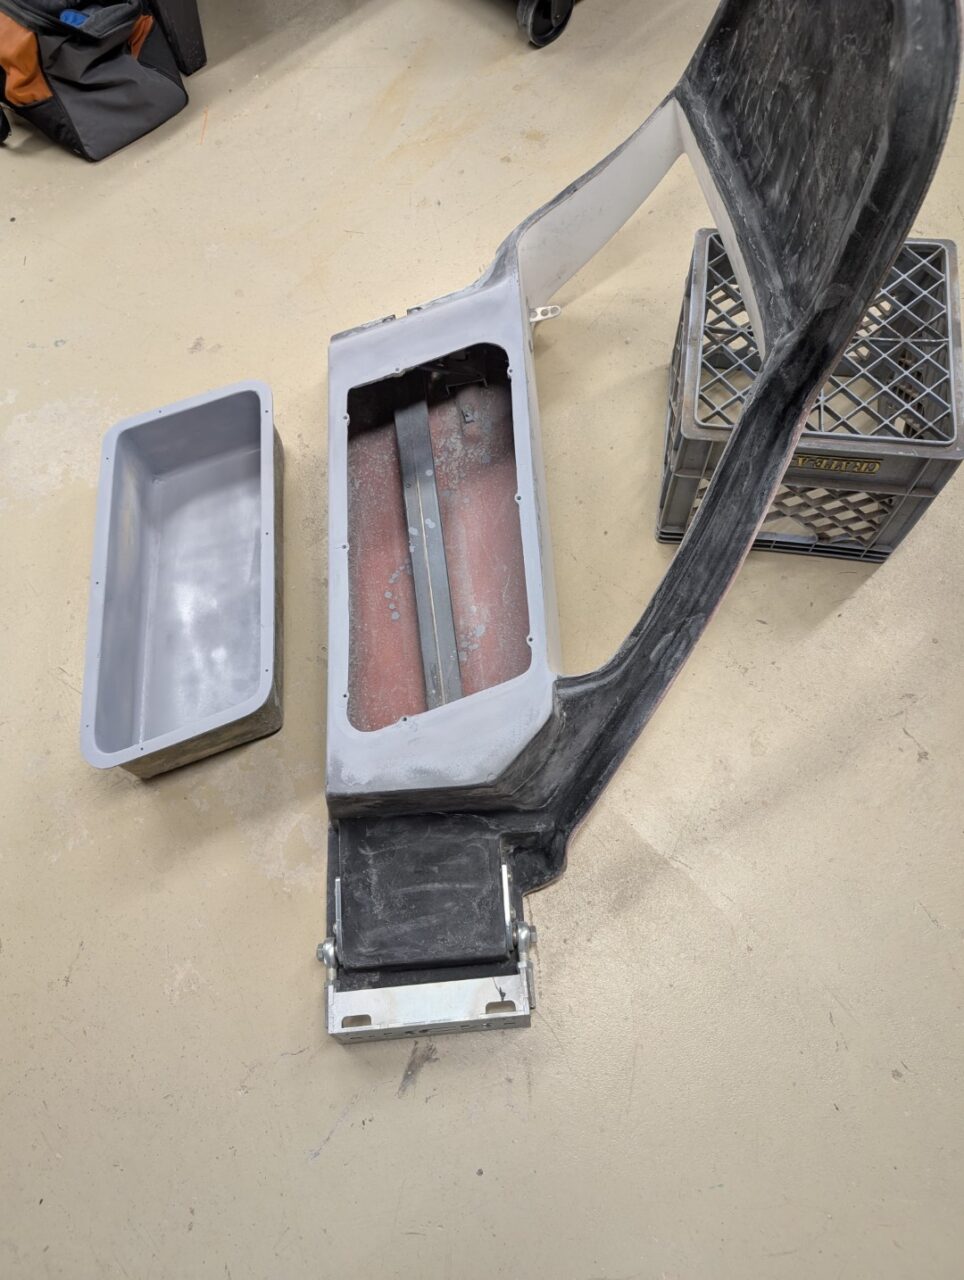
The box was built to fit in the opening with about 1/2″ clearance on the sides and up/down. The depth was set so it would fit tight to the door panel and also tight to the reinforcing beam I had built. My plan is to install a pull strap when it is finally assembled and I want all to fit tight.
I glued the box together using tan carpenters glue and allowed it to dry. Once set, I rounded the edges as necessayr to make a smooth plug.
Molding
I placed two layers of the mat. It doesn’t need to be done all at one time. It’s arts & crafts time. And you’ll love the smell the resin leaves in your workshop.
Once the resin is set, you can remove the foam plug and clean up the box. My design included a flange around the perimeter and I installed adhesive nuts to accept the mounting screws. These can be purchased from McMaster-Carr or I made my own by modifying woodworking tee-nuts.
Comments are closed, but trackbacks and pingbacks are open.