
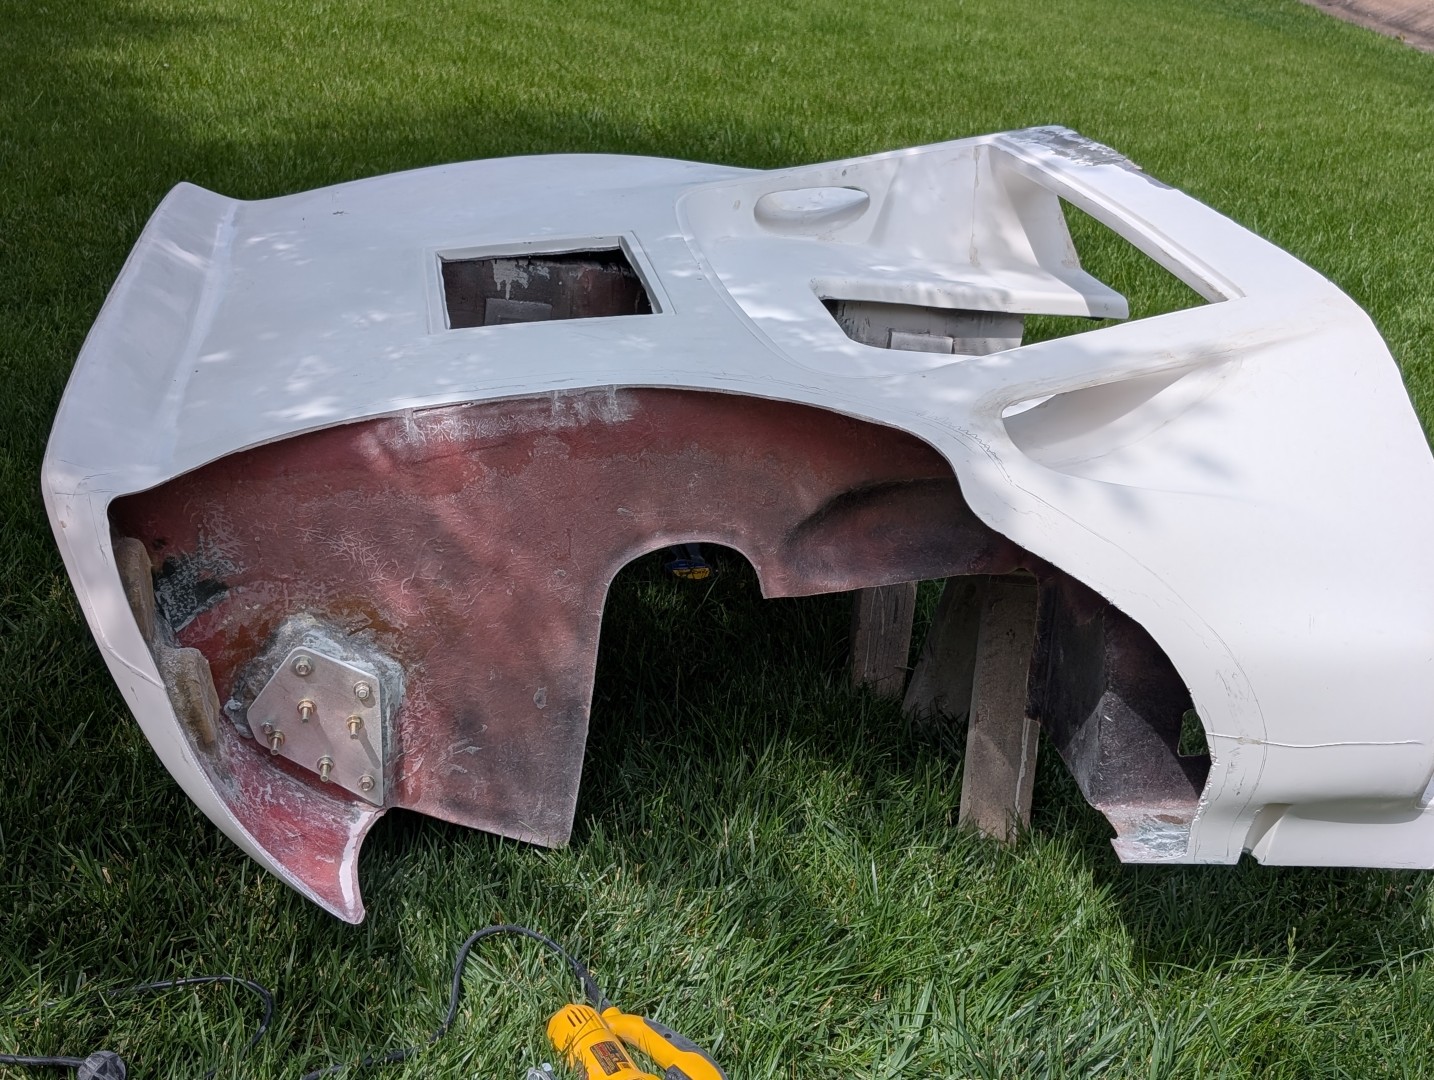
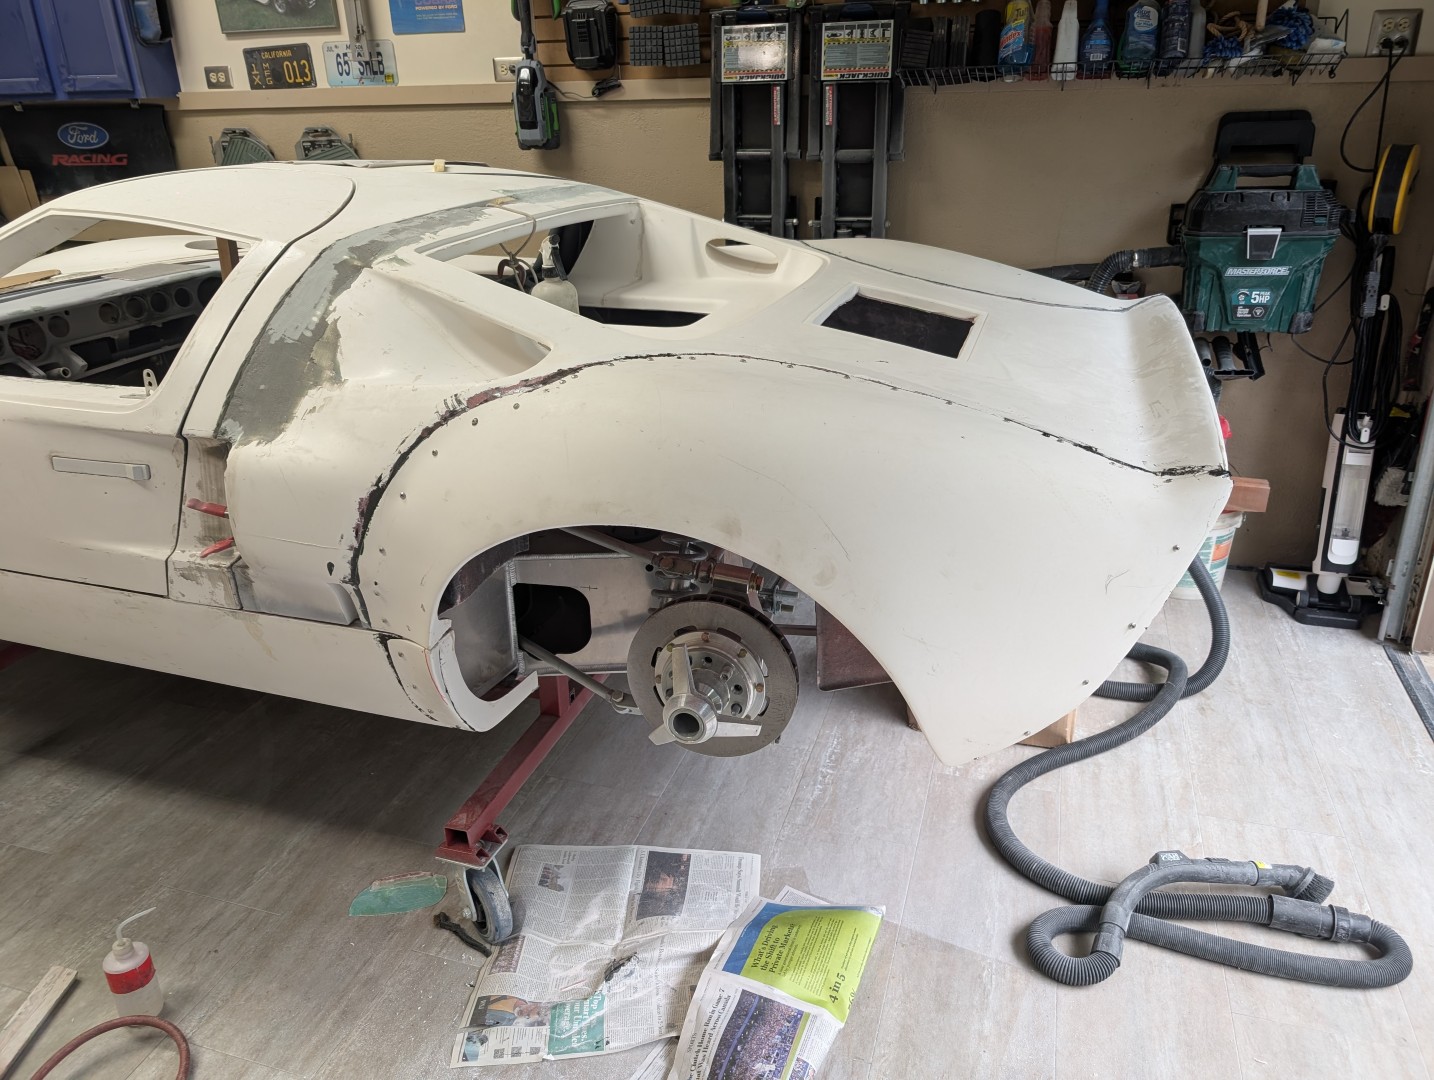
The GT40 has three different versions of rear tire flares. The prototypes and MkI’s had minimal to no flare, the width of the vehicle across the rear hips was approximately 70″ and accommodated the smaller 8″ width tire the car was originally designed around.
As the car evolved and refined, larger tires were required to accomodate the higher horsepower of the MkII design. That rear clip was approximately 2″ wider to accept the 10″ racing tires. That size became the defacto standard as the cars were modified/rebuilt during their racing career. Ai reports this history:
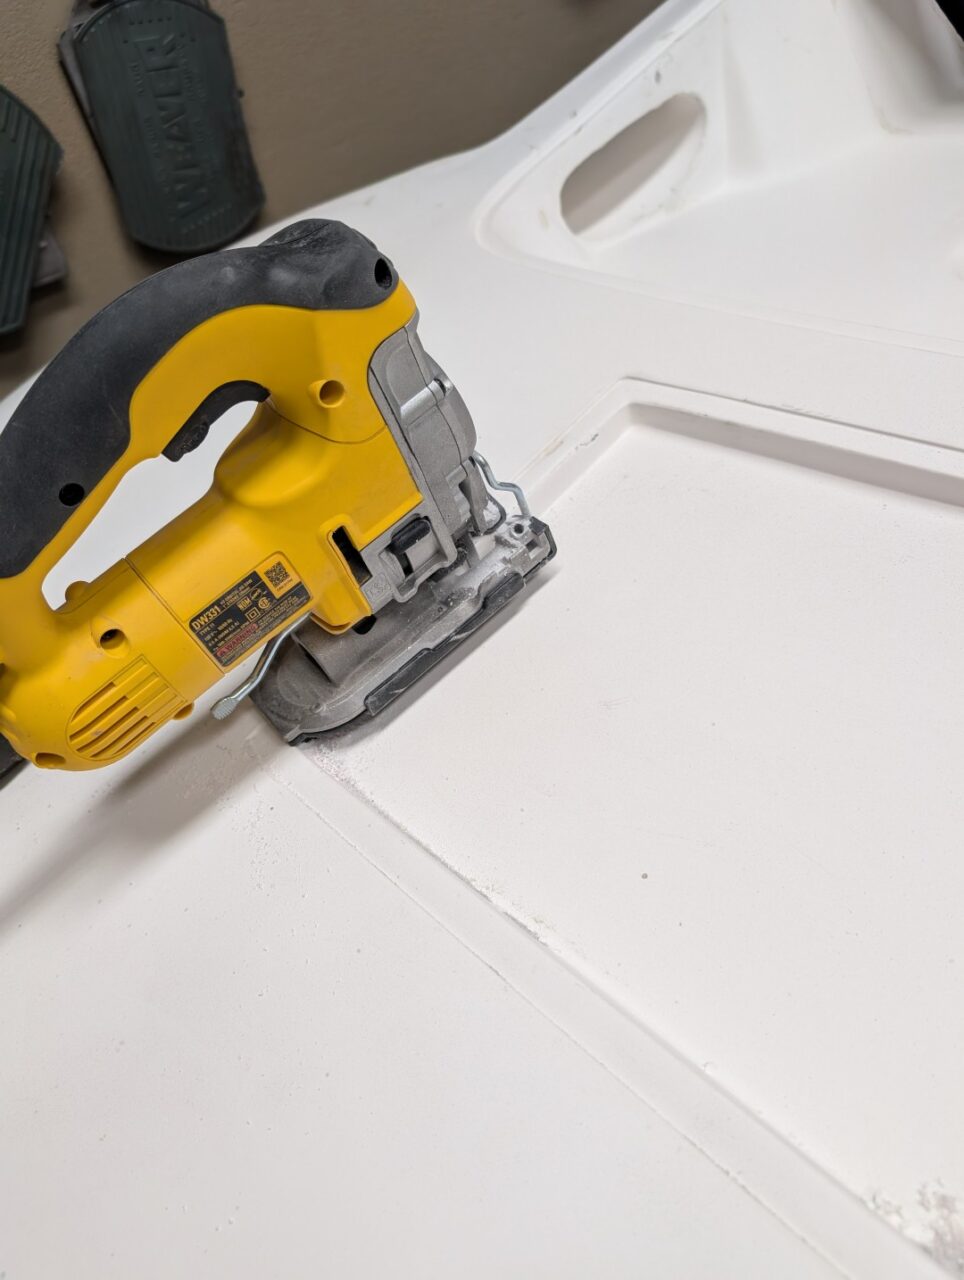
I chose to use the 2″ flare, however I decided to mount them myself rather than have RCR do it. I am not afraid of fiberglass work and many of my RCR-Build friends were reporting major issues with their flare installs the factory had done. So, now the scary part – ever take a Saws-all to a well formed fiberglass body?
The flare panel supplied was considerably larger than needed. It extended from the front scoop to the rear end, the full quarter panel and across the top to the vent opening. There are inner panels that become involved in this so I layed it over the body as best could be done. With it near its designed position, I marked the panel where the seam line would be so the excess could be cut-off.
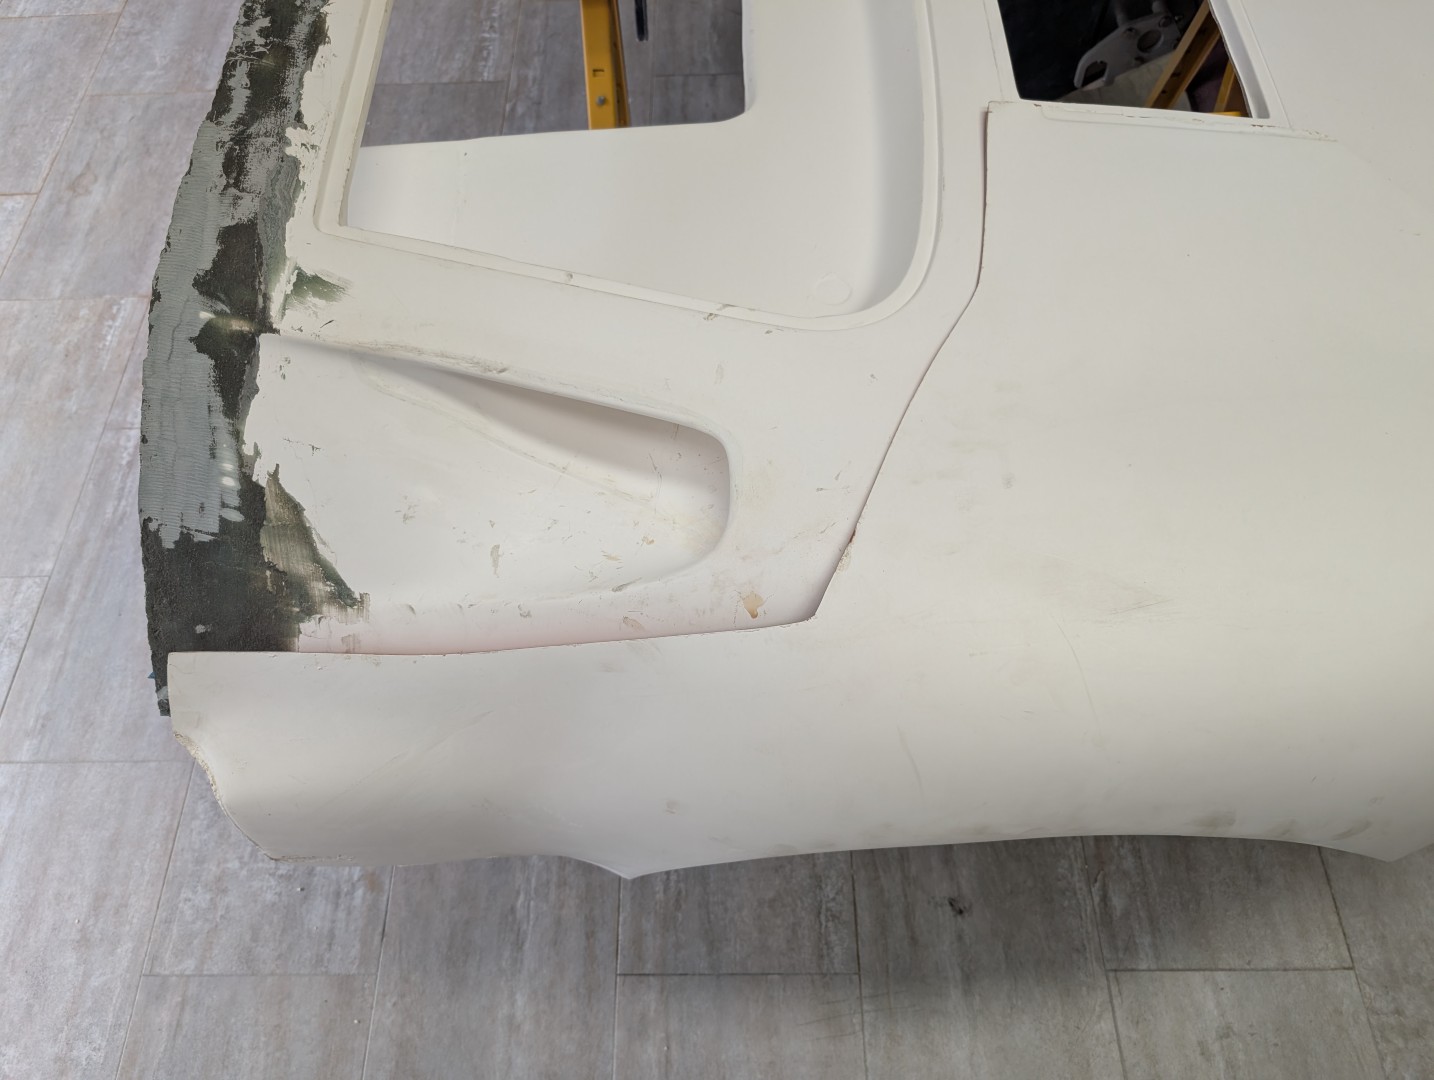
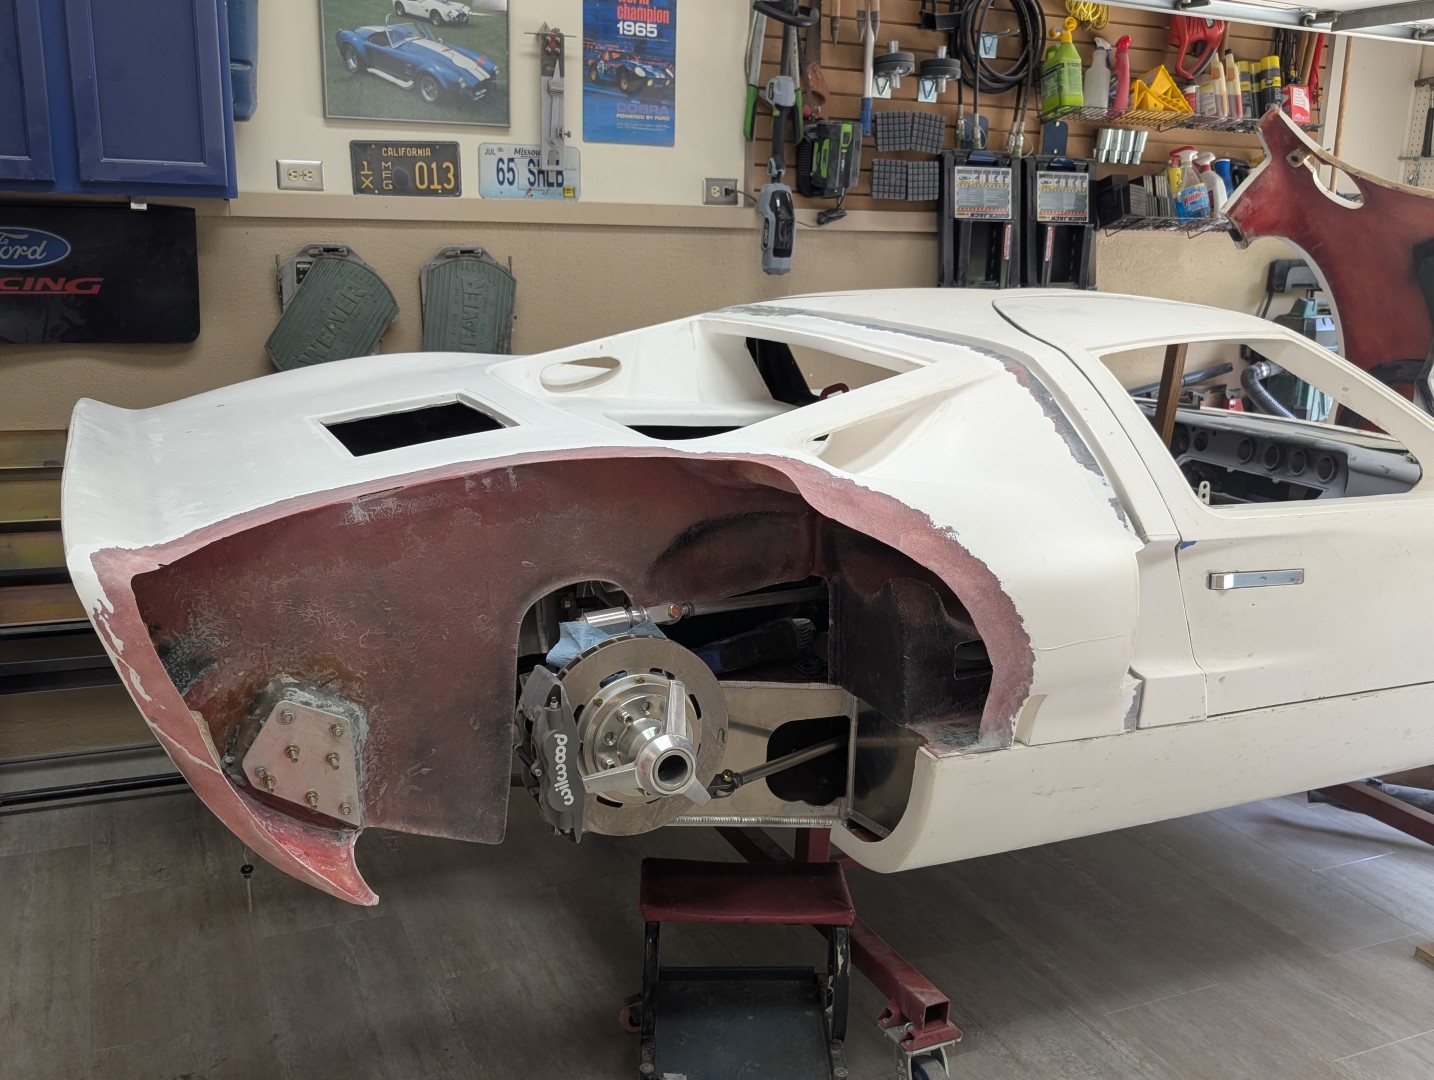
Once the excess was removed, the panel began to fit the body much better. With it in place, I could then mark the body with the outline of the panel.
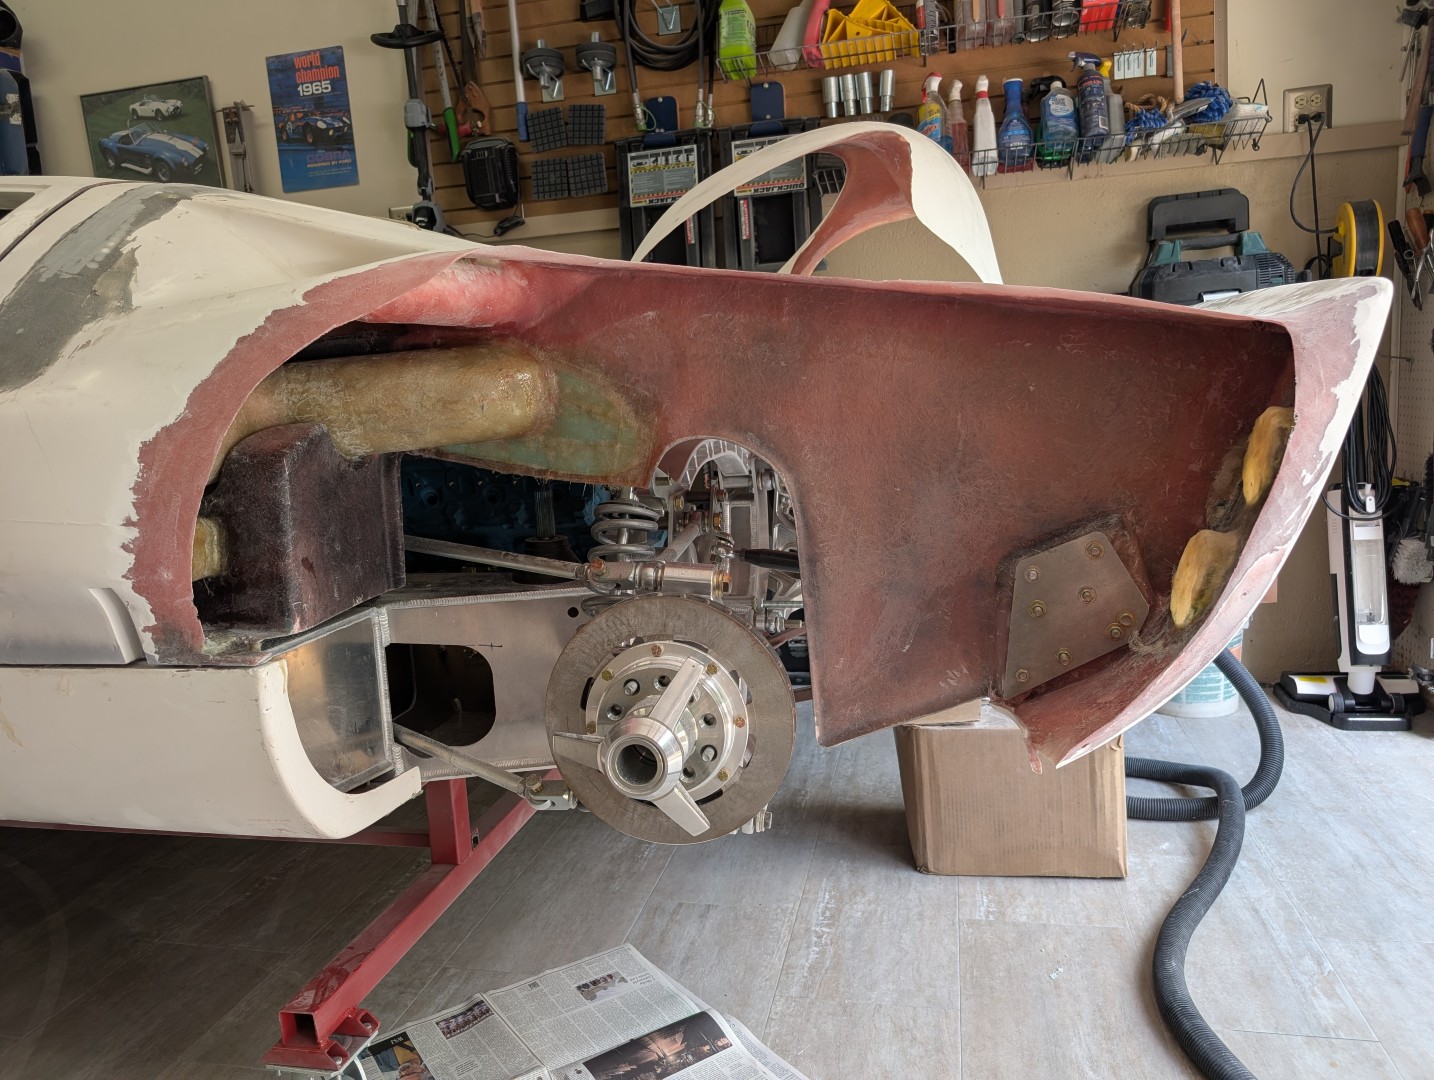
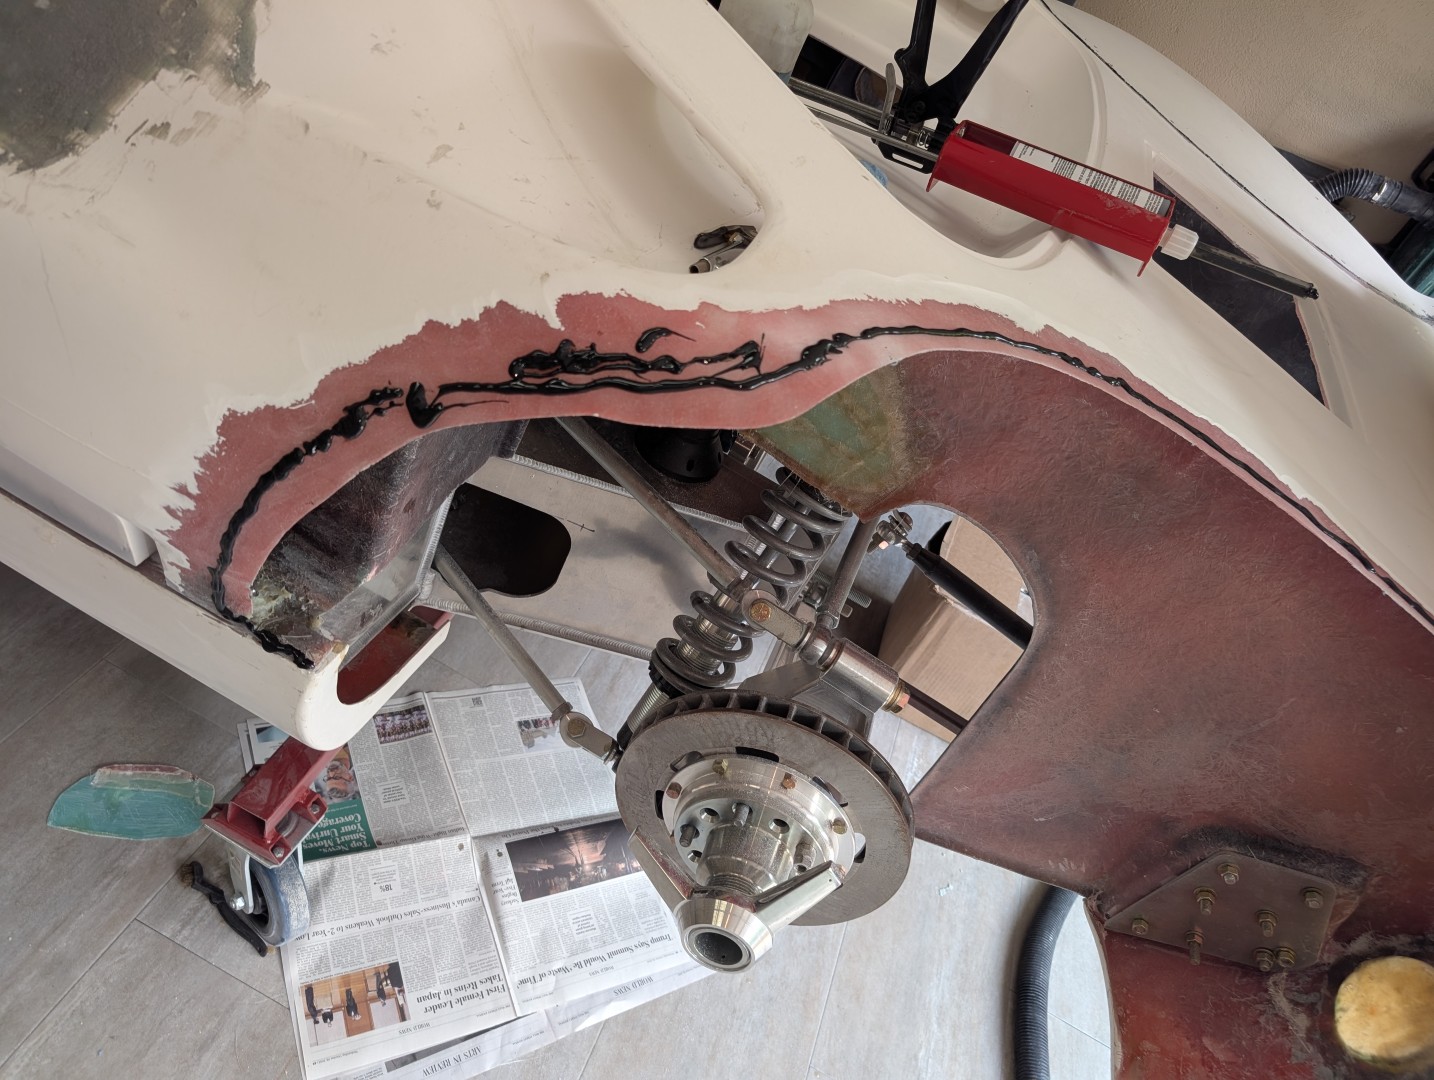
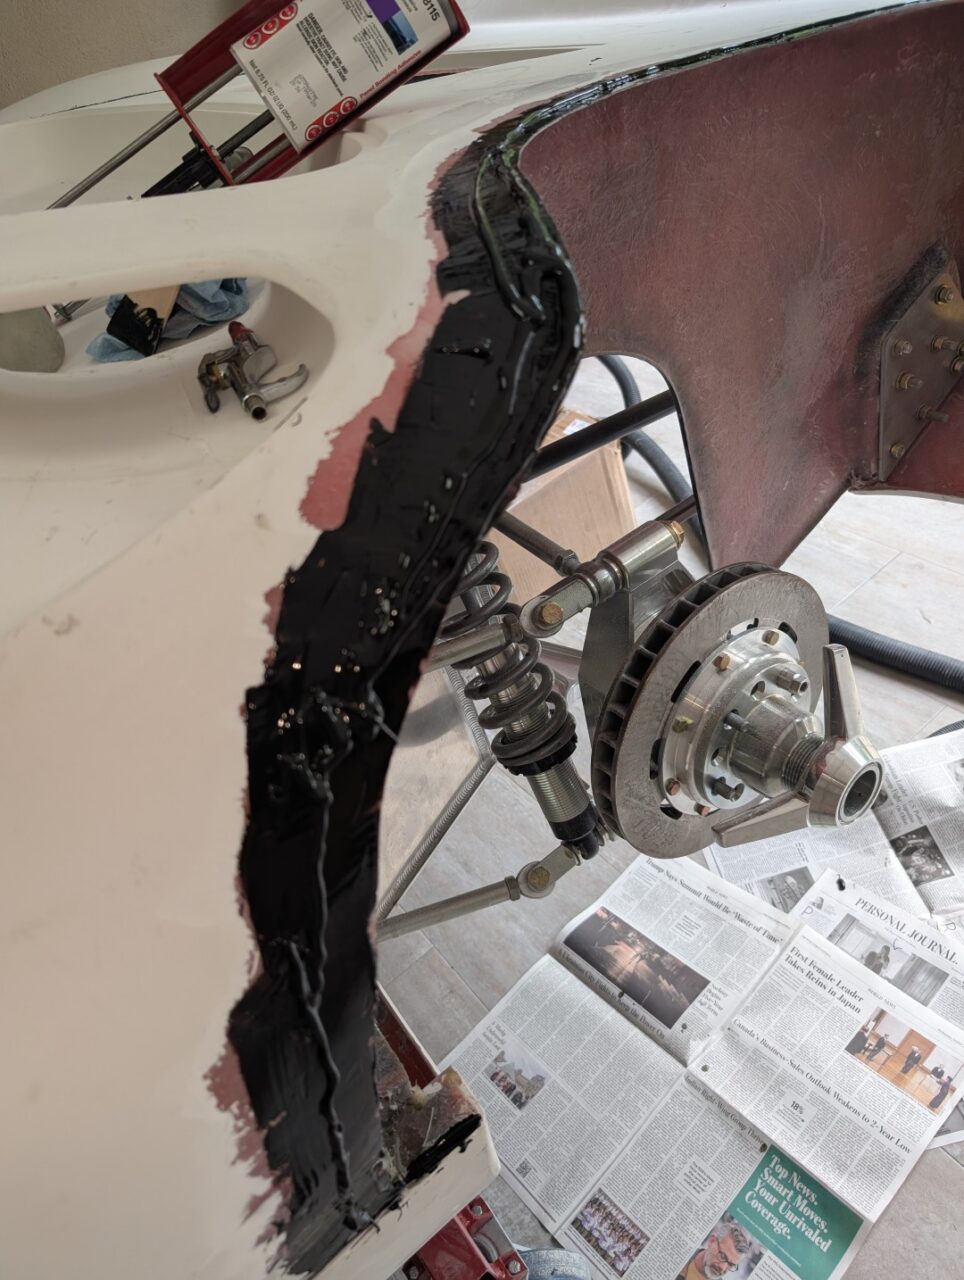
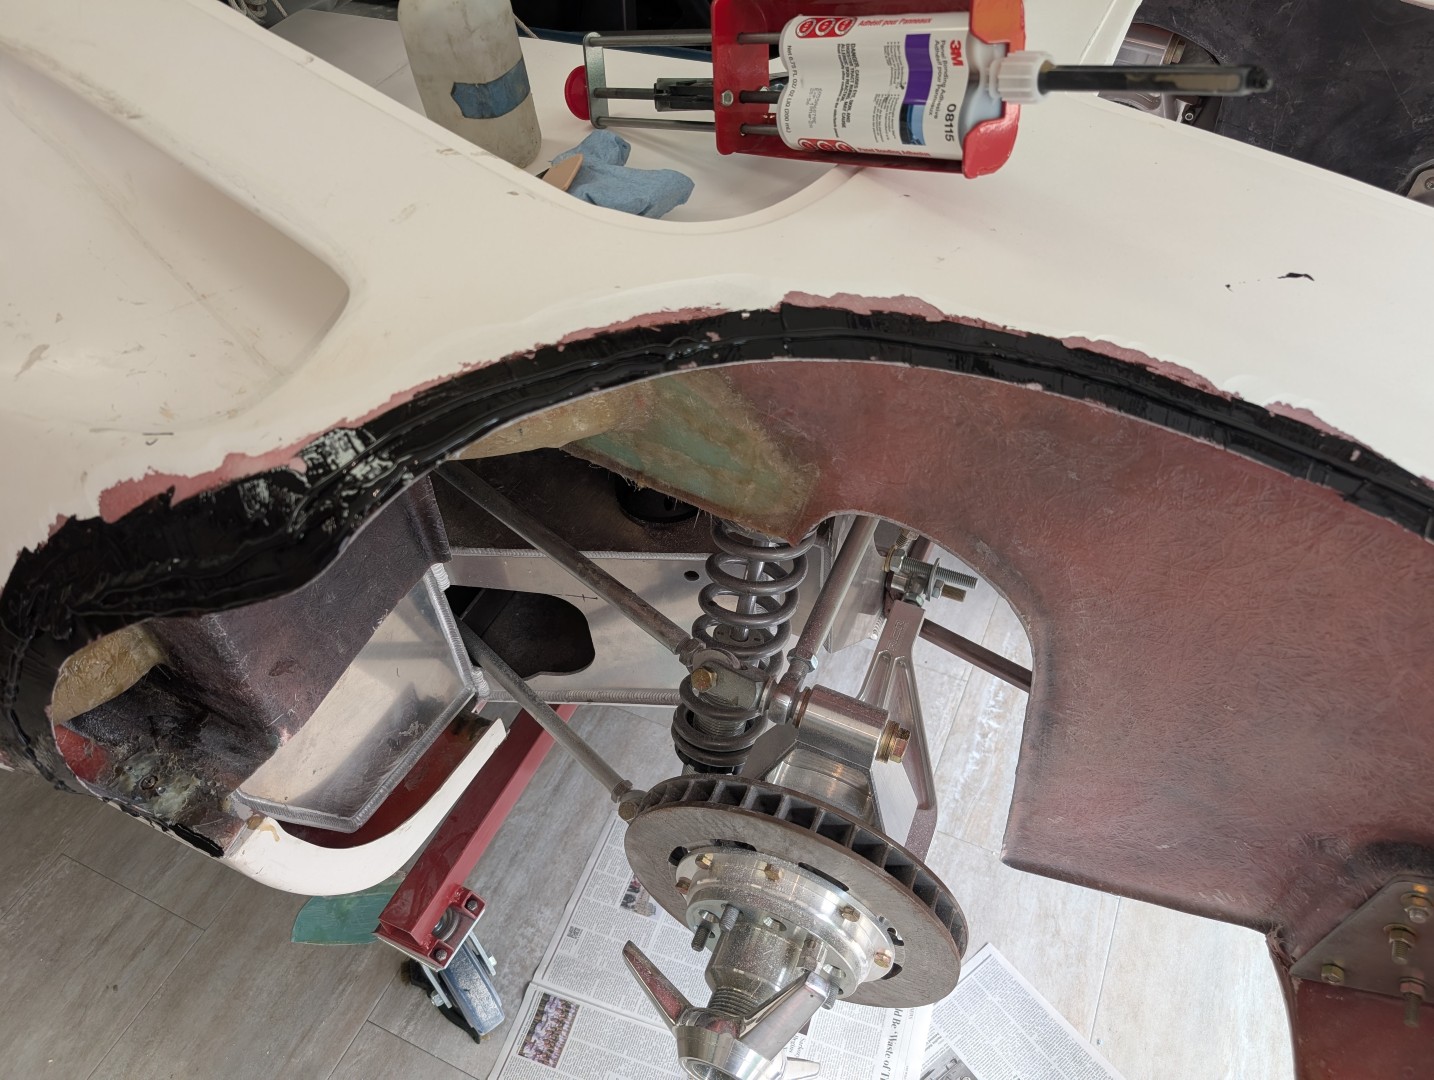
The panel must be bonded to the body with a specific compound and procedure. I felt it important not to ‘cheap-out’ and chose to go with 3M 08115 panel adhesive, the same material used to assemble Corvettes. It provides a 90 minute window for working the panel alignment and clamping. It requires a 24hr cure time and is not the cheapest material. A 200ml system (will cover about 20 linear ft at a 3/8″ bead. The joint line is about 8 foot long. However the instructions call for both panels to be ‘buttered’ then a bead of material run the entire length at the middle of the buttered section. This required using about three-fourths of one tube. So, back online and order a second to finish the second side.
A proper joint for fiberglass is a scarf joint with a 1:12 ratio. That means if the panel is 1/8″ thick, it gets tapered back 12 x 1/8 or 1-1/2″. The mating panel gets the opposite so the two tapers lay atop one-another and the thickness remains essentially the same. Now, two things to be aware of
- That much grinding will generate about 24 cubic inches of bondo dust. That’s about a beer can packed tightly with a dust that will cover anything and everything in a 40 ft. radius. It’s a job better done outdoors.
- The adhesive seems to be relatively thick till you put it on a vertical panel, then you learn it quickly runs and drips everywhere. Be prepared to clean it up quickly since once it dries, it is there forever.
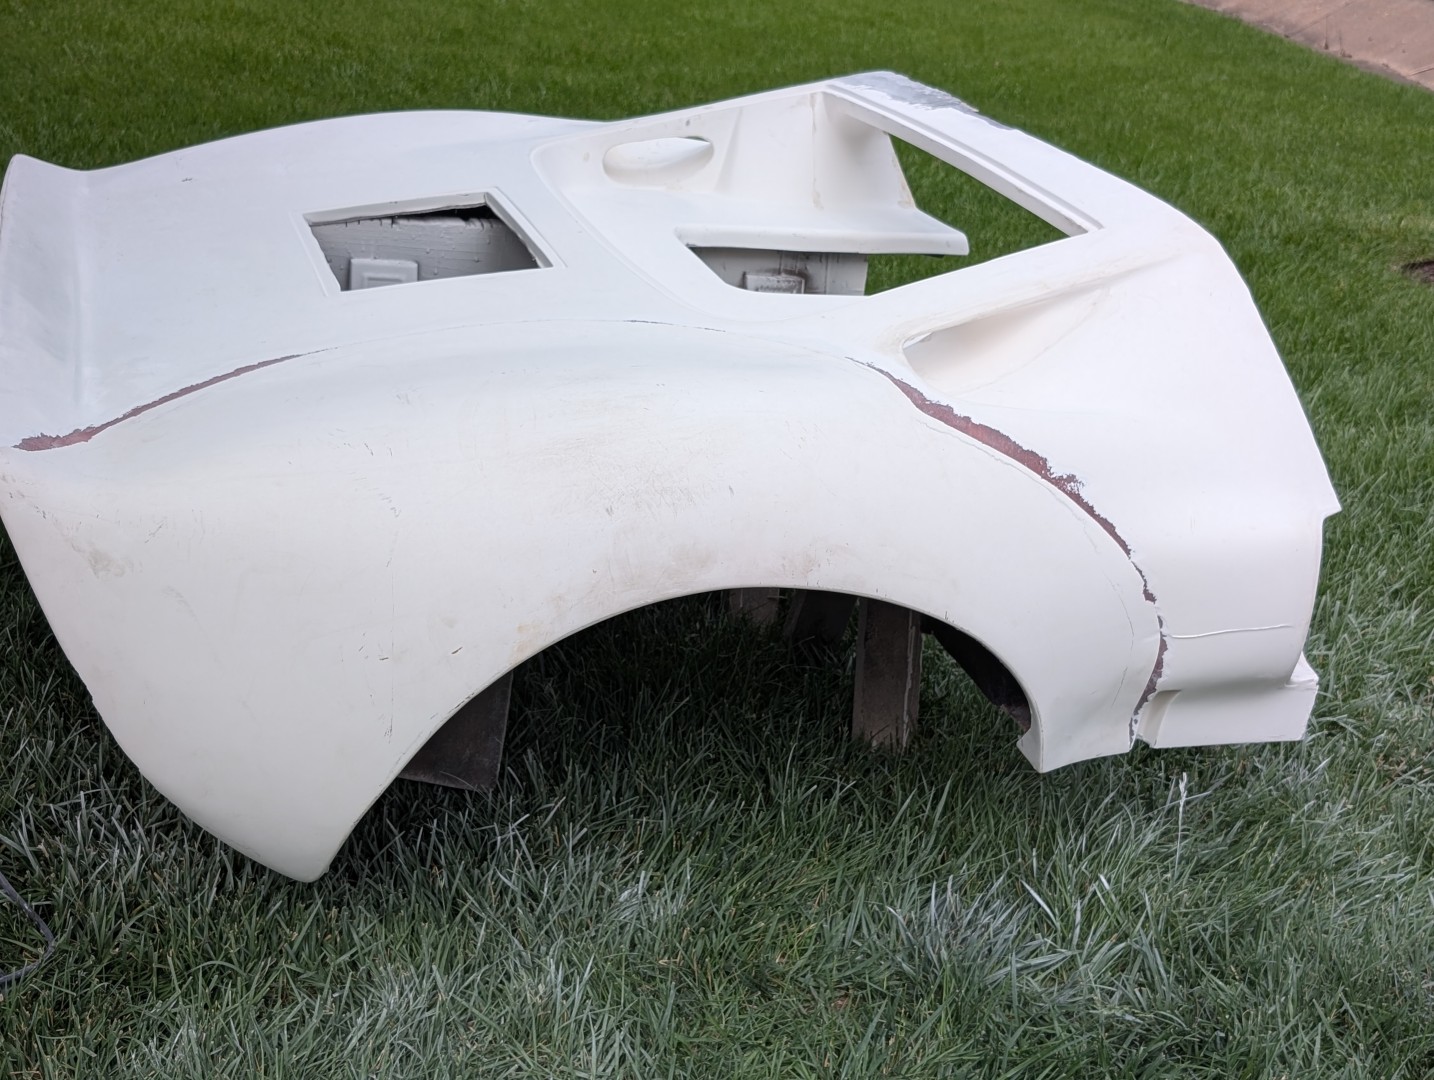
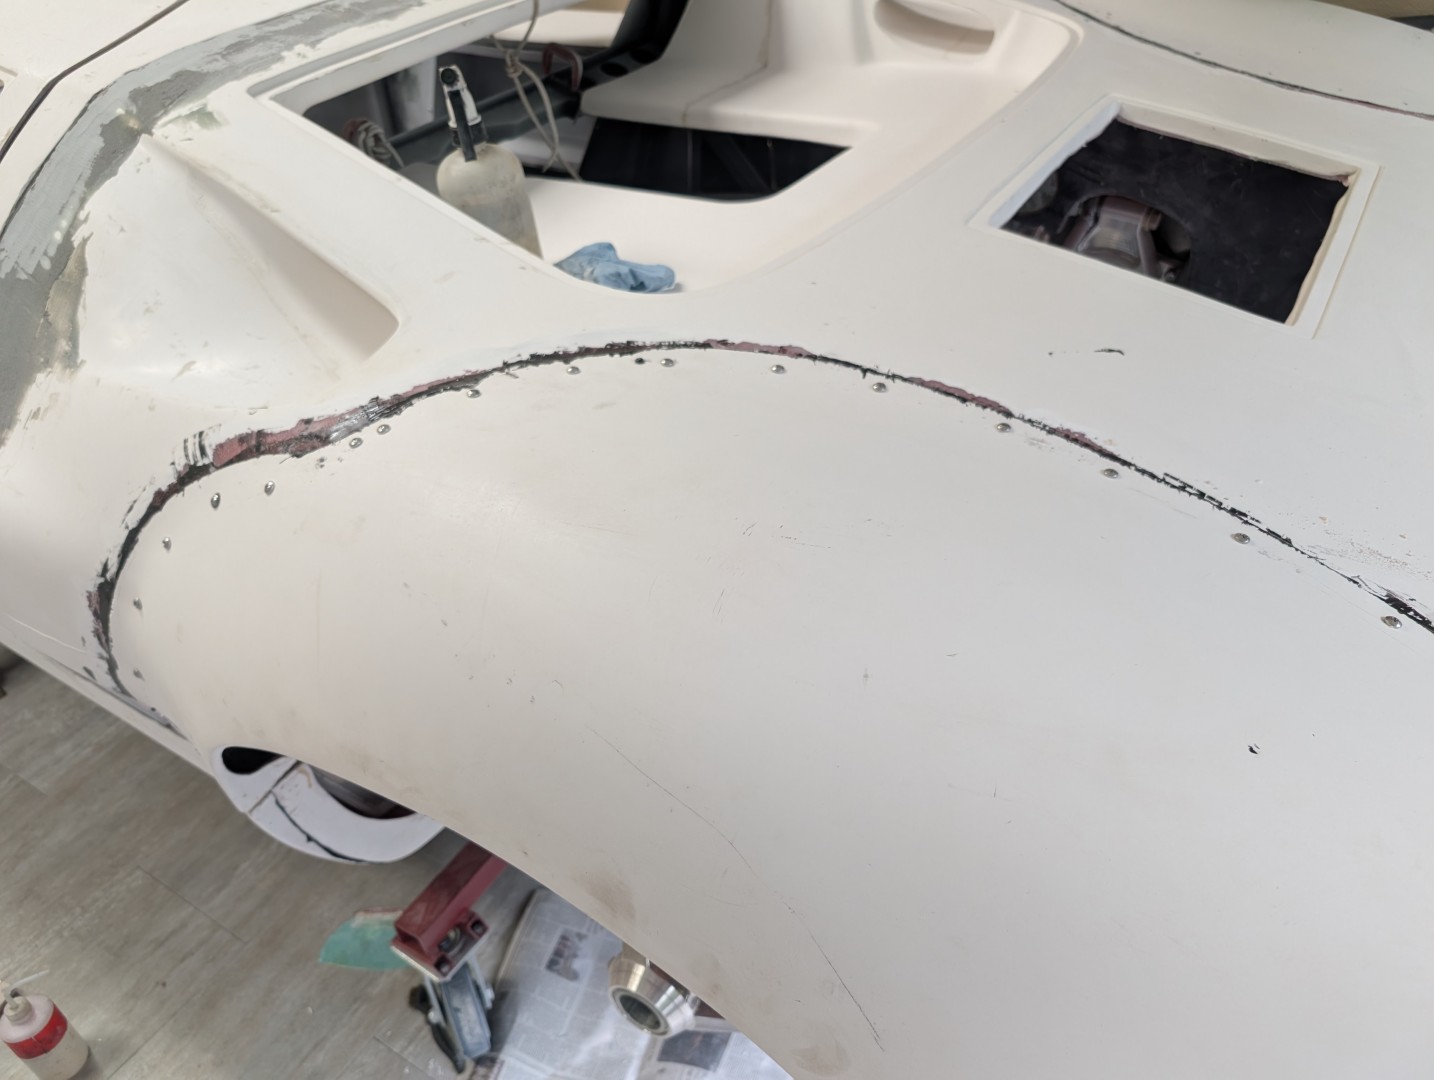
After the adhesive has set, it must be buried. I ground the edges (more bondo dust) to remove some of the high edges, on the inside. The joint was then covered with a couple layers of fiberglass and resin. This is to both bury the joint, preventing any cracks and to smooth the surface for the future undercoating layer
On the outside, the adhesive was ground off and the joint slightly recessed so it could be covered with Kitty Hair fiberglass. The adhesive has a different shrink and thermal expansion rate than fiberglass and if it isn’t buried, it could print thru to the painted surface. Kitty Hair (short-strand fiberglass) is the proper material to cover the joint and smooth in the panel. The final coat of body filler will come later in the blocking process. Just bring it to level or slightly recessed.
Comments are closed, but trackbacks and pingbacks are open.