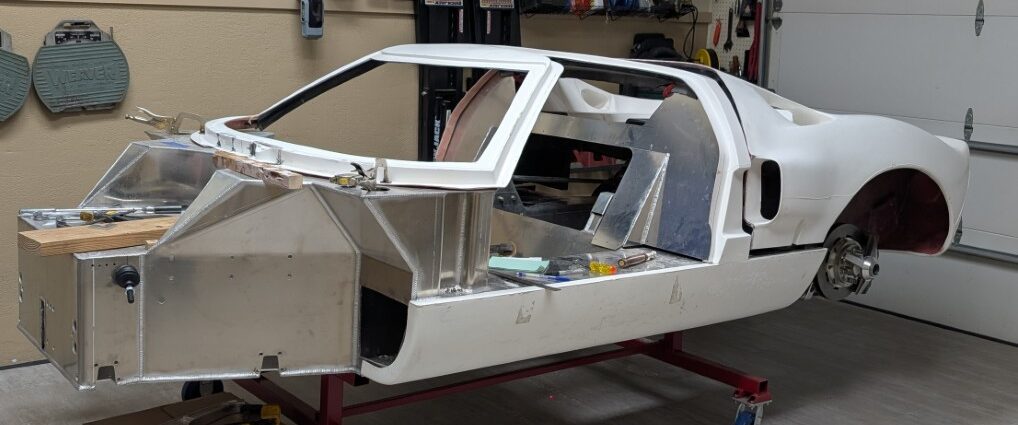
A GT40 build presents a wide range of challenges and decisions. The RCR body is exceptionally well designed, with excellent construction quality and attention to detail. It provides a strong foundation, but it is important to recognize that it is not a complete replica right out of the box.
One of the first decisions every builder must make is whether they simply want to assemble a car or create a historically accurate replica. That choice will shape the direction of the entire project and determine the level of detail required.
The body moldings are an excellent starting point, but every chassis and body panel is different. Assembly tolerances, panel alignment, and warpage from the manufacturing techniques all become part of the bodywork process. Planning for these corrections early will save considerable time and effort later.
Some people describe fiberglass work as “arts and crafts.” I tend to compare it to working with drywall. It is surprisingly easy to cut, reshape, repair, and finish, allowing you to create exactly the contours you want. The downside is that it is a very messy process. Nitrile gloves, acetone, and a powerful shop vacuum quickly become essential tools, and there never seems to be enough suction to capture all the dust.
My project’s direction is to build a replica, so I have incorporated several additional modifications and period-correct details. Throughout this section, I have mixed those enhancements with the corrective actions necessary to build a reliable, functional vehicle. Your particular build may not require all of these steps, but the information should provide a useful roadmap of the tasks and decisions that lie ahead.
This Section is still progressing – Please stay tuned as updates are issued
The various items are linked to pages with more detail of the work or modification
Rocker Panels
- Build inner edge attachment to chassis
- Shape front wheelwell to match chassis and fuel tank access door
- Rework upper edges to flatten, straighten and accept locating pins and latch bases
- Add rear flares
- Rework the mismatch of the passenger side wheel opening
Front Clip
- Reposition the passenger-side inner panel to center the clip on the chassis.
- Rework inner panels to accept the clip pivot system
- Add a reinforcing flange to the chin, foam and mold opening cover
- Build panel edge reinforcing to clear pivot components
- Rework the right front wheel opening to allow the wheel to turn without hitting the flange
- Open NACA ducts
- Construct ductwork for air from the forward NACA ducts to the cockpit
- Open center NACA duct
- Move the wiper mounting land to the driver’s side
- Mold sockets for the clip locating pin and female sockets
- Reshape the rear clip flange to remove warp
- Rework the front brake scoop opening to duct air and give a finished appearance
Rear Clip
- Rework body sockets for rear pivot clamp plates.
- Cut rear vent panel
- Cut engine opening
- Mold sockets for the clip locating pin and female sockets
- Remove the single light pocket and remold to accept twin lights as used on earlier models.
- Build and install lower oil cooler ducts
- Build and install upper brake cooling ducts
- Modify the upper ducts to convert them to engine-compartment cooling flow.
- Trim/Extend the forward edge of the clip to match the spider edge.
- Trim the edge of the clip to a constant thickness to provide proper compression of the bulb seal
- Match the clip contour to that of the spider and rocker panels.
- Remodel the scoop to fair ducts to scoop
- Remodel rear wheel wells to add taillight panels
Spider
- Flatten the front cowl edge and build a constant thickness
- Move the wiper mounting land to the driver’s side
- Rebuild the A-pillar base to provide an anchor to the chassis
- Trim flanges of door, windshield, and clip openings
- Build up the base of the B-pillar for mounting to the chassis
- Build a mounting flange for the rear bulkhead
- Rework the inner roof panel to mate with the rear bulkhead
Doors
- Rework the forward door area to accept clamp plates for hinges
- Build door boxes
- Flatten the inner door to accept the door box
- Rework the door handle mold area to accept mounting angles
- Rework the rear of the doors to accept a latch and shape to provide a smooth, finished appearance.
- Remodel door tops to make them removable
Dash
- Add a flange to the bottom edge
- Add reinforcing for panel mounting
- Remodel ends of dash to match A-pillar
- Remove warp from molding
- Remodel gauge openings and bezels
- Remodel the steering column opening
- Remodel the demister duct area to accept the grille panel
- Add an access hatch in the demister duct to access the wiper mounting
- Remodel the driver’s side lower A-pillar to accept the A/C control panel
Overall Body
- Match the clip contours to the spider
- Match doors to surrounding panels
- Rework the panel lines of the scoop to match the panels
Comments are closed, but trackbacks and pingbacks are open.